|
|
Post by redneckrigger on Jun 16, 2019 20:39:32 GMT -6
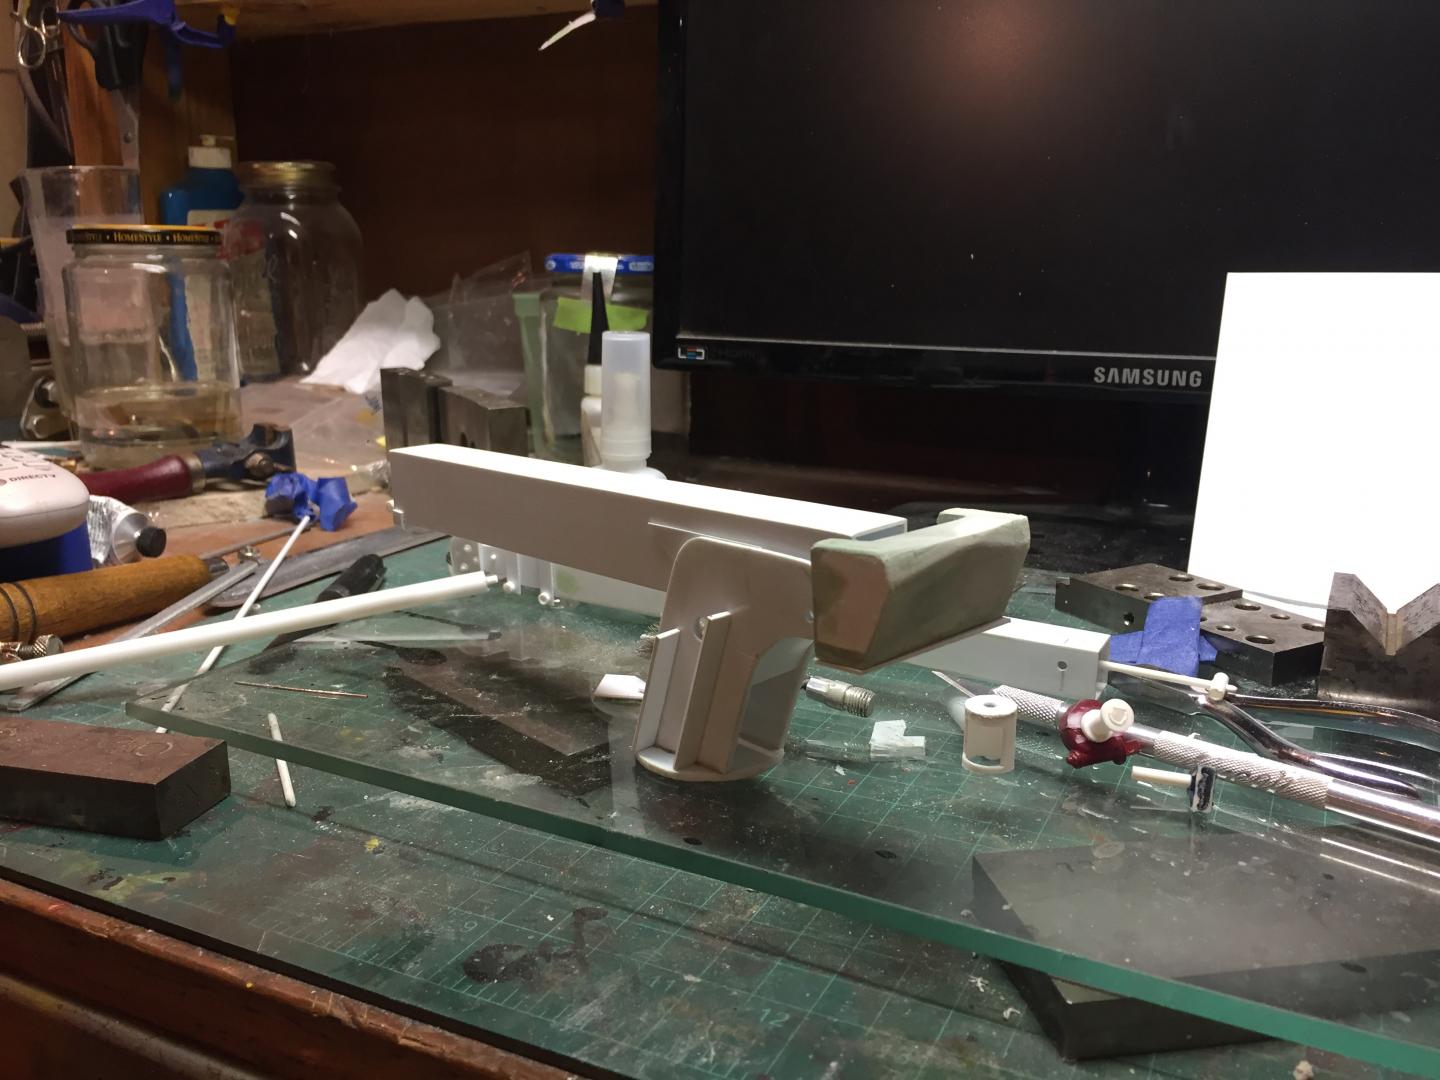
Started this Galion 12 1/2 ton crane tonight. Have been gathering information, details, specs and parts for it, and started cutting styrene tonight. I obtained a user's manual for it as well as a parts manual. I used to operate one of these where I used to work. Sadly, it met the scrapper's torch about a year ago. But, my memory still works at least a little bit, and lots of info online about these old workhorses will get this project done. I laid out the frame side plates and cut them out in a mirror image of each other, and then glued flanges all the way around. The boom base was then glued on top and the end cap cross members. I have two different types of tires to use, a set from the John Deere 310 backhoe, and a set of resin ones from Mark Savage. I think the Deere ones will get the nod, as they are more accurate in size, but time will tell, as the others may just look better. I am using a pair of powered axles from Moluminum. I have not made up my mind yet whether I will fabricate the boom or get Plastruct tubing for it..................again, time will tell. It will be powered by a Detroit 4 cylinder diesel.Just gotta keep myself going on this, as summer takes its toll on available building time!


|
|
Deleted
Deleted Member
Posts: 0
|
Post by Deleted on Jun 17, 2019 7:37:08 GMT -6
Would you be able to measure the inside and outside diameter of the JD 310 backhoe tires?
This sounds like an interesting project. I'll need to Google it to see what that crane looks like. It sounds like it will be a lot of scratch building, kit bashing and resin involved with this one.
|
|
|
|
Post by redneckrigger on Jun 17, 2019 21:26:09 GMT -6
They measure 53.67 mm OD, 27.67 mm ID, and 19.02 mm wide. The tires are marked 16.9 x 24.
|
|
Deleted
Deleted Member
Posts: 0
|
Post by Deleted on Jun 18, 2019 15:30:36 GMT -6
They measure 53.67 mm OD, 27.67 mm ID, and 19.02 mm wide. The tires are marked 16.9 x 24. Thanks! My backhoe kits are buried at the moment. |
|
|
|
Post by redneckrigger on Jun 18, 2019 19:25:00 GMT -6
Would you be able to measure the inside and outside diameter of the JD 310 backhoe tires? This sounds like an interesting project. I'll need to Google it to see what that crane looks like. It sounds like it will be a lot of scratch building, kit bashing and resin involved with this one.
This build will have a resin engine, axles, transfer case, kit tires, kitbashed wheels, and the rest will be Evergreen and Plastruct styrene shapes.   |
|
|
|
Post by redneckrigger on Jun 18, 2019 19:39:17 GMT -6
|
|
|
|
Post by redneckrigger on Jul 1, 2019 19:58:02 GMT -6
Got a couple of hours today to cut some styrene....................made the front and rear outrigger structures, did some body work on the turntable, got the left side tank/toolbox made and installed, and made the front and rear axle mounts. The rear is a rubber block type, while the front is a solid mount. Attached the two drive axles, and did a quick mock-up with the tires and wheels as shown. Still have to make drive hubs for the wheels, but it is starting to get "the look". I will be attacking the boom assembly next, and then all of the hydraulic cylinders for the boom, steering and outriggers. Thanks for stopping by!


|
|
|
|
Post by 41chevy on Jul 2, 2019 11:46:48 GMT -6
It's coming along nice. I'm going to need a pair of those rears after seeing how nice they are. Paul
|
|
|
|
Post by hillbilly on Jul 2, 2019 14:19:29 GMT -6
Very interesting build, looking forward to follow this build.
|
|
|
|
Post by redneckrigger on Jul 3, 2019 6:19:07 GMT -6
It's coming along nice. I'm going to need a pair of those rears after seeing how nice they are. Paul Jamie makes superb parts and these are beautiful! |
|
|
|
Post by gatormarcincebu on Jul 3, 2019 18:54:15 GMT -6
Wow ! You are moving right along with this project. And it is looking really good .
Be Well
Gator
|
|
|
|
Post by trailking120 on Jul 8, 2019 7:27:13 GMT -6
WOW this is going to be an awesome piece.  |
|
|
|
Post by redneckrigger on Jul 8, 2019 18:34:45 GMT -6
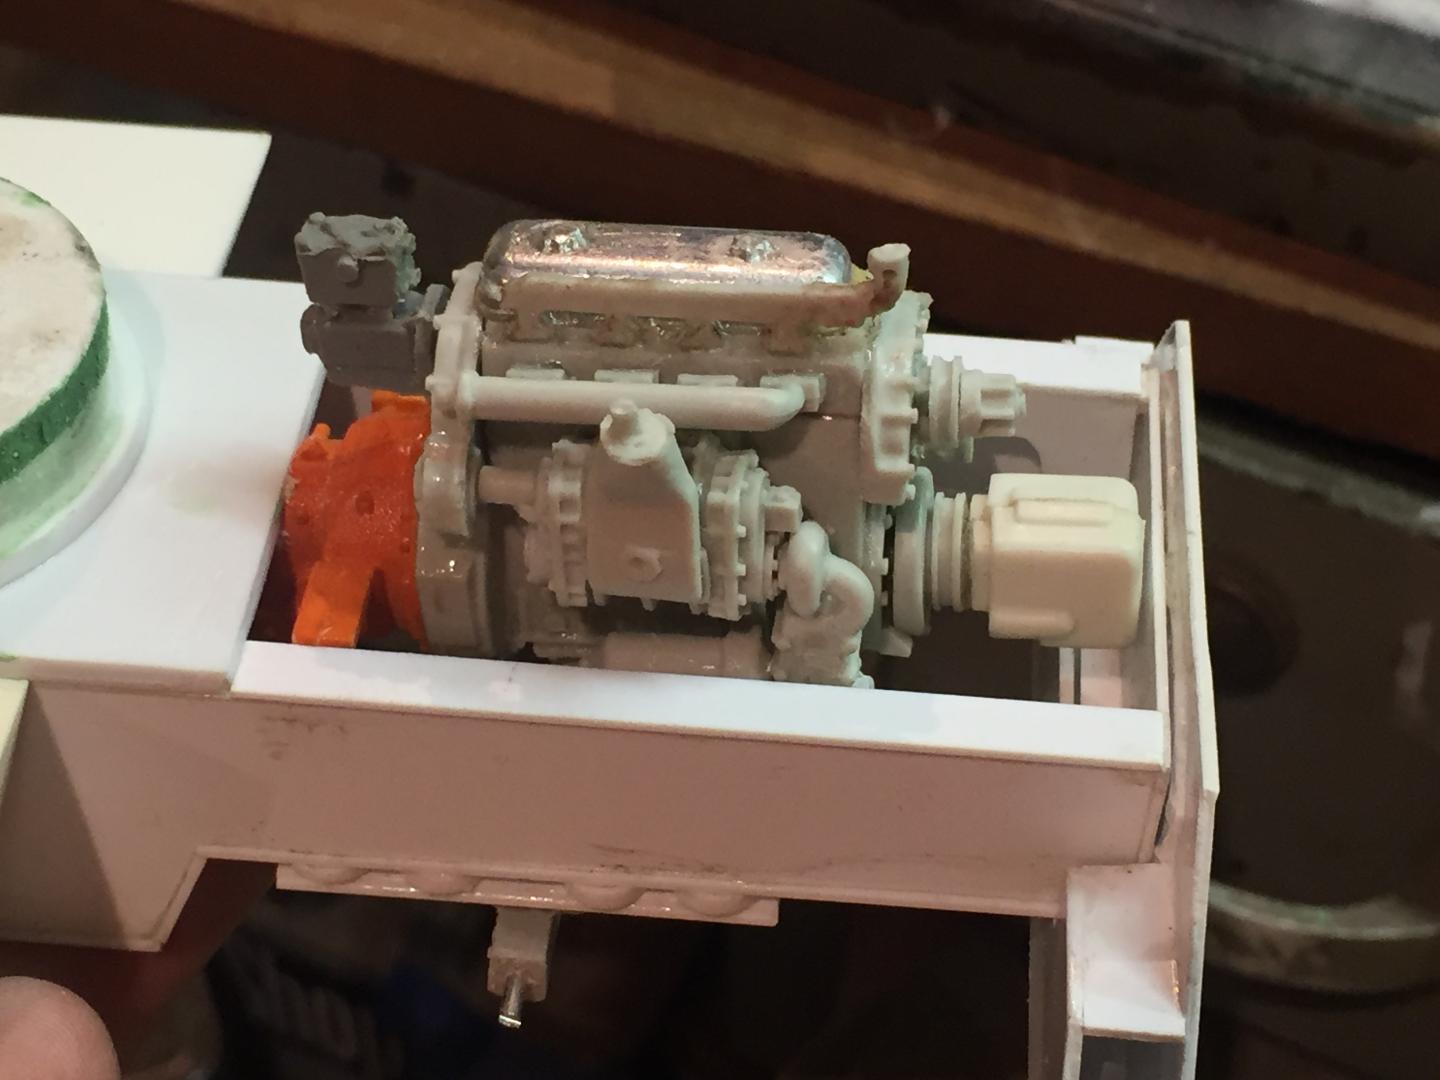
Got the Detroit 4-71 engine from Moluminum put together with the torque converter and transfer case. Made up the main boom section along with the first hydraulically extended boom One piece at a time! Only glued my fingers together about ten times. Not too bad!


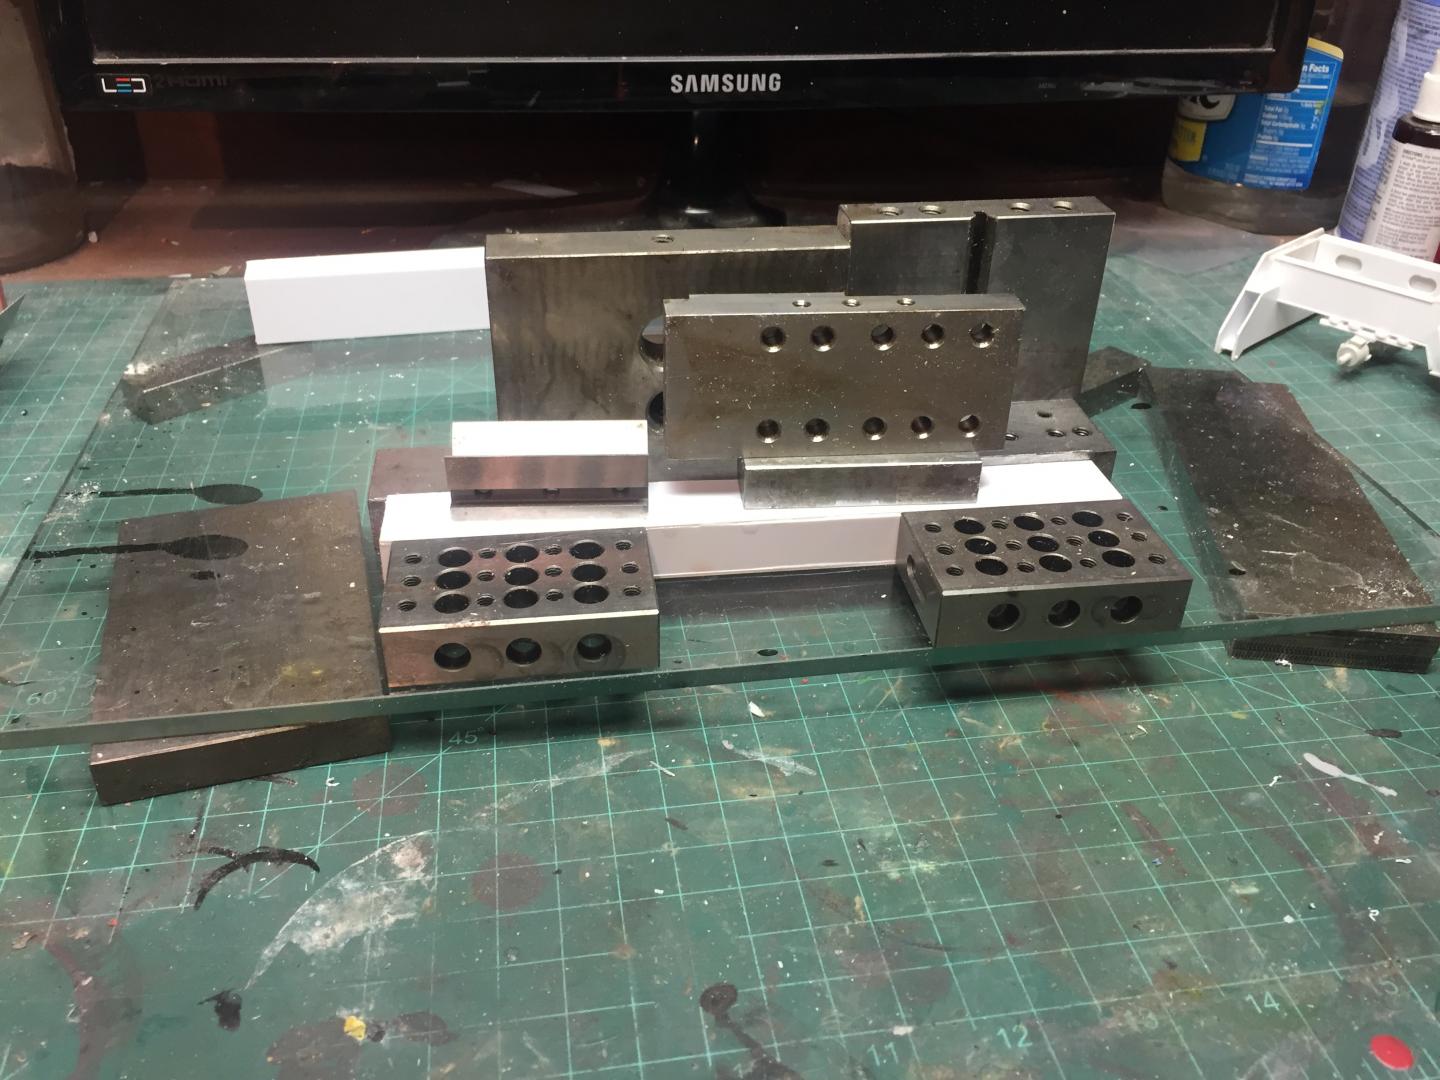


Now have to do the boom pivot base, counterweight, manually extended boom sections, and outriggers. Then the much more fun part begins, all of the little bits that give it life!

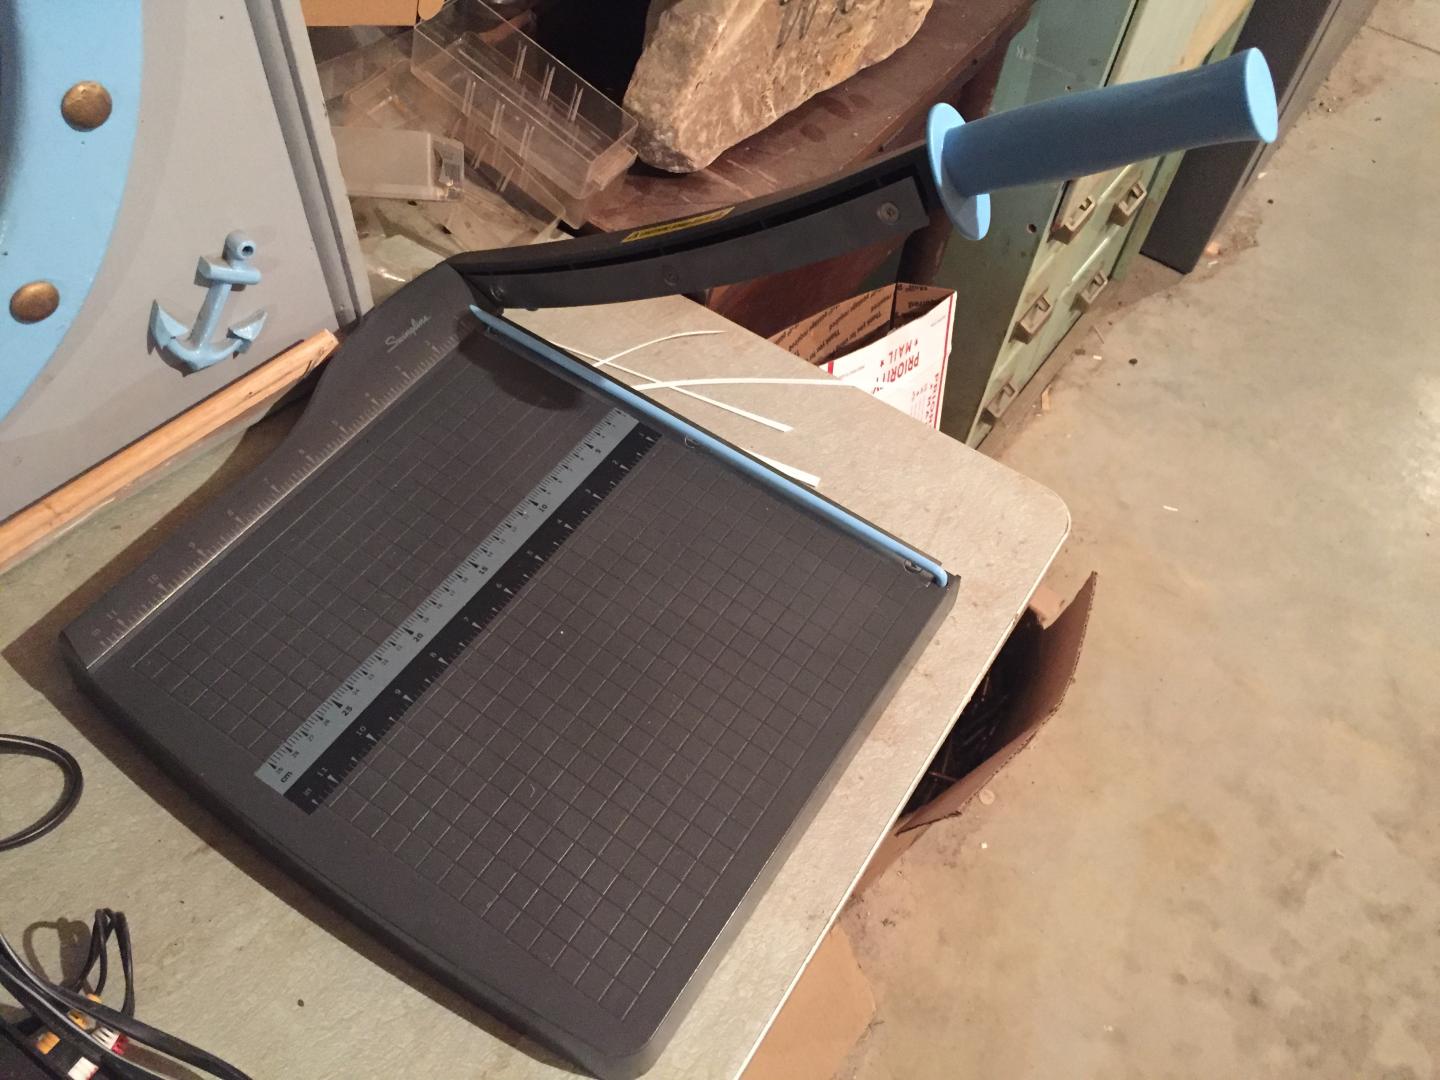
Realized I made the extension boom too big...... it is supposed to be shallower to allow room for the extension cylinder which mounts beneath it. So, cut it down to fit. That's what I get when I build after midnight trying to find time to build. Tried something new to cut long straight pieces of styrene......a paper guillotine. Works great. This is a light duty one that I figured I'd try but will definitely be getting a heavier duty one. Got the hydraulic pump mounted on the front of the engine too. Also put together some proper wheels for it.



Got the boom base roughed in and ready to make a boom lift cylinder.


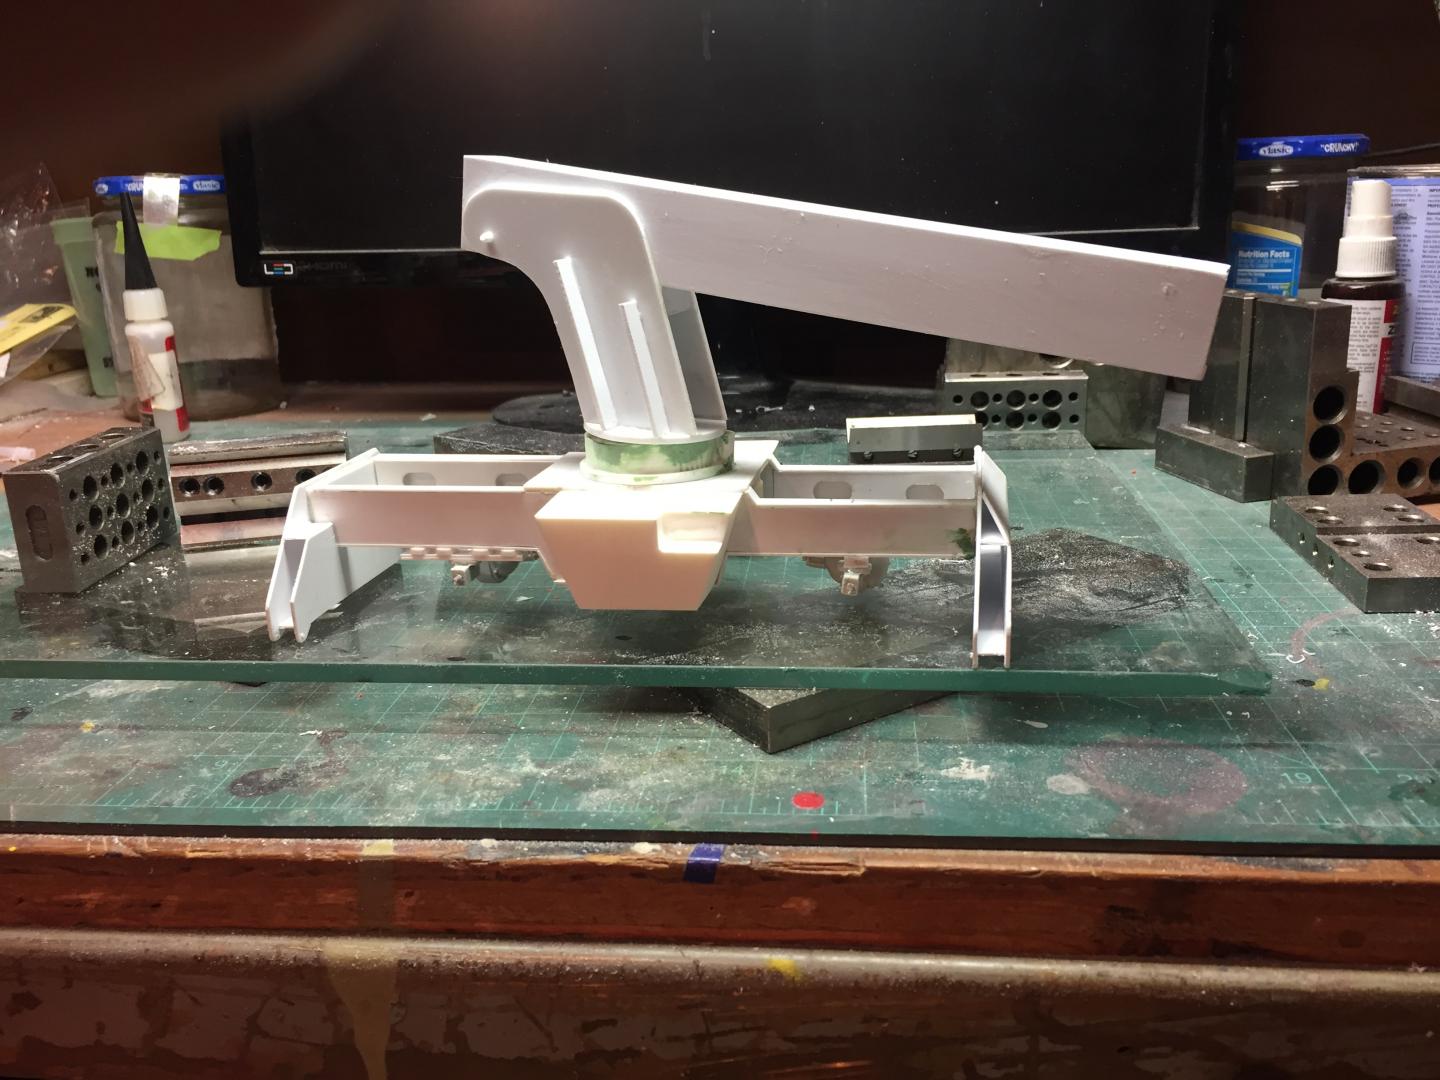


A quick mockup.......................

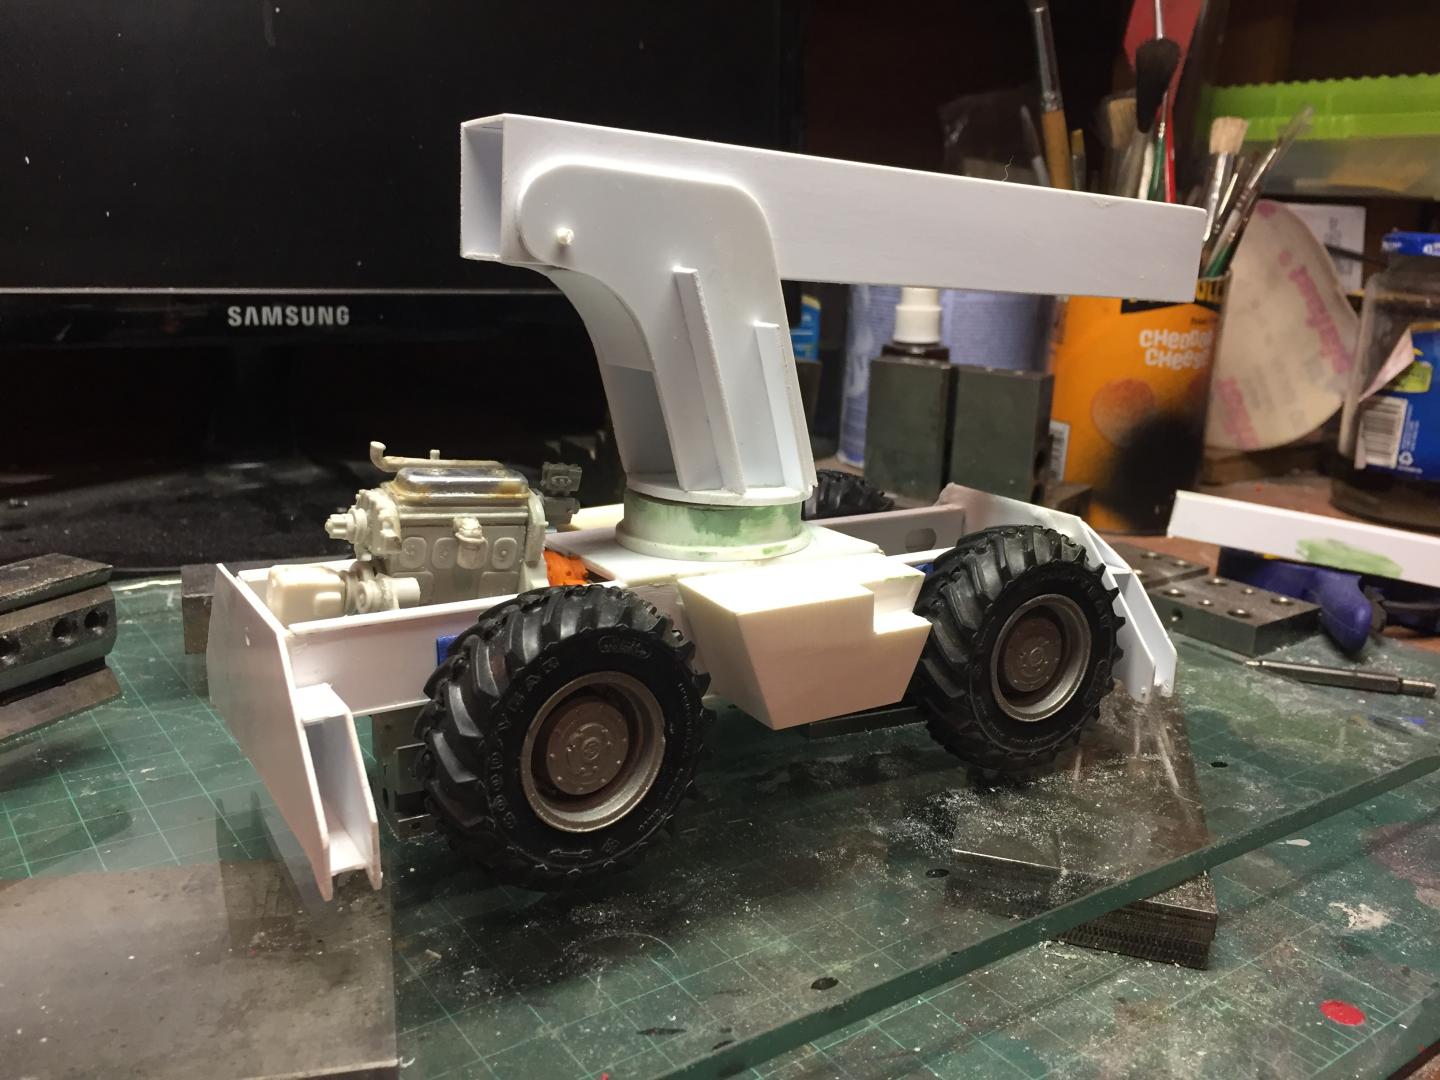

|
|
|
|
Post by redneckrigger on Jul 8, 2019 18:40:00 GMT -6
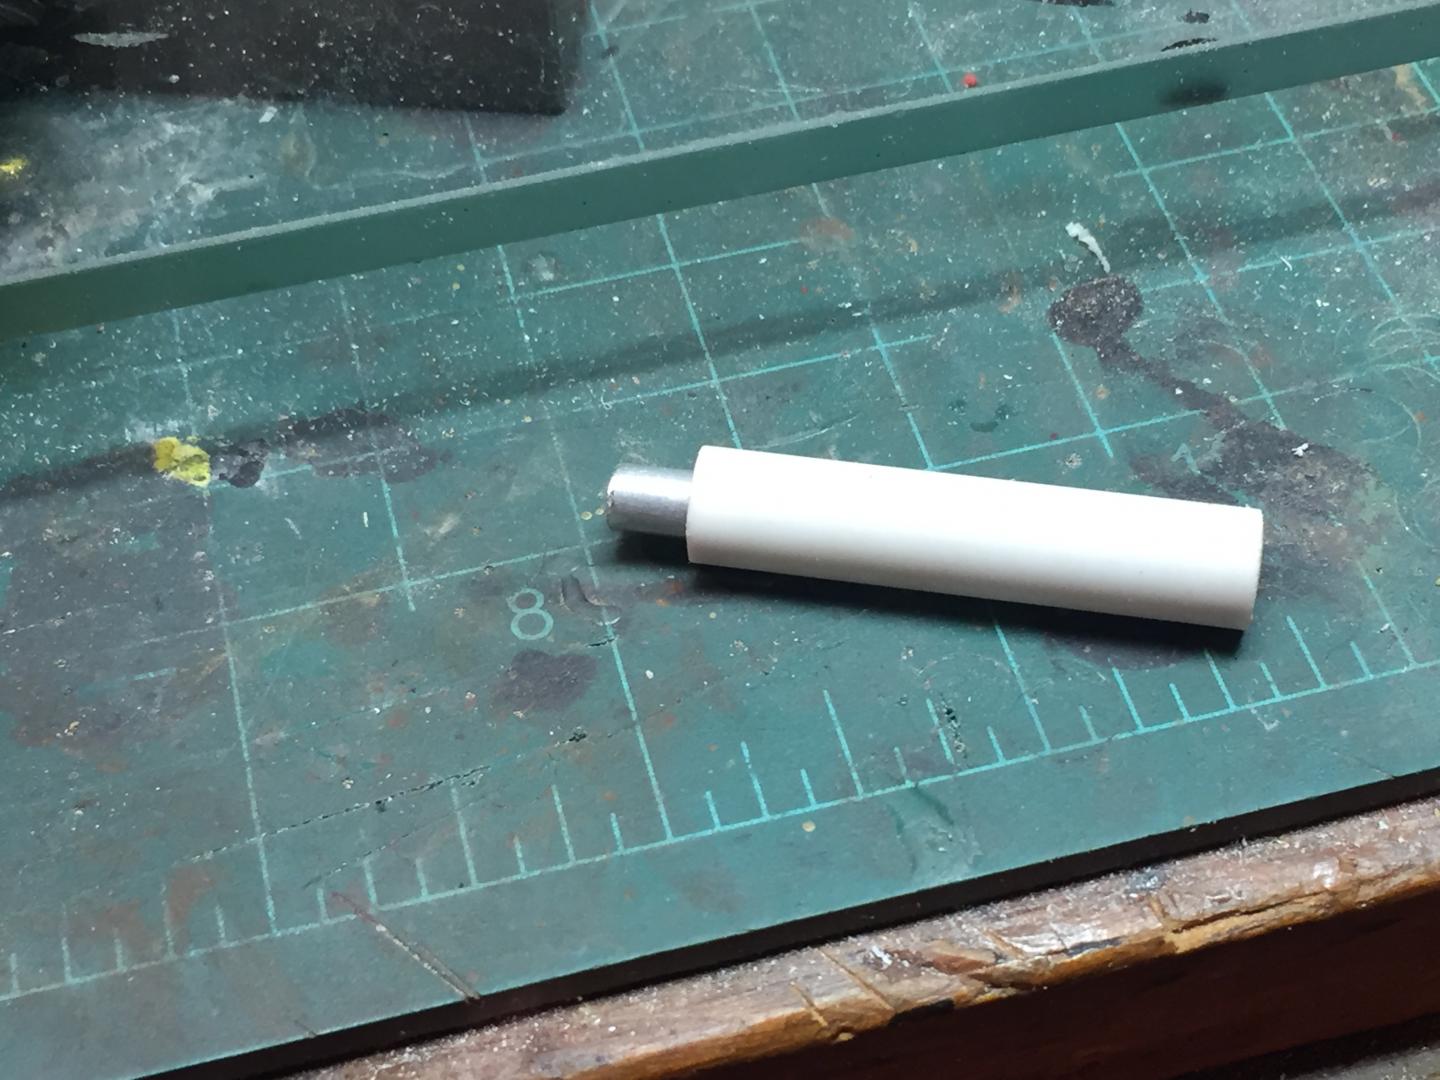
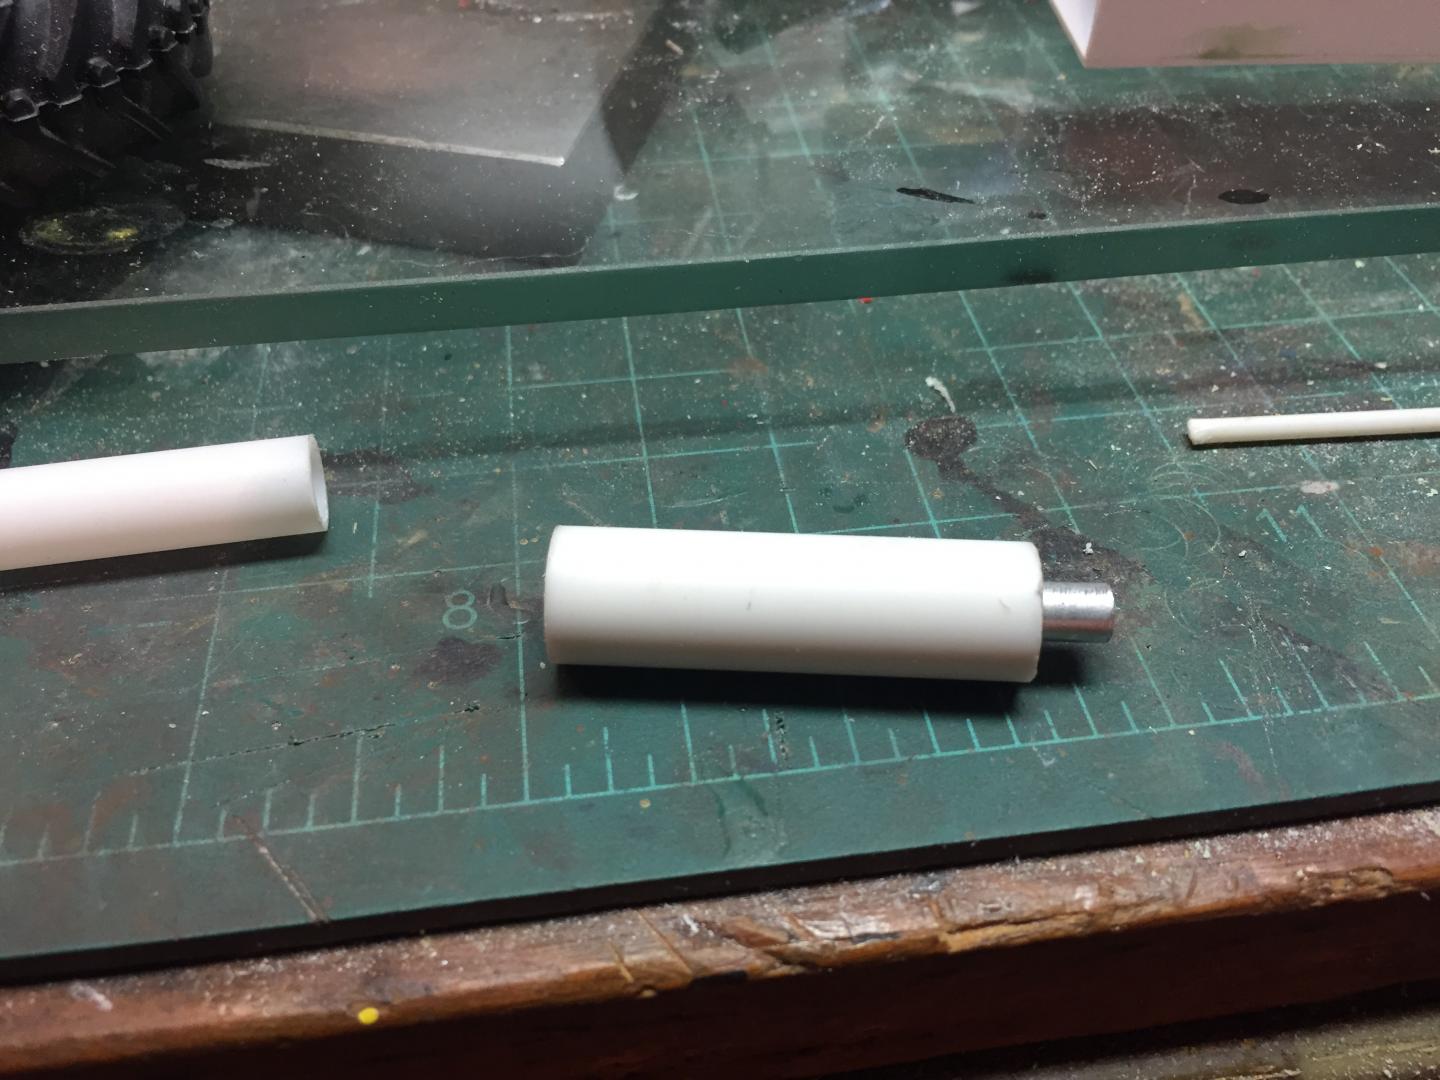
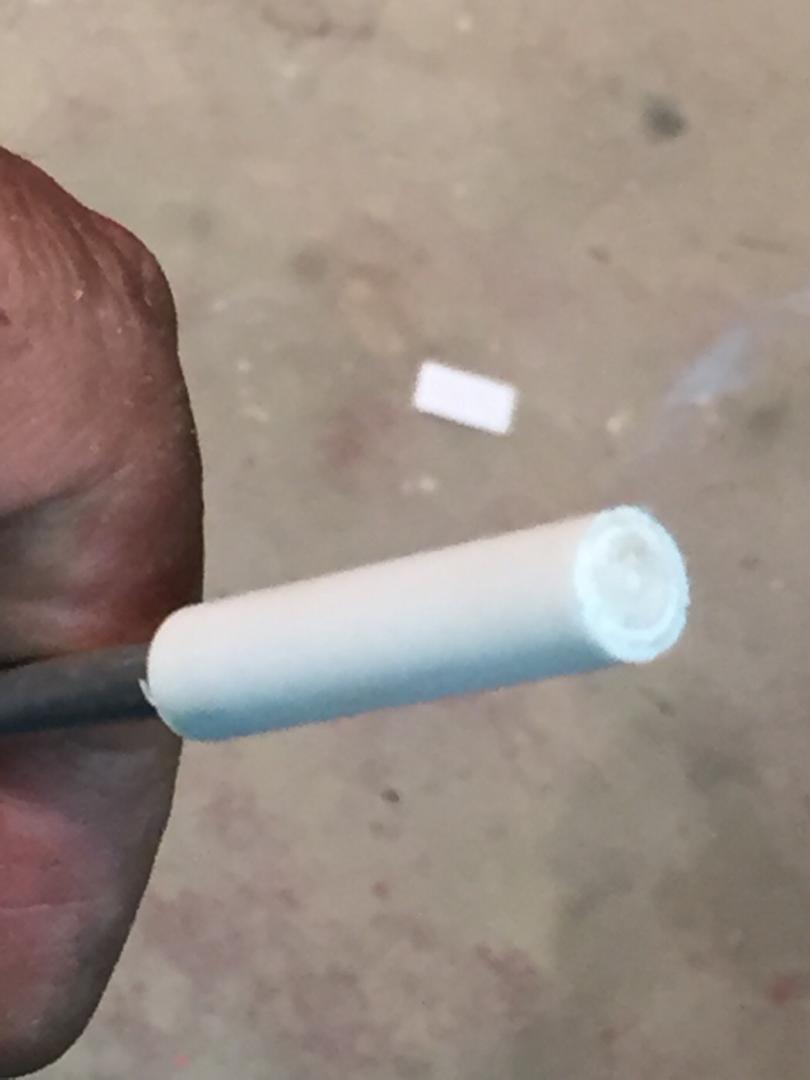
I made up the main boom lift cylinder today. I make my cylinders by using several different sizes of tube that telescope together along with an aluminum tube for the piston rod. I take the outer tube, make a shallow sleeve as the rod end cap, make a base end cap from several shallow slices of tube and rod slid into each other. The rod has a piston glued on its end and is slid into the body tube before gluing the base in. Then I slid two larger tubes over the whole thing to make the main cylinder body larger. This works pretty well and works for multiple stage telescoping cylinders as well. Time to take a break as my hands are about to go out on strike.................gotta love arthritis...............now that I am getting closer to retirement and hopefully more time building, my hands are in full blown revolt! Ahhhh the golden years!


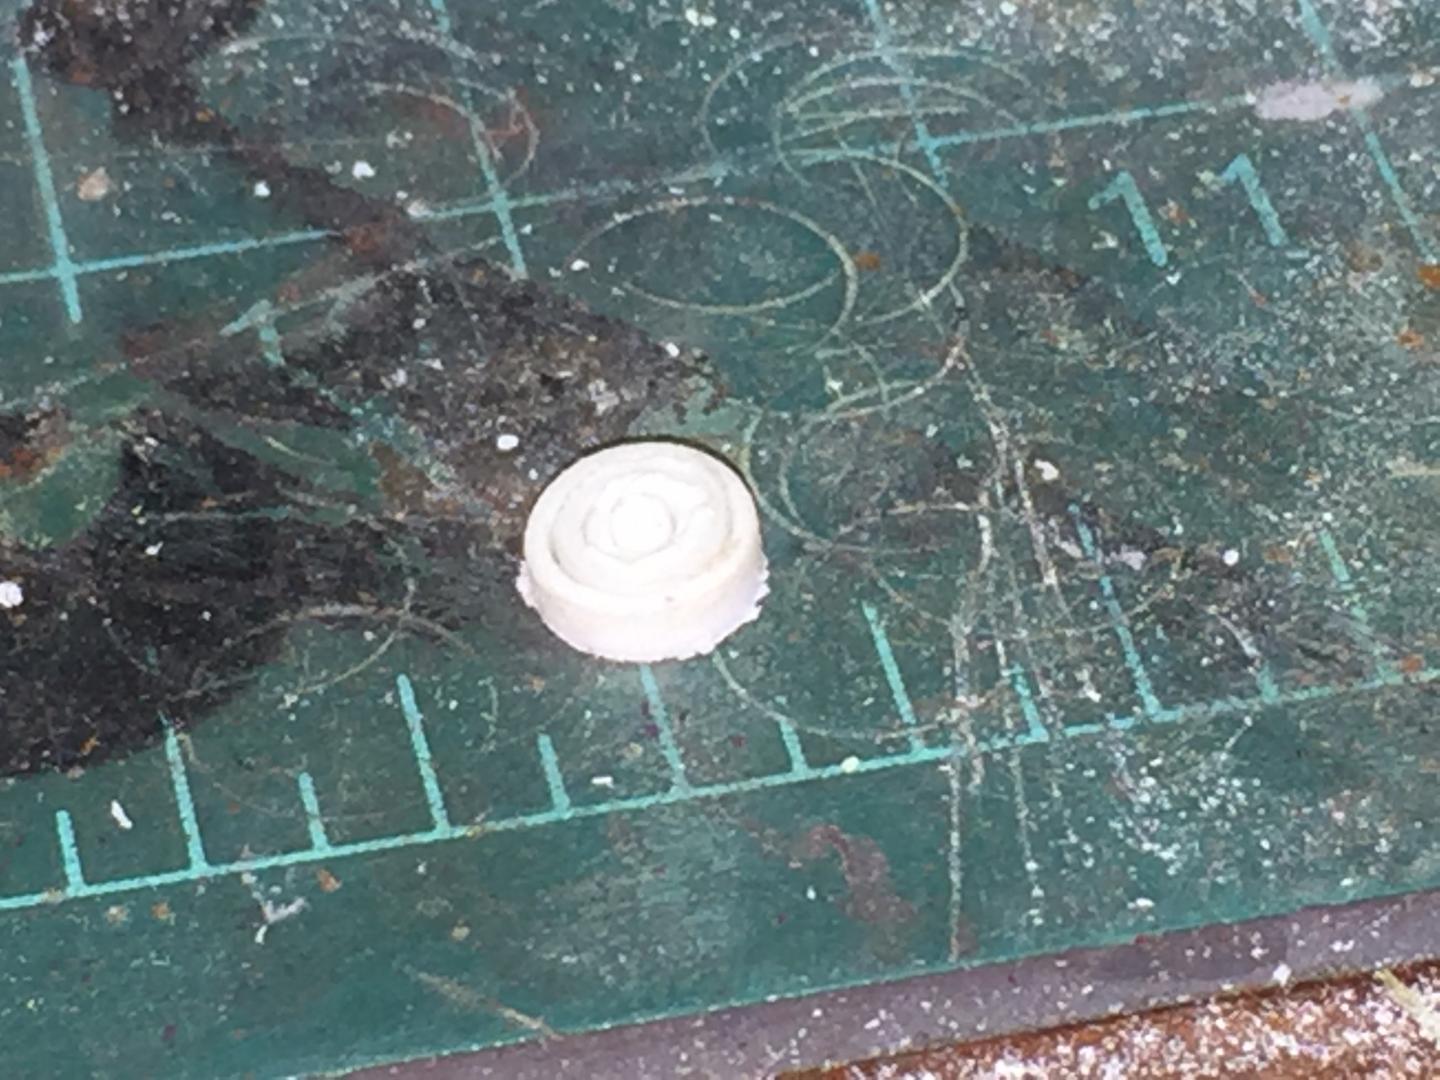
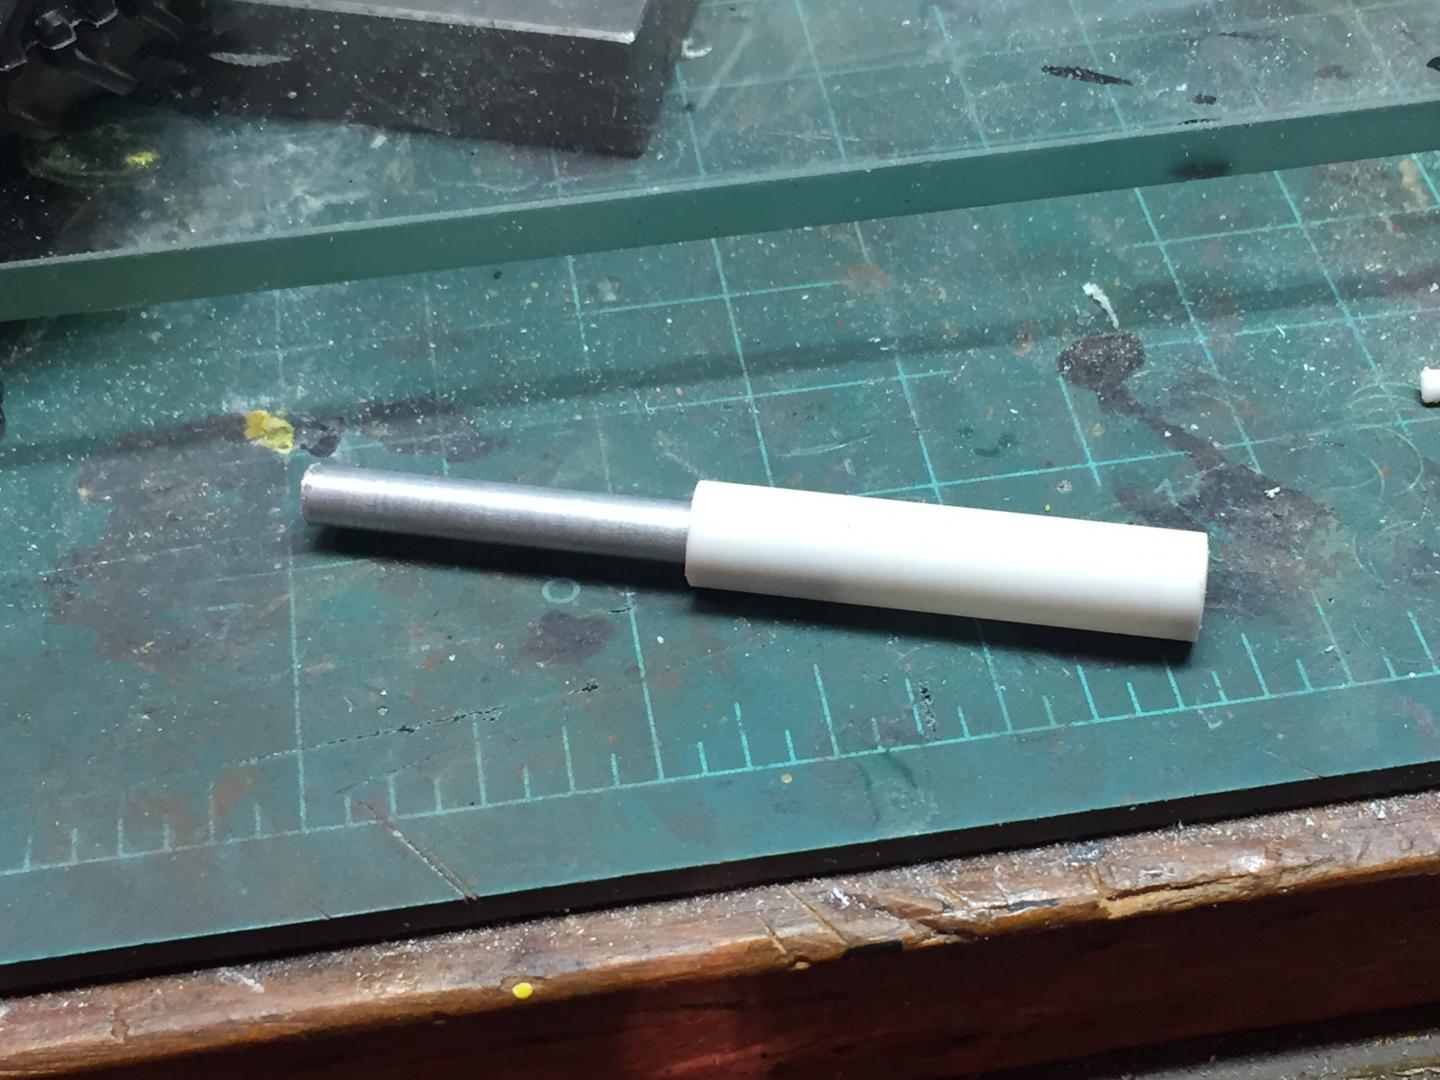




|
|
|
|
Post by gatormarcincebu on Jul 10, 2019 18:00:07 GMT -6
Looking good ! What kind of glue are you using ? Super Glue ?
Be Well
Gator
|
|
|
|
Post by redneckrigger on Jul 11, 2019 14:24:01 GMT -6
Depends.......if it is styrene to styrene, and I have the time, I use Testors liquid. If in a hurry or to something other than styrene, I use super glue of various types. The thin stuff is the one that gets me all stuck together as it dries QUICK and flows EVERYWHERE!
|
|
|
|
Post by redneckrigger on Jul 11, 2019 22:06:05 GMT -6
|
|
|
|
Post by redneckrigger on Jul 11, 2019 22:15:28 GMT -6
 Here are the rest of the boom sections and extension cylinders. |
|
|
|
Post by redneckrigger on Jul 13, 2019 6:40:10 GMT -6
Here's a few more photos of the boom assembly. The cylinders are all made and just need to be assembled inside the extension sections of the boom. (Gotta find a VERY tiny volunteer to crawl inside to hook it all up for me)!
|
|
|
|
Post by 41chevy on Jul 13, 2019 12:08:18 GMT -6
excellent work!
|
|
|
|
Post by redneckrigger on Jul 18, 2019 17:08:55 GMT -6
|
|
|
|
Post by redneckrigger on Jul 22, 2019 16:53:17 GMT -6
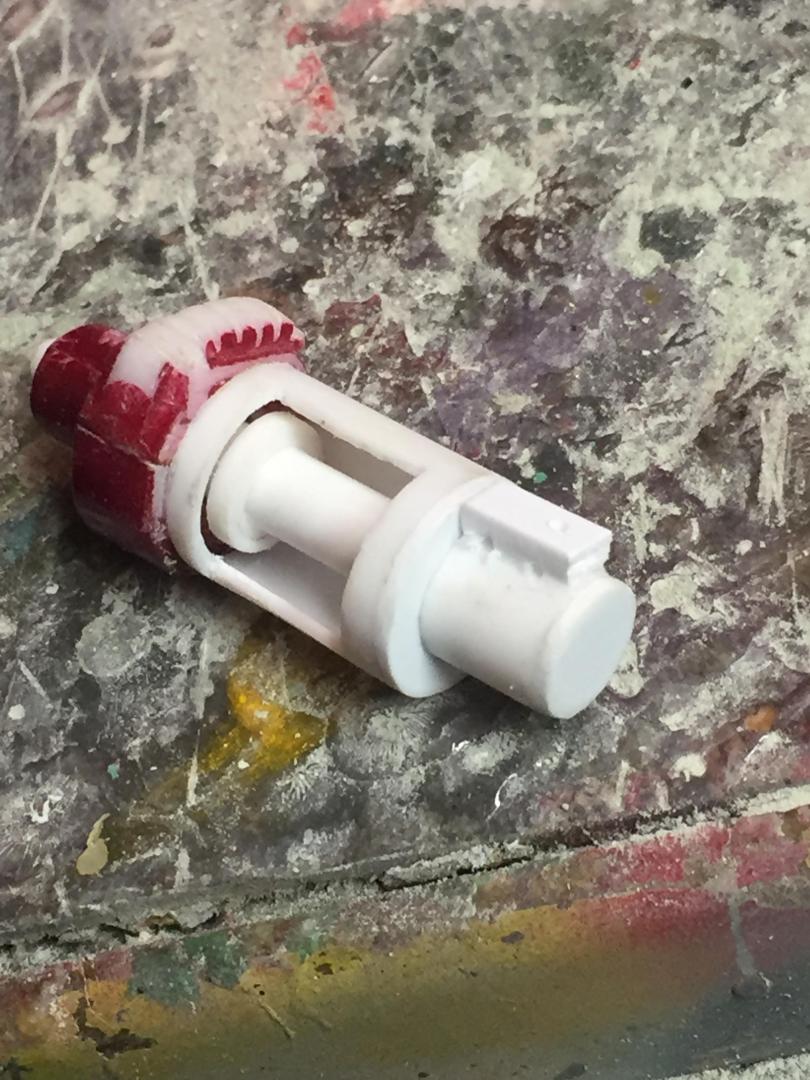
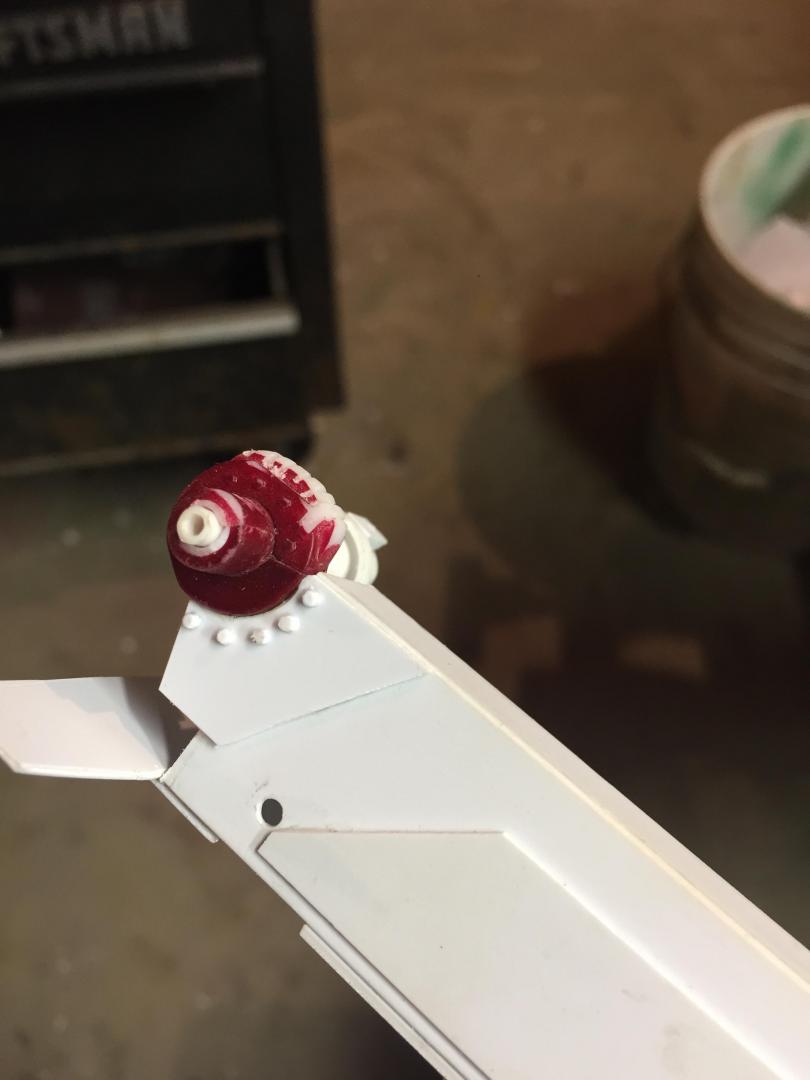
Here is the boom end block, with details from the Galion parts book. Made my own pulleys by punching out discs, using empty cartridge cases as a punch, and gluing the discs together. The whole thing, tiny as it is, is made up of over fifty pieces. Also here you can see the complete assembled boom with the block, all extension cylinders, and boom extension rollers in place. Now................on to the counterweight and winch.


|
|
|
|
Post by hillbilly on Jul 27, 2019 17:10:51 GMT -6
Wow that is some serious scratch building.  |
|
|
|
Post by redneckrigger on Aug 12, 2019 19:34:41 GMT -6
Now for the counterweight. Since it is a very heavy casting, I started by laminating several pieces of .080 styrene together which will then all be glued together and then shaped as needed. Also put the winch together which will have a mount made for it to mount inside the counterweight against the back of the main boom. Seems like it's never going to end, but, for as much fun this kind of build is, that would not be a bad thing!
Finished up the counterweight by gluing the laminated sections together, shaping and then filling with auto body spot putty. I also reworked the winch to resemble the actual one by cutting cooling fins into the gear housing. Then I attached the letters onto the counterweight as this is a huge cast piece.
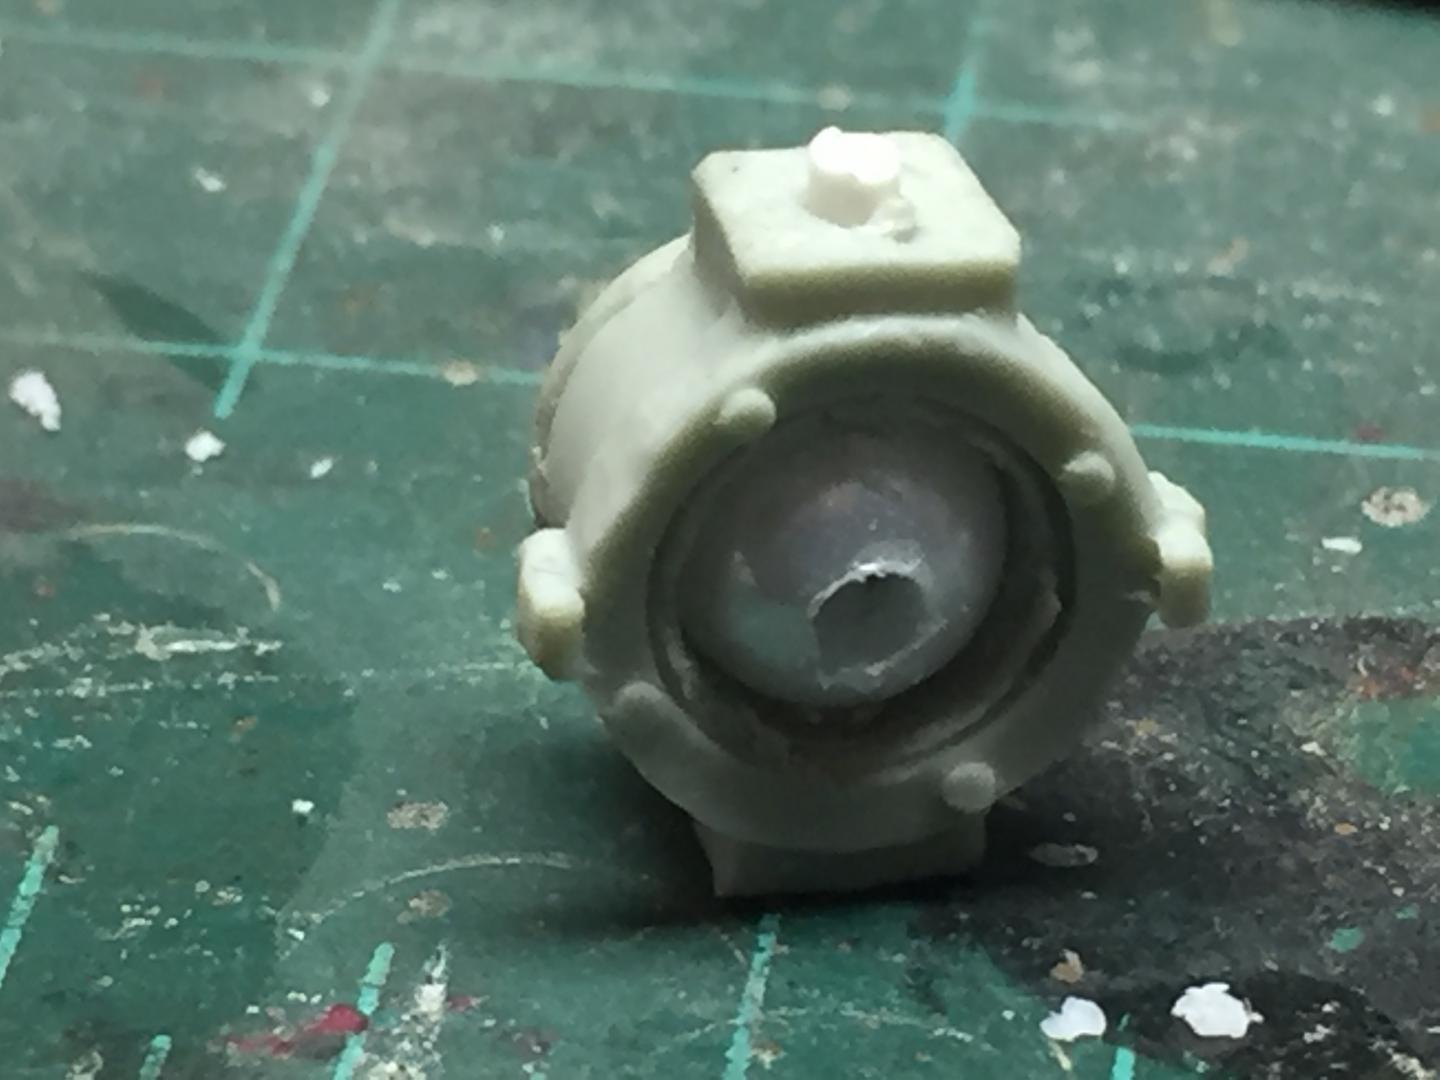
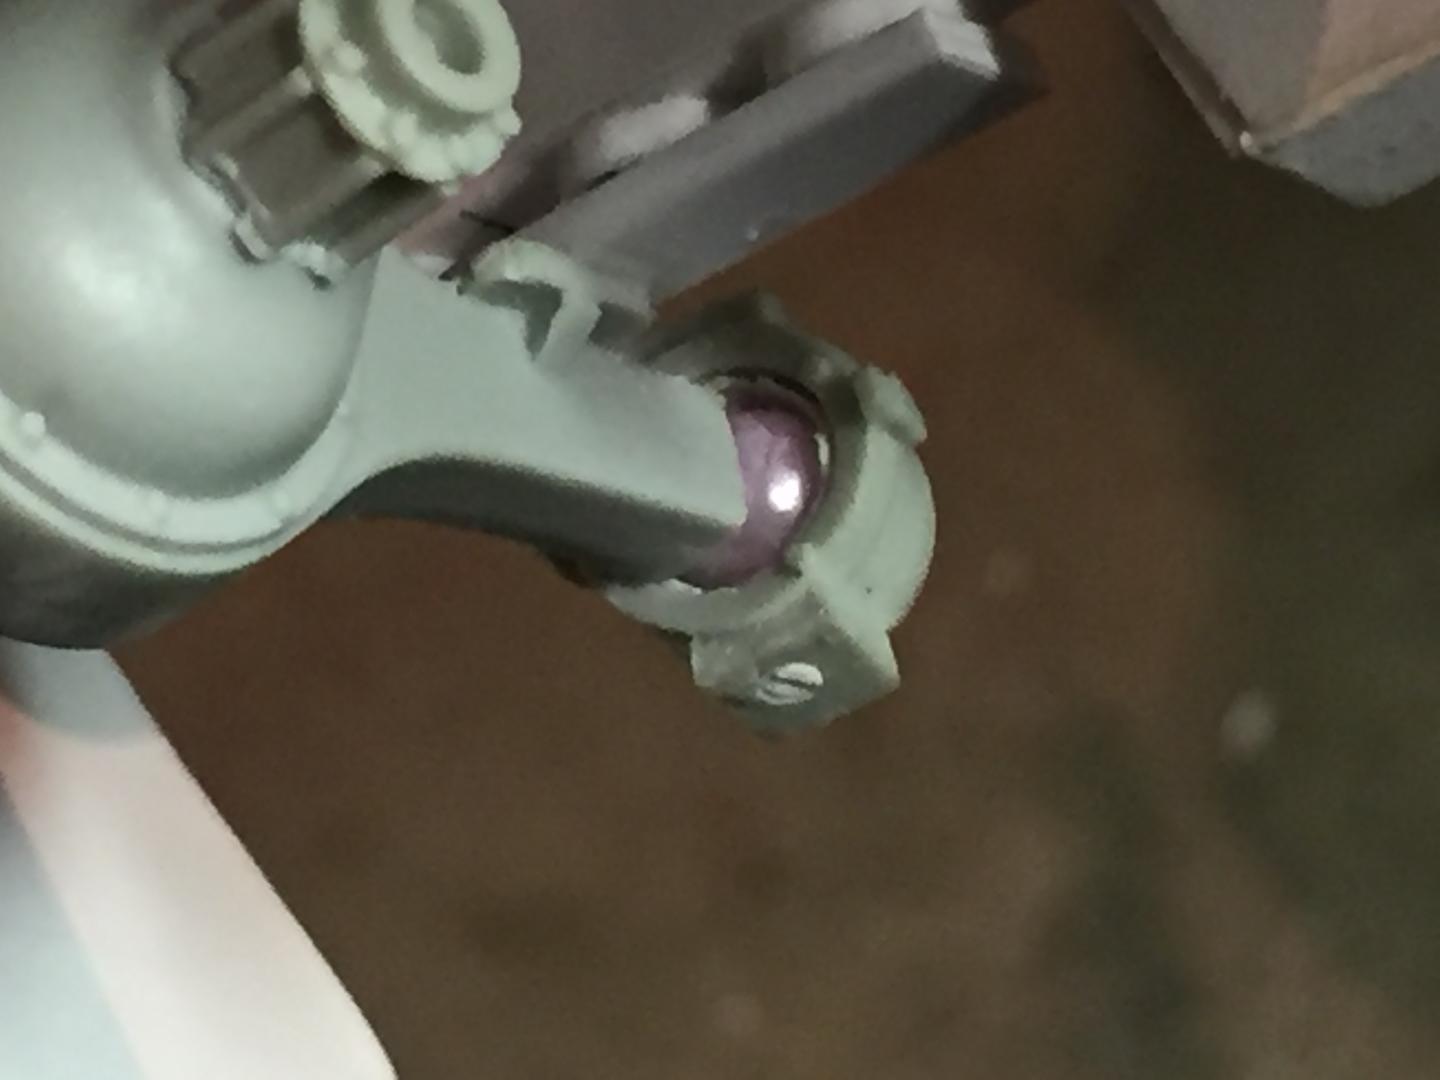
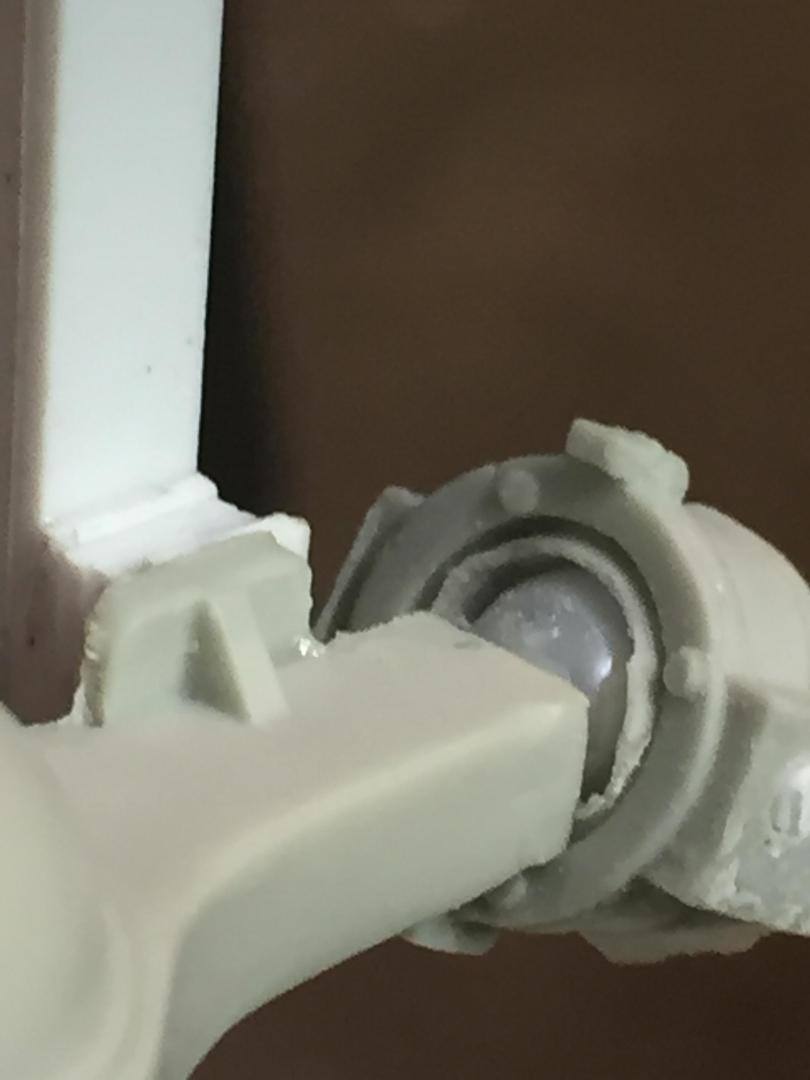
I converted the Moluminum powered steering axles to working steering. I drilled out the knuckle ball and then used small plastic spherical craft beads and drilled them and attached to the axle ends. After drilling the knuckles and pinning in place, they made a great looking steering axle. It's definitely getting there one piece at a time! I drilled the cast in knuckles out with a regular drill bit, deep enough to accept a new ball. I then found a package of plastic craft beads at Walmart. These already have a hole drilled through them. I simply drilled another hole at 90 degrees to the existing hole, but only until it intersected the original hole, not all the way through. Then it was simply a matter of orienting the ball in the knuckle with the original hole vertical with the pivot point of the knuckle and drilling a hole in the top and bottom of the knuckle to line up with the hole in the ball. I then glued the ball to the metal rod in the end of the axle housing using the hole I drilled part way through. Then I installed the knuckle and pressed a styrene rod into the top down through the ball and through the bottom of the knuckle. Made a pretty good and extremely easily done working approximation of the real deal!
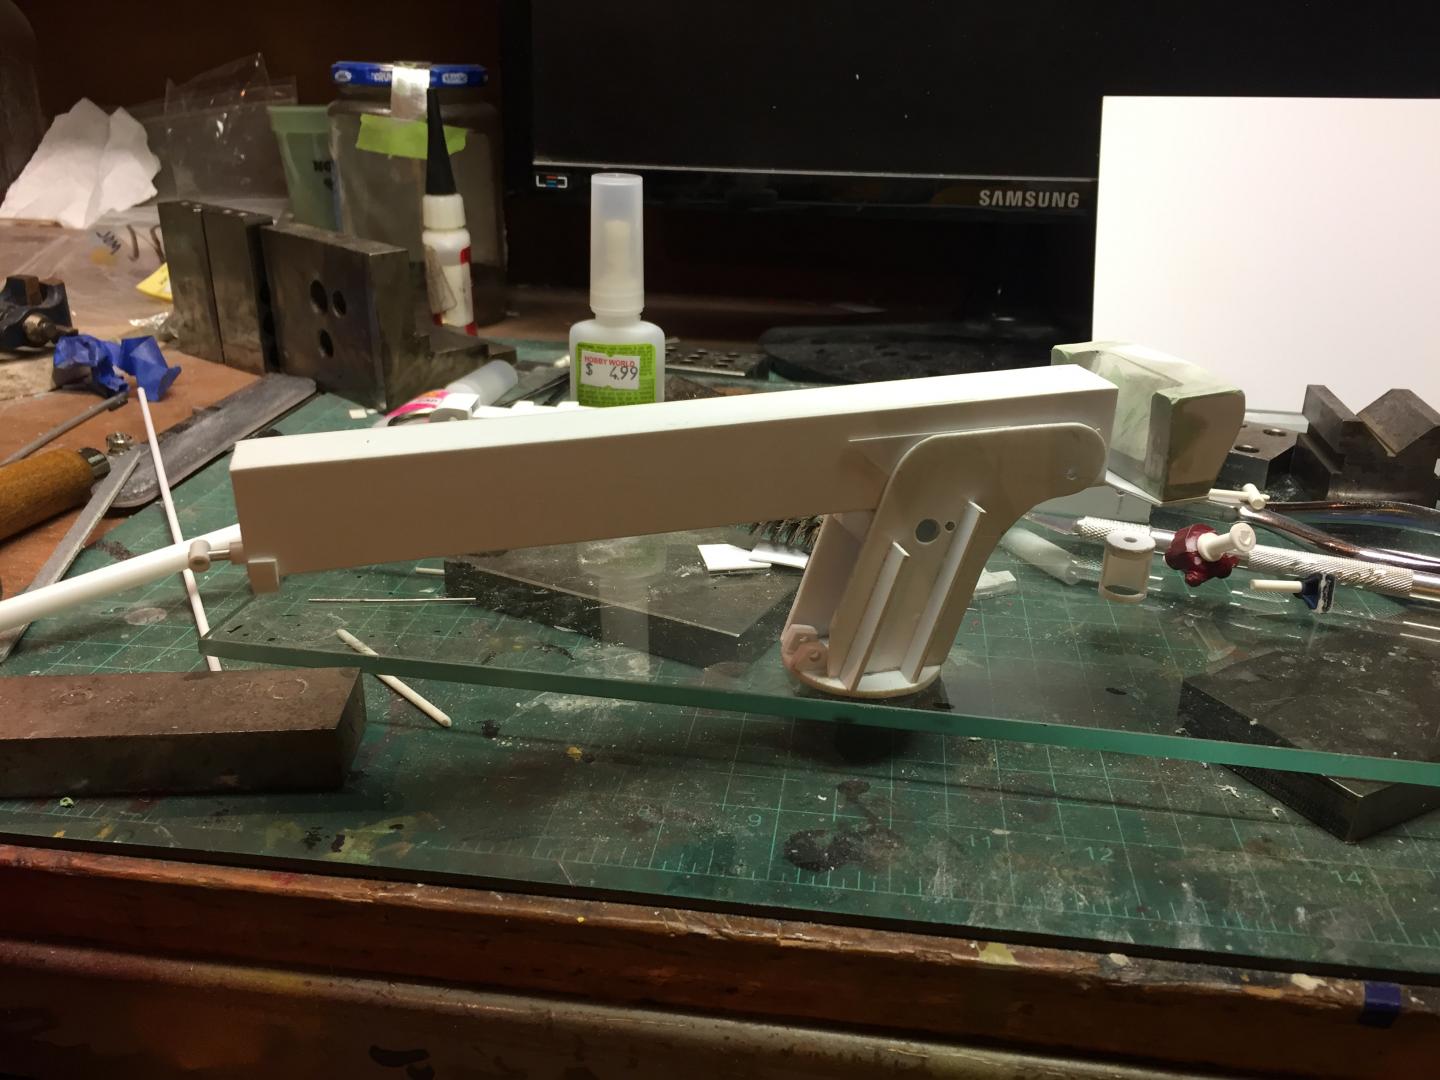
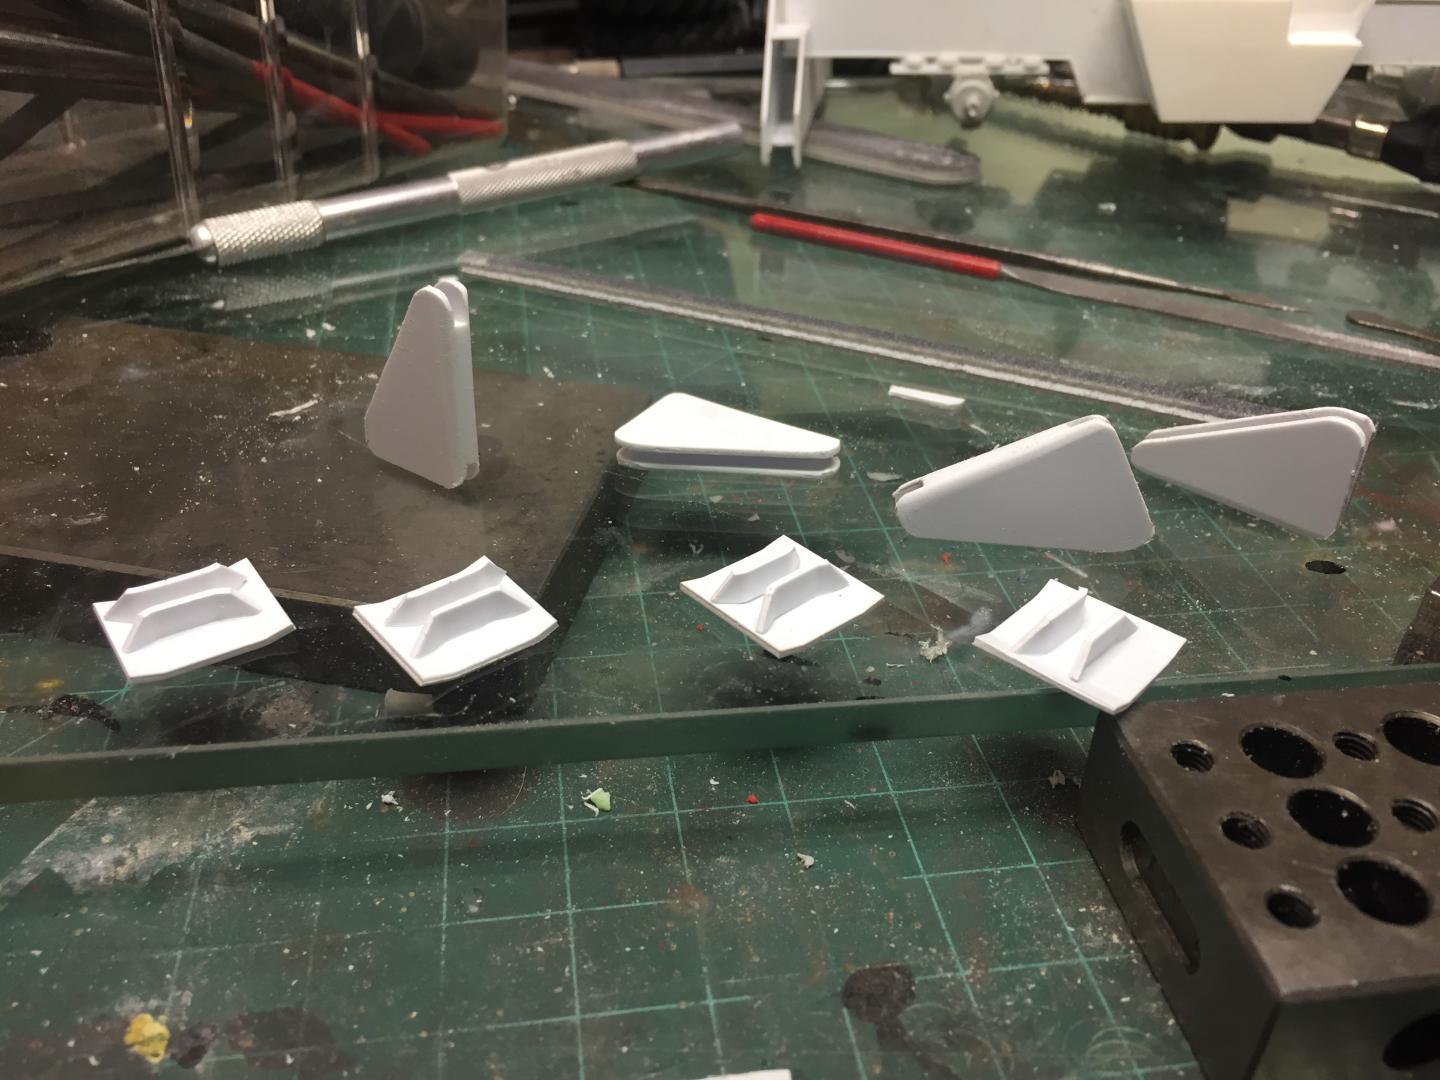
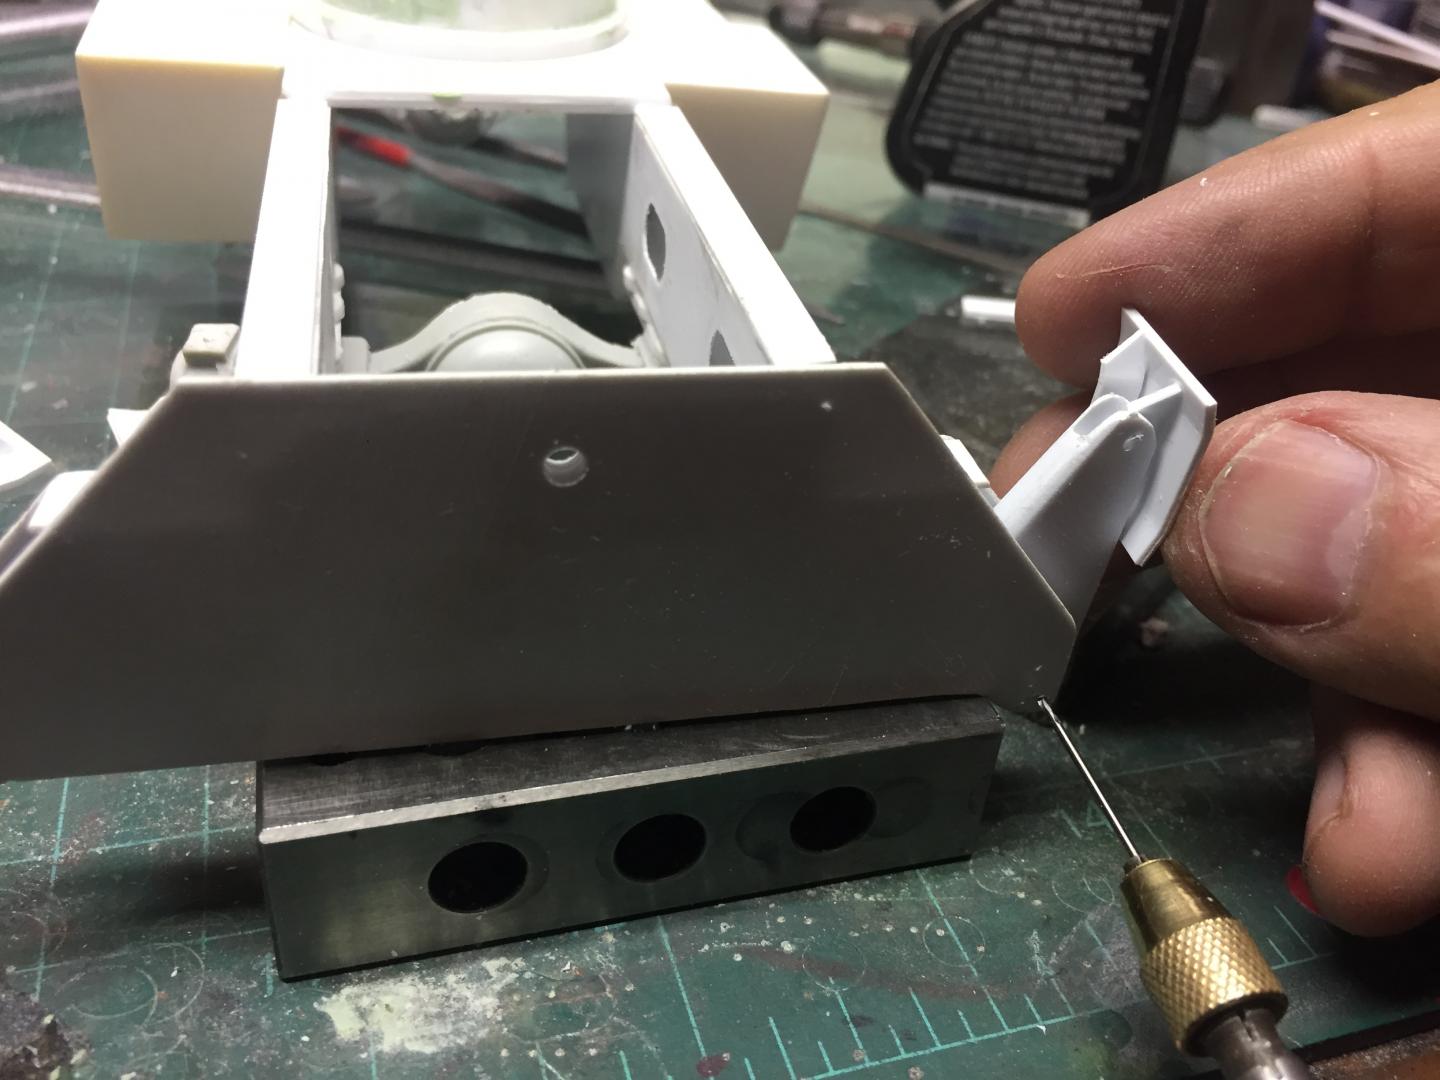
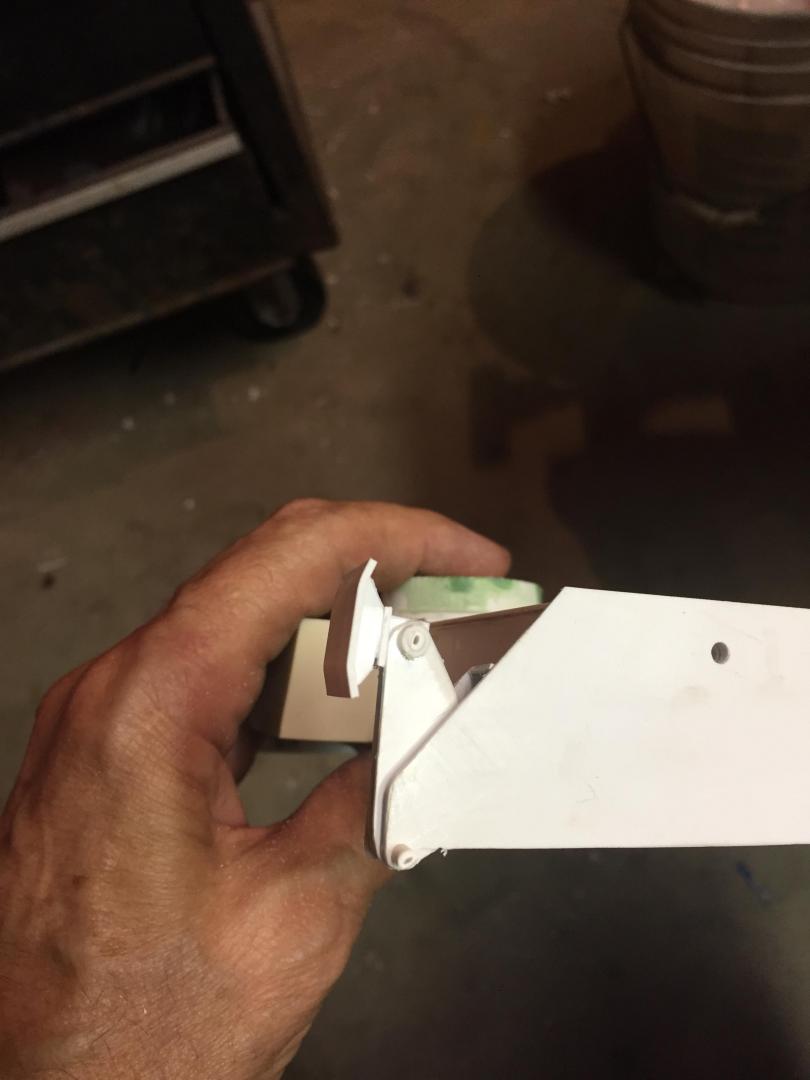
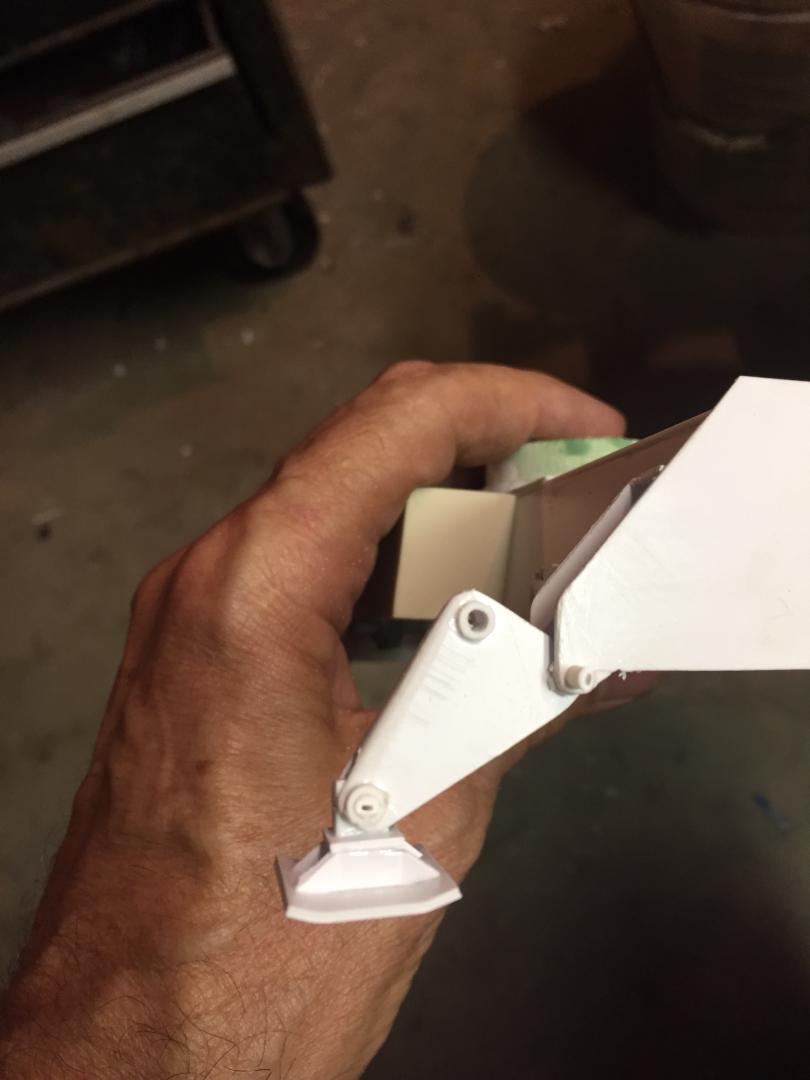
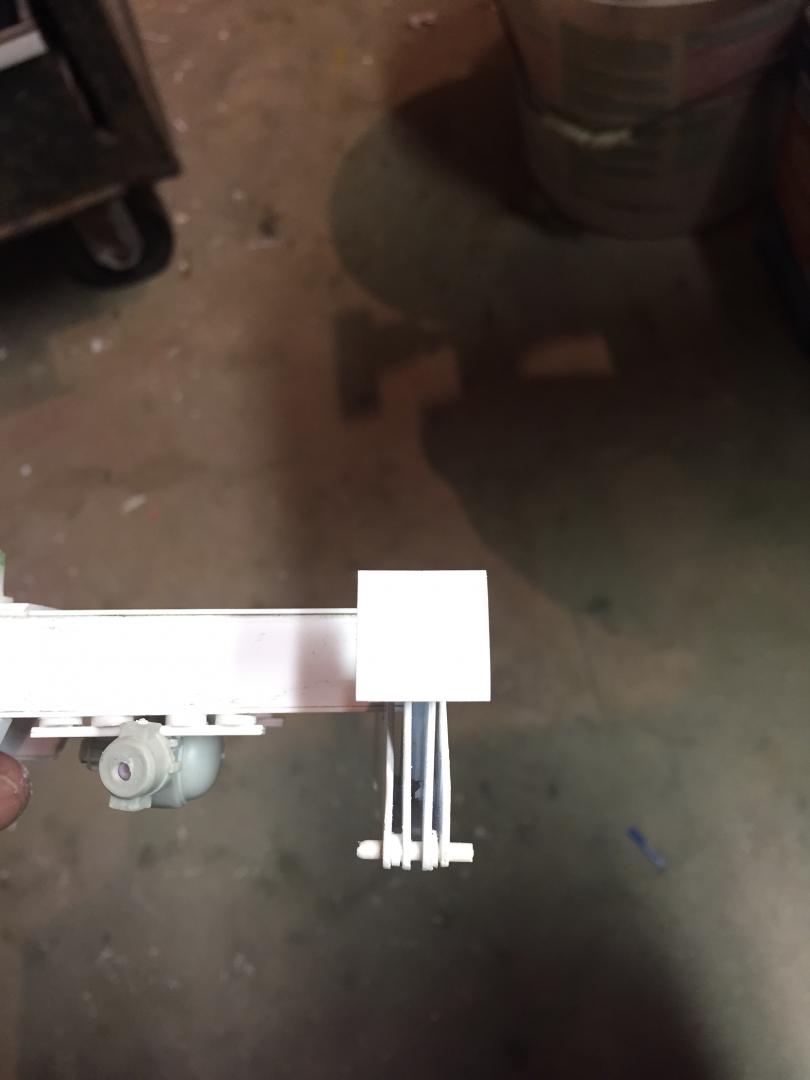
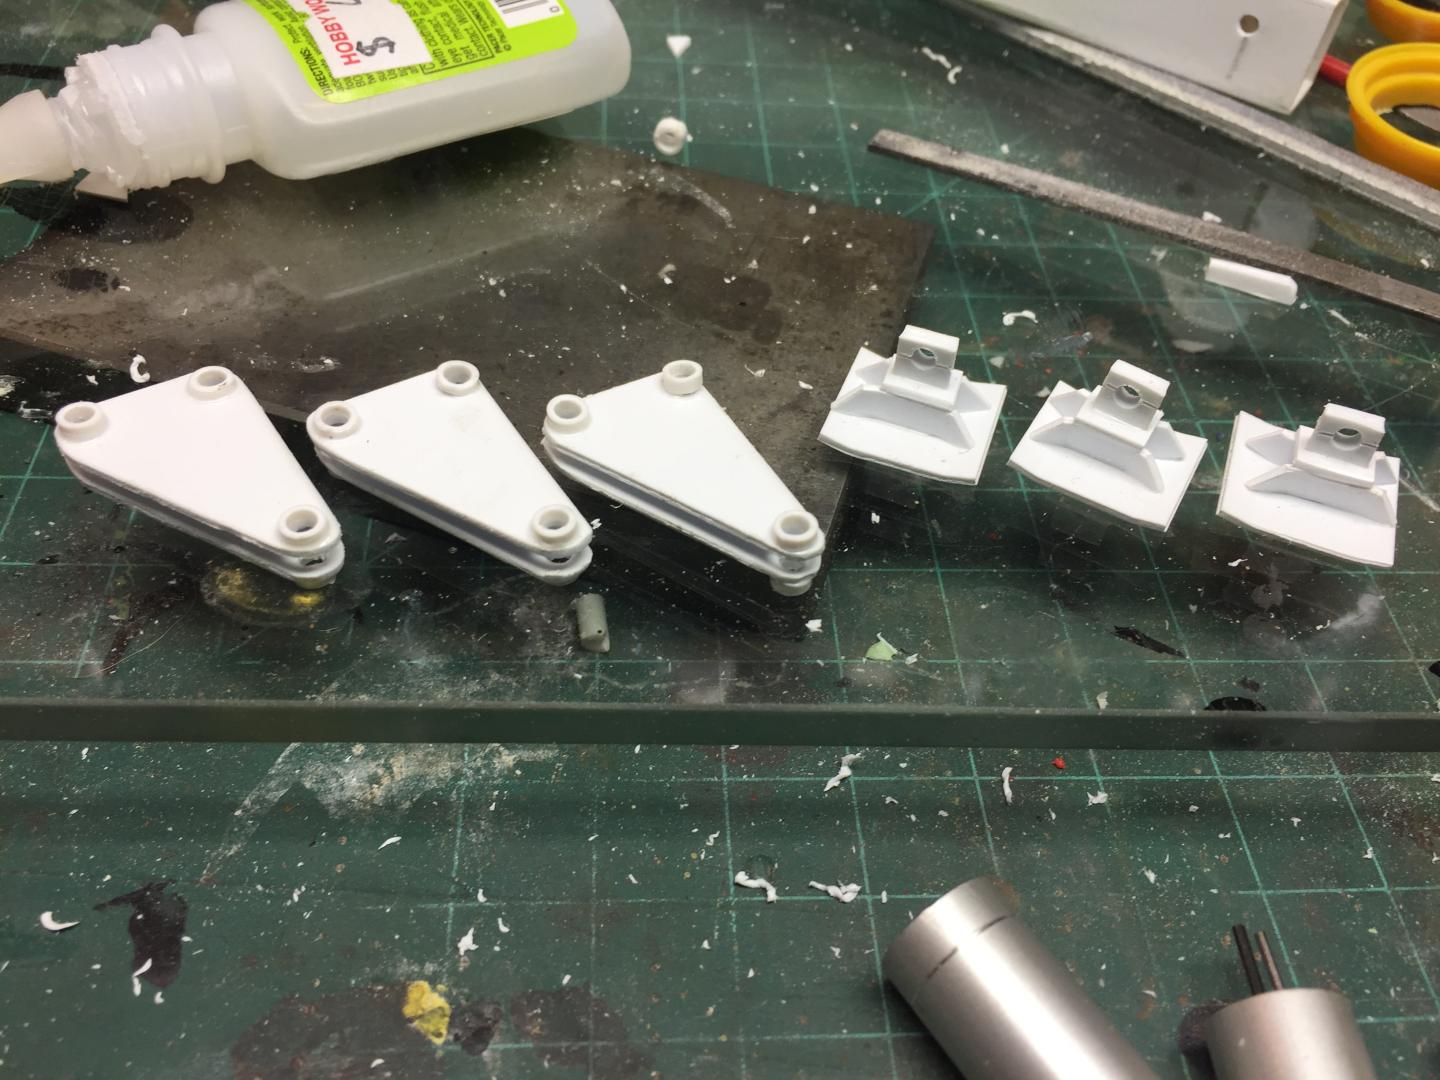
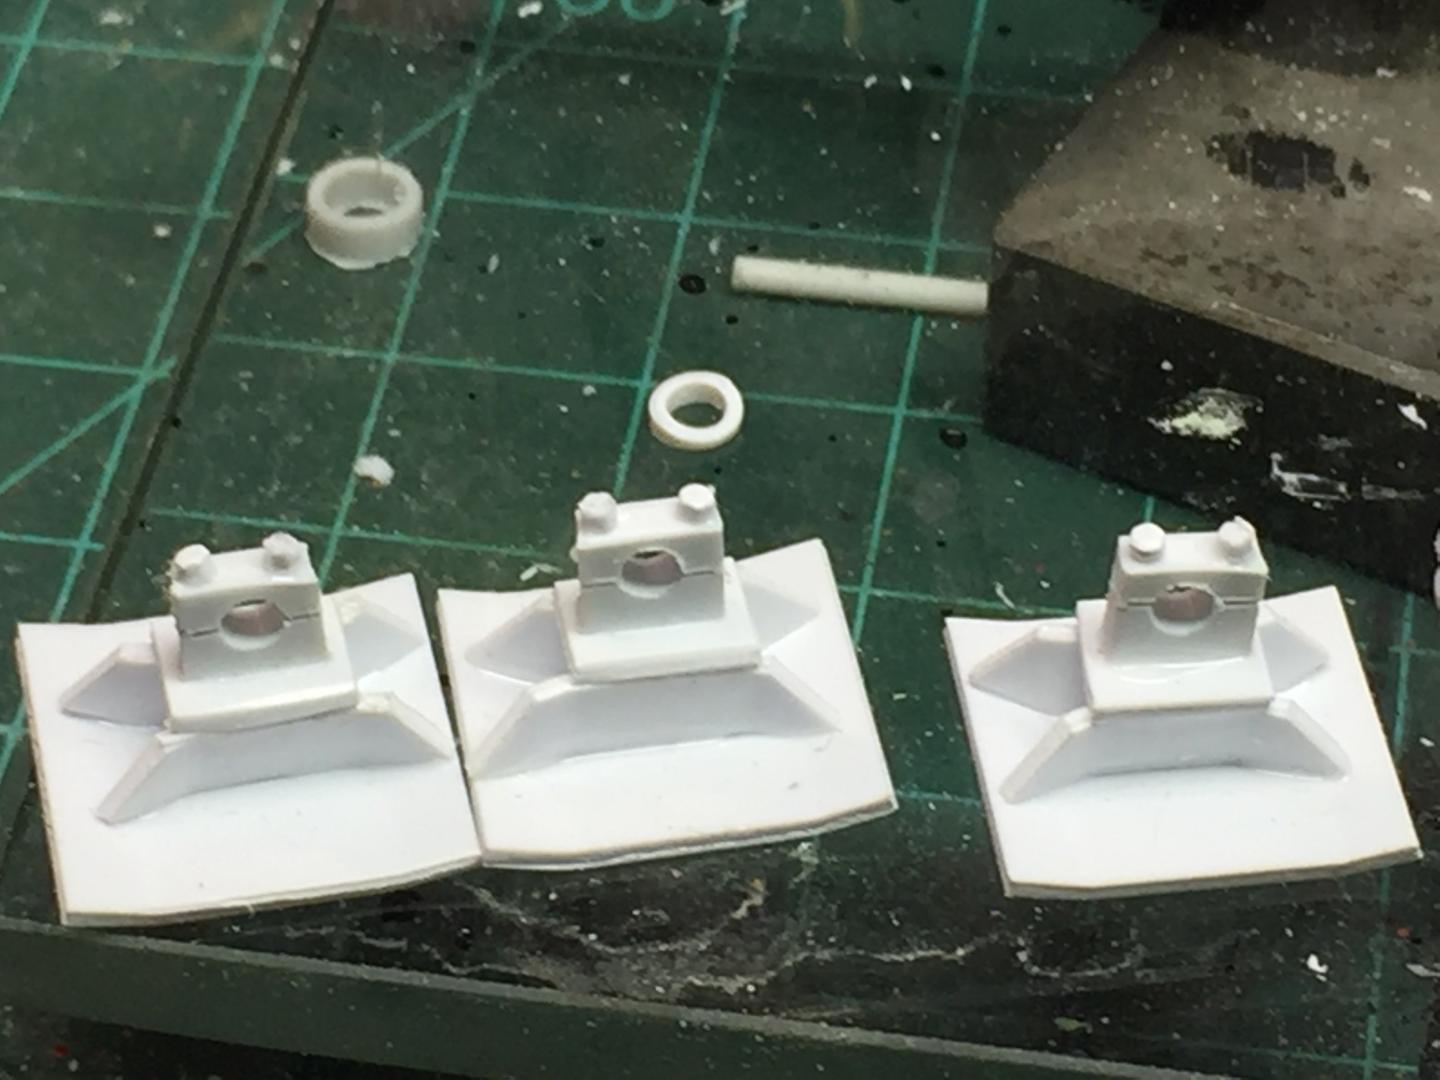
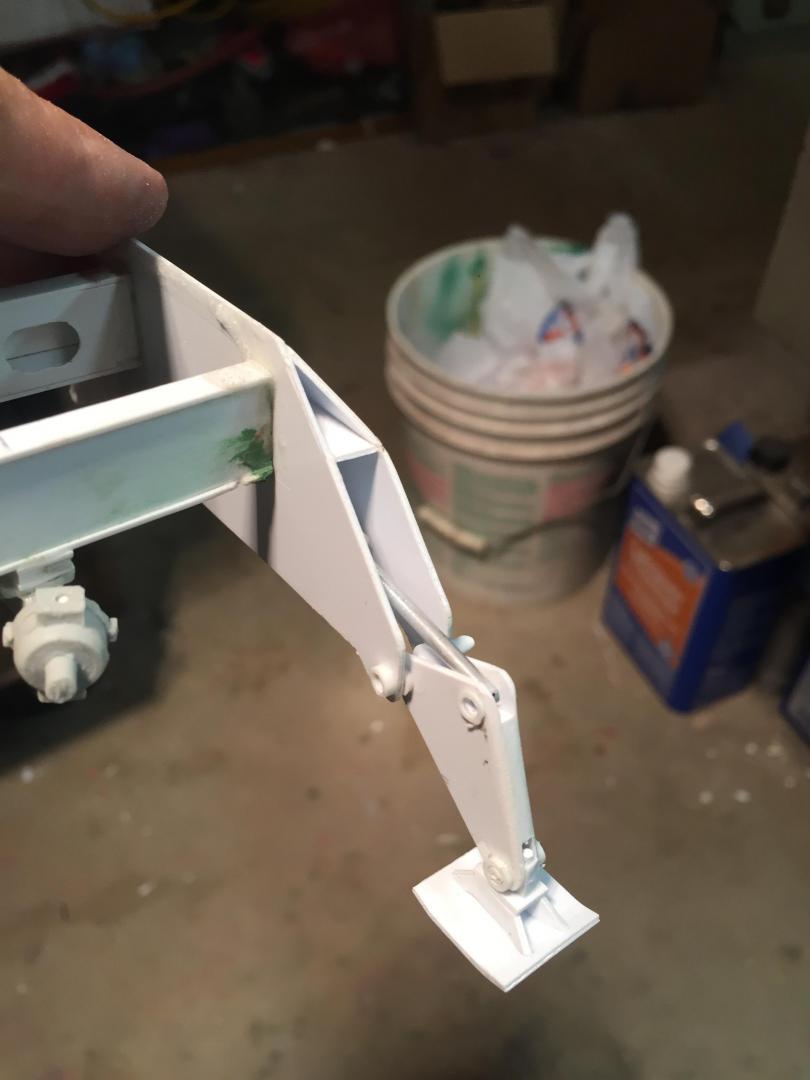
Started work on the outriggers. Got all four of them made up with the pivot bushings and made the pads as well with the pivot bearings and caps and bolts holding them together. Did a mockup of one of them to see how it works. Just need to make the cylinders now. Also installed the winch and the bolts holding it in place. Put the bolts on the turntable support and the boom support too. Also installed the bolts that attach the counterweight. The counterweight won't be installed until after all of the piping is done.
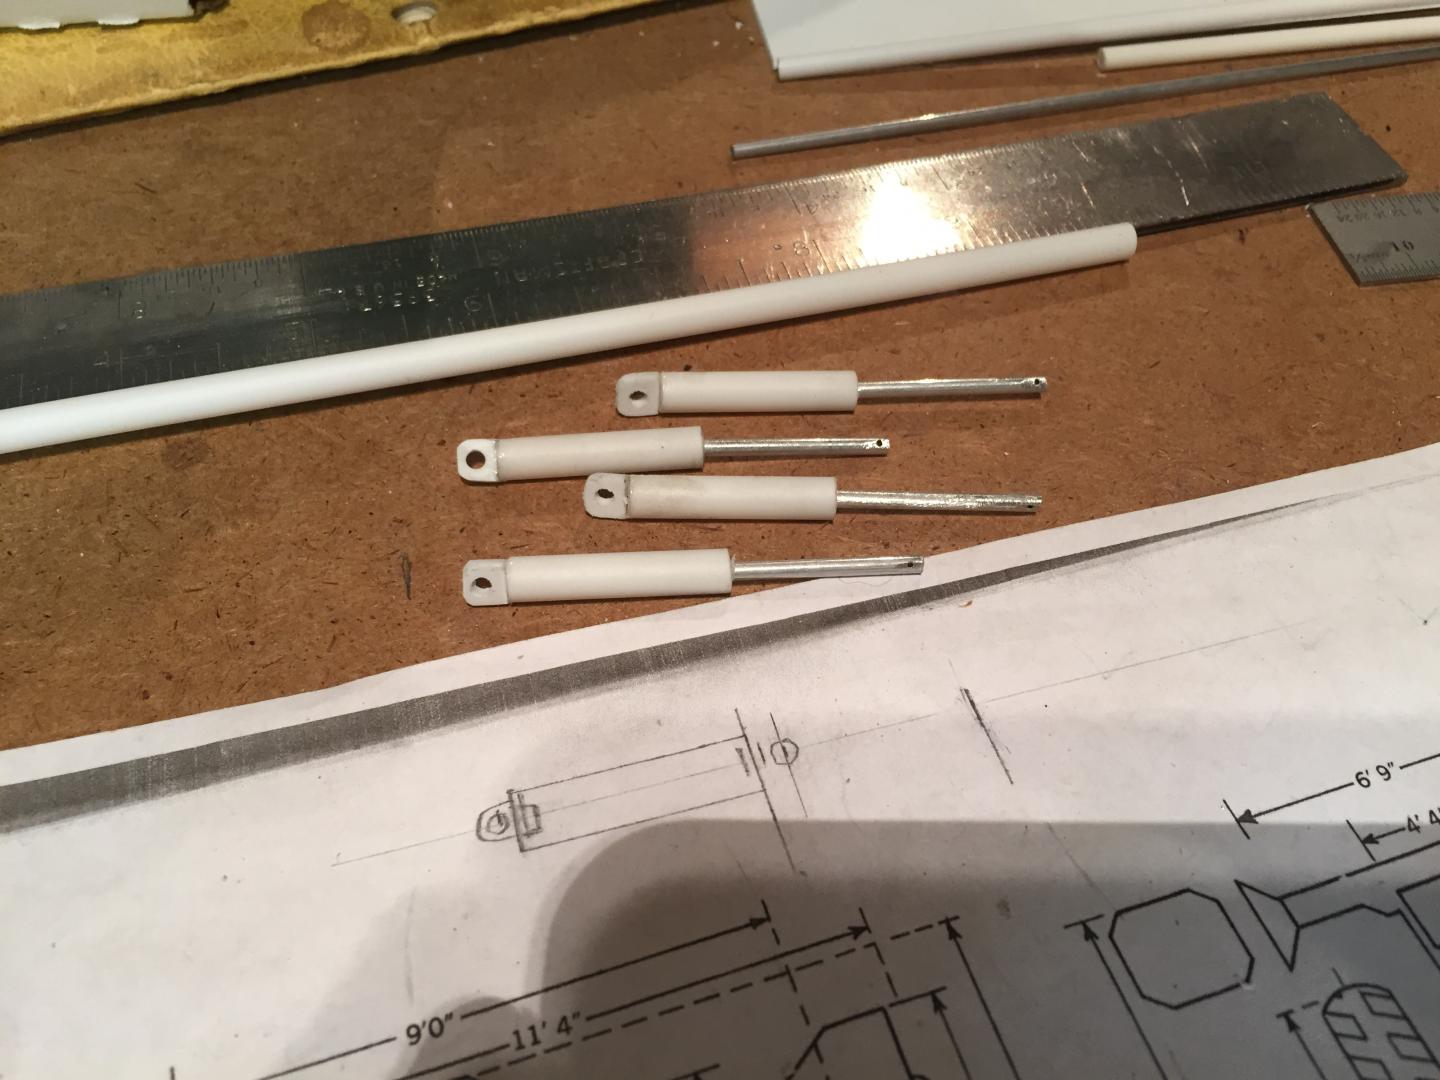
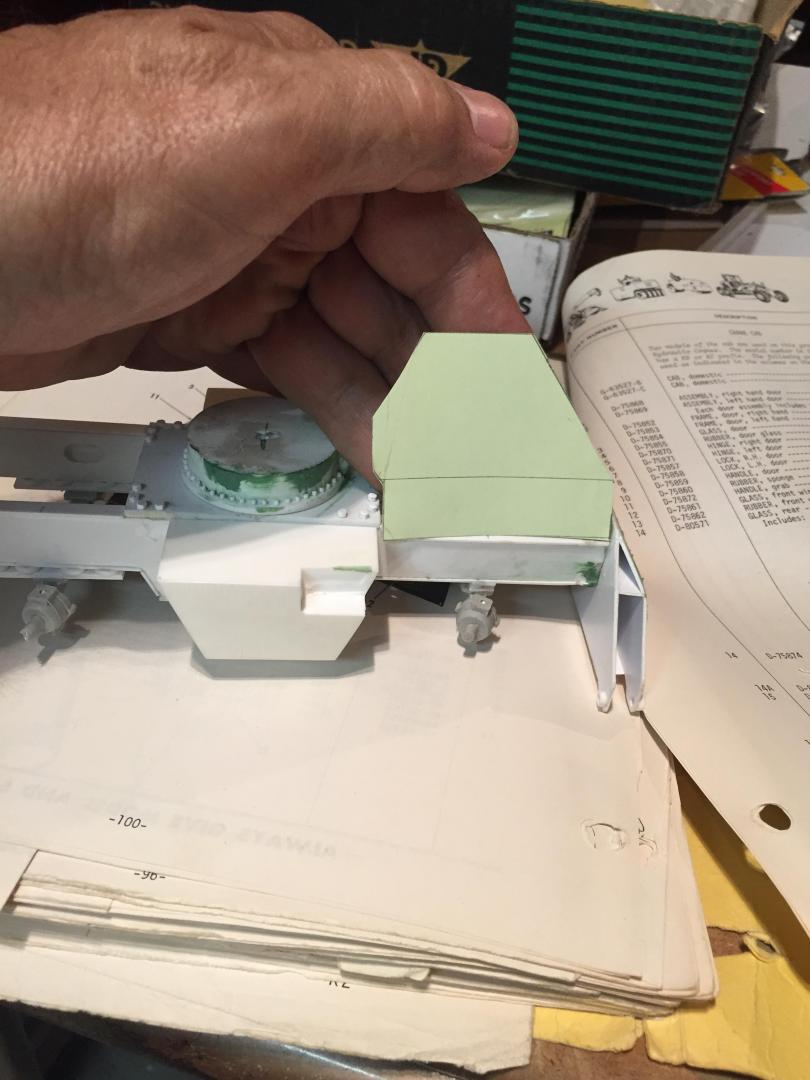
The painting on this build will be done in many subassemblies and then assembled because of the complexity. Really is an adventure! Starting to look like something! Made up the outrigger cylinders and installed all of the 43 bolts that hold the turntable to the deck. Here is a shot of all of the subassemblies so far. Next big things to do are the engine enclosure, steering cylinders and operators station and cab. Assembled the operators cab basic structure, still needs back wall.....started this build on 16 June.....have put in an average of about eight to ten hours per week.
Cylinders and cab took about two hours today. Tons of fun! I am racking my brain to figure out a way to make the window glass rubber moldings. The windows do not have sharp corners, but have a radius to them. I have tried various things so far to get a half round molding to go around the opening with a radius at the corners, but nothing has looked right so far.............................



















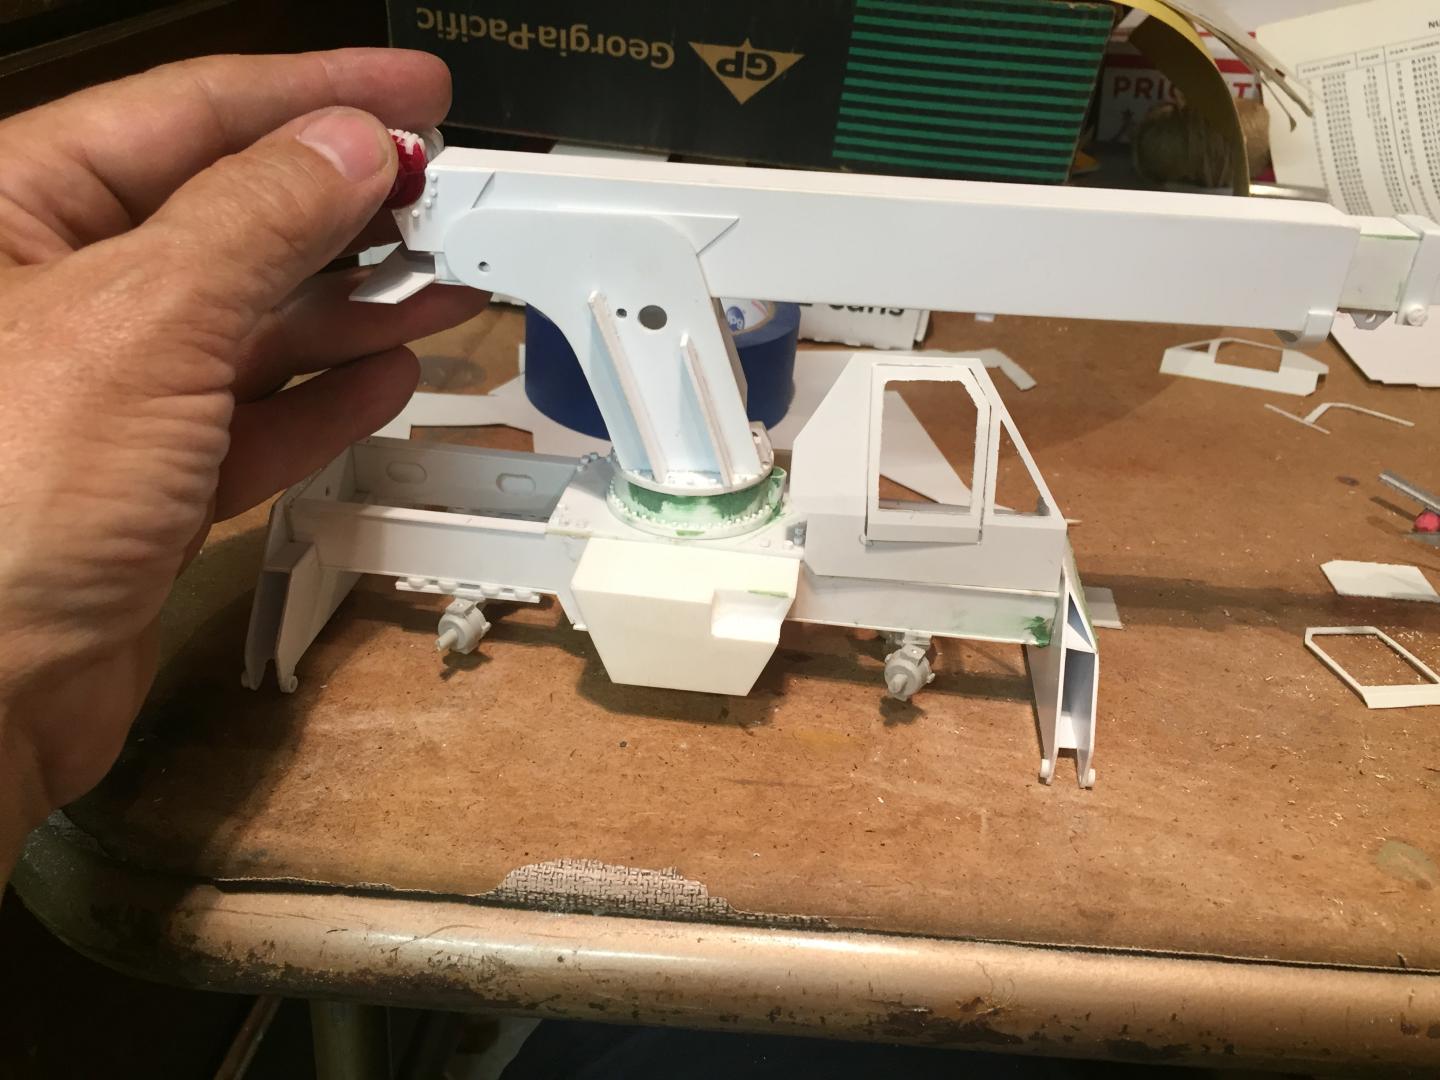


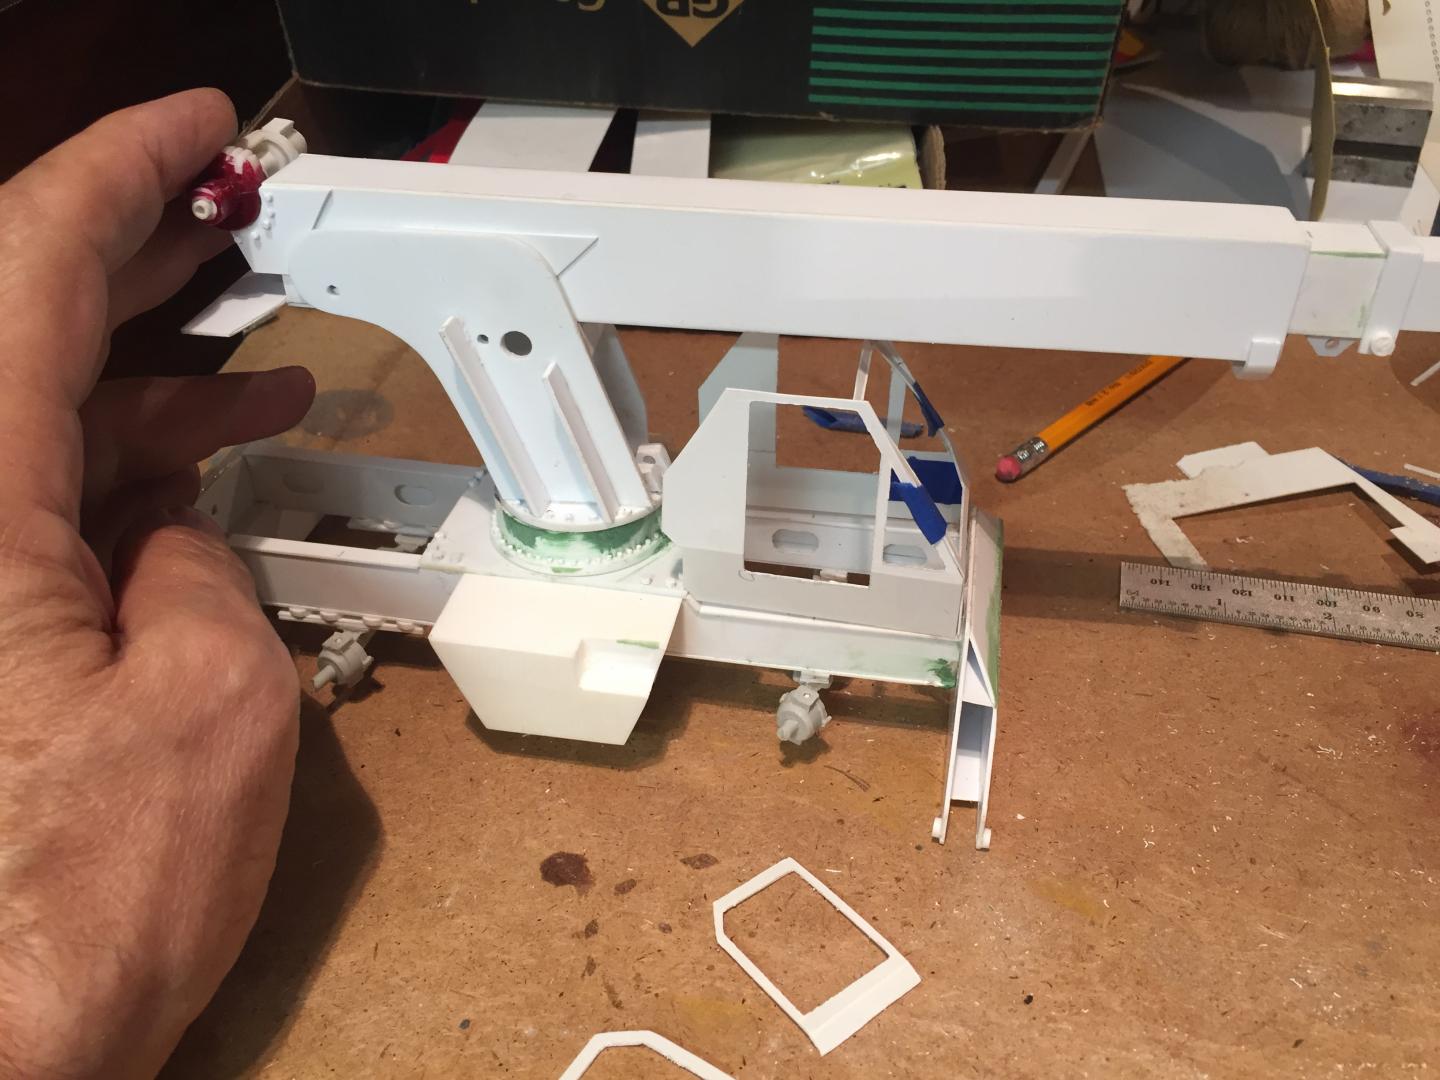
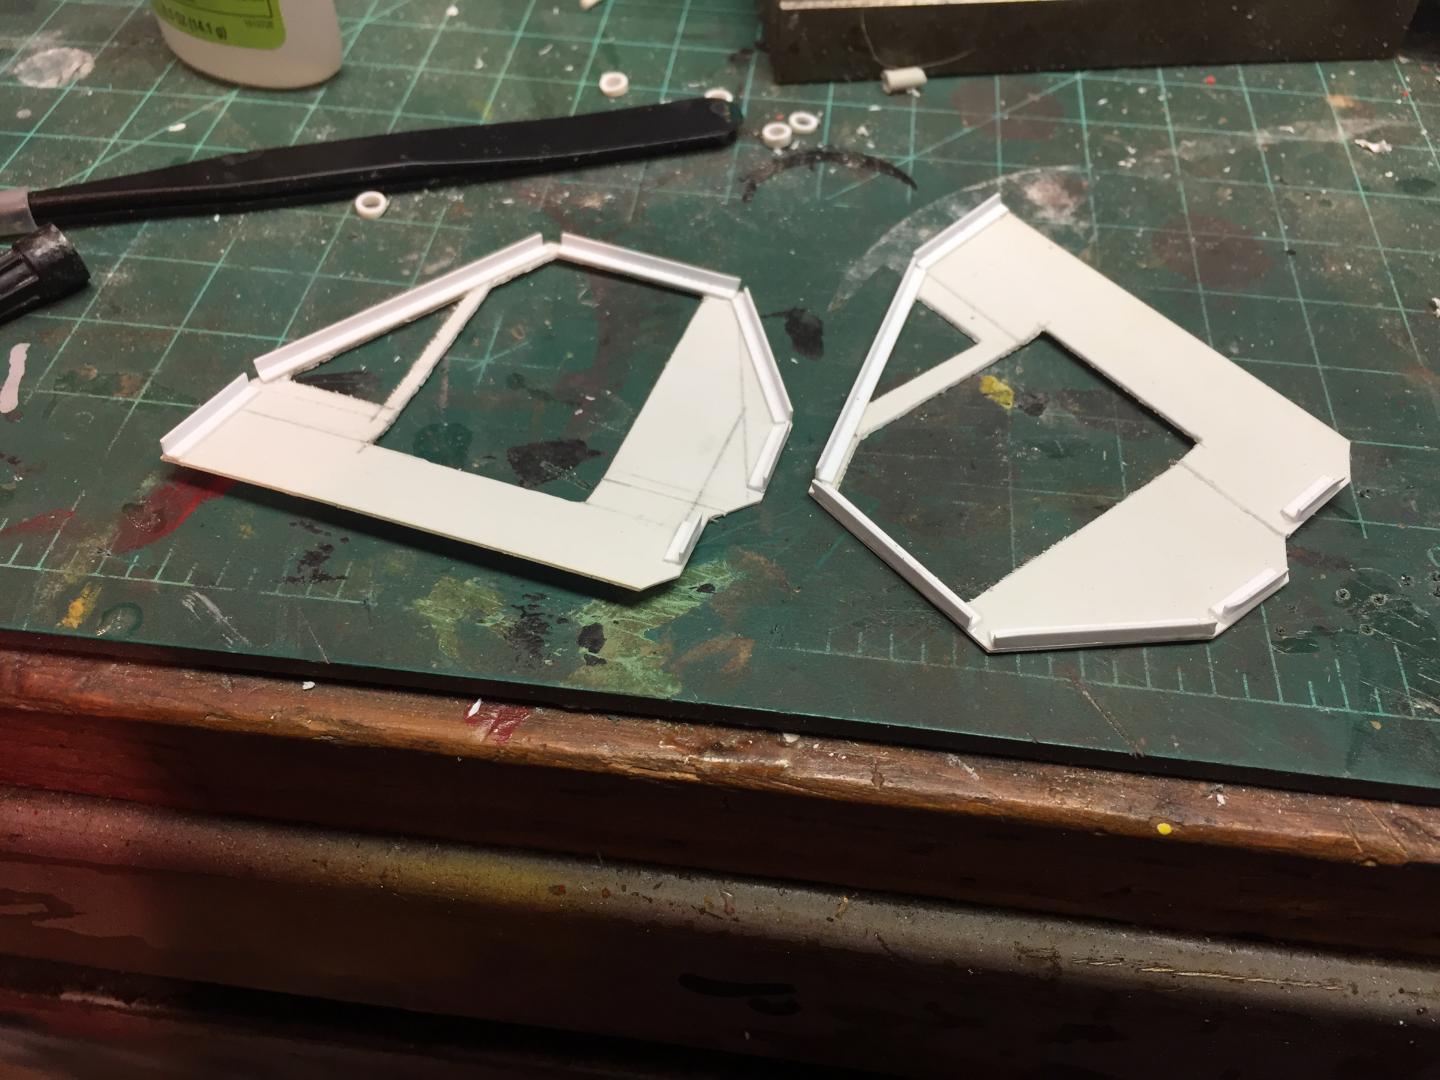


|
|
|
|
Post by 41chevy on Aug 13, 2019 12:52:31 GMT -6
Fantastic work! For window rubber I split the air line tubes that come with the AMT truck kits, a bit of a learning curve but works for me.
Also on the balance weight you may need to off set the boom, I've bought at an old time hardware or roofing supply store. Plumbers and roofers use "Lead Wool" for cast iron pipe joints and flashing seal on bricks. I bought a pound 10 years ago and still have about half. I've packed it into most any place there is an opening. Paul
|
|
|
|
Post by redneckrigger on Aug 22, 2019 11:14:47 GMT -6
Got a bit more done...................the engine enclosure, steering for the axles, and a few other details............moving on to finish the operators cab and controls, steering cylinder hookups and then the final detailing.
|
|
|
|
Post by 41chevy on Aug 22, 2019 13:34:48 GMT -6
WoW!!! Paul
|
|
|
|
Post by redneckrigger on Sept 2, 2019 19:42:08 GMT -6
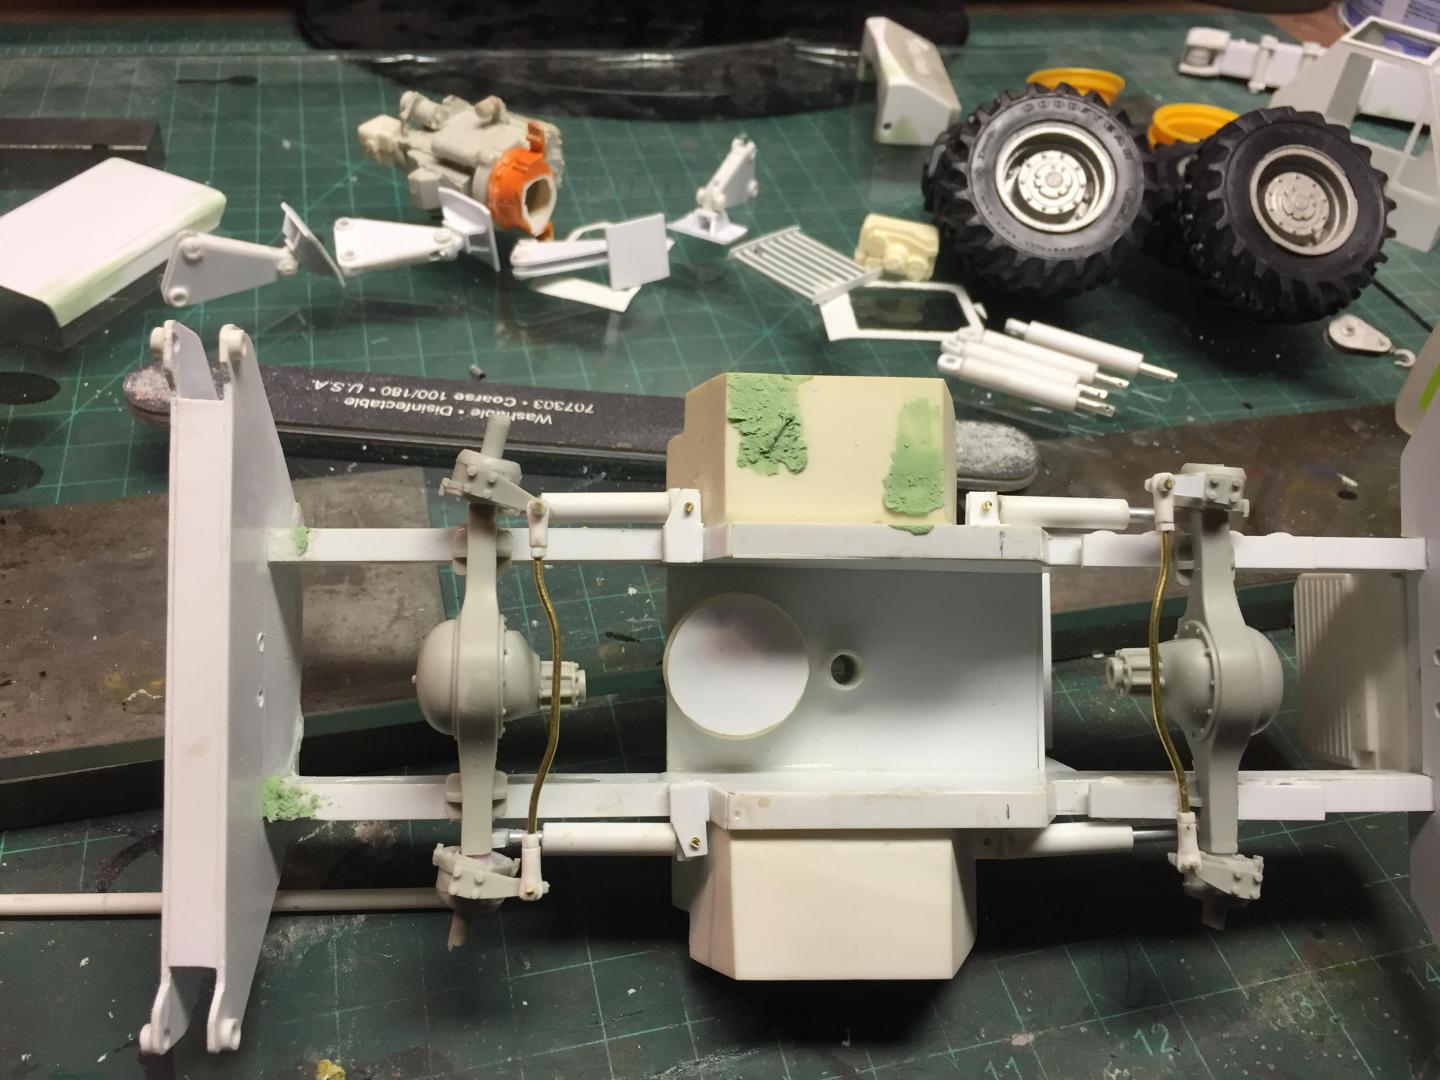
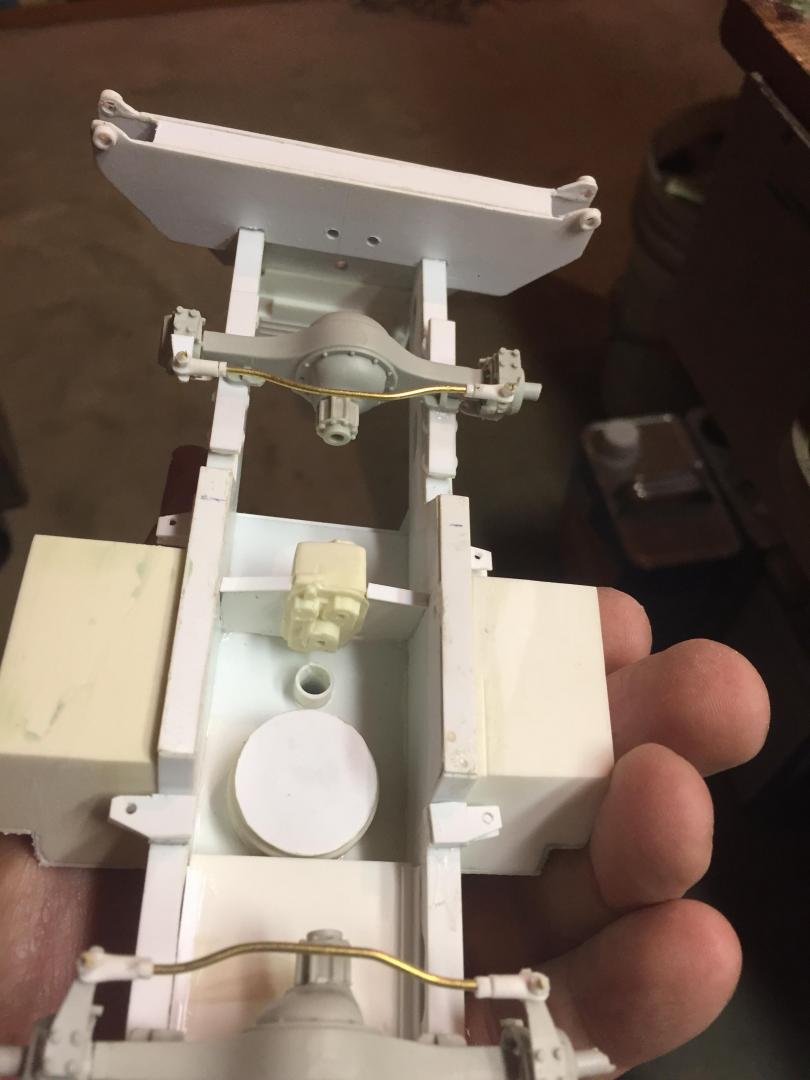
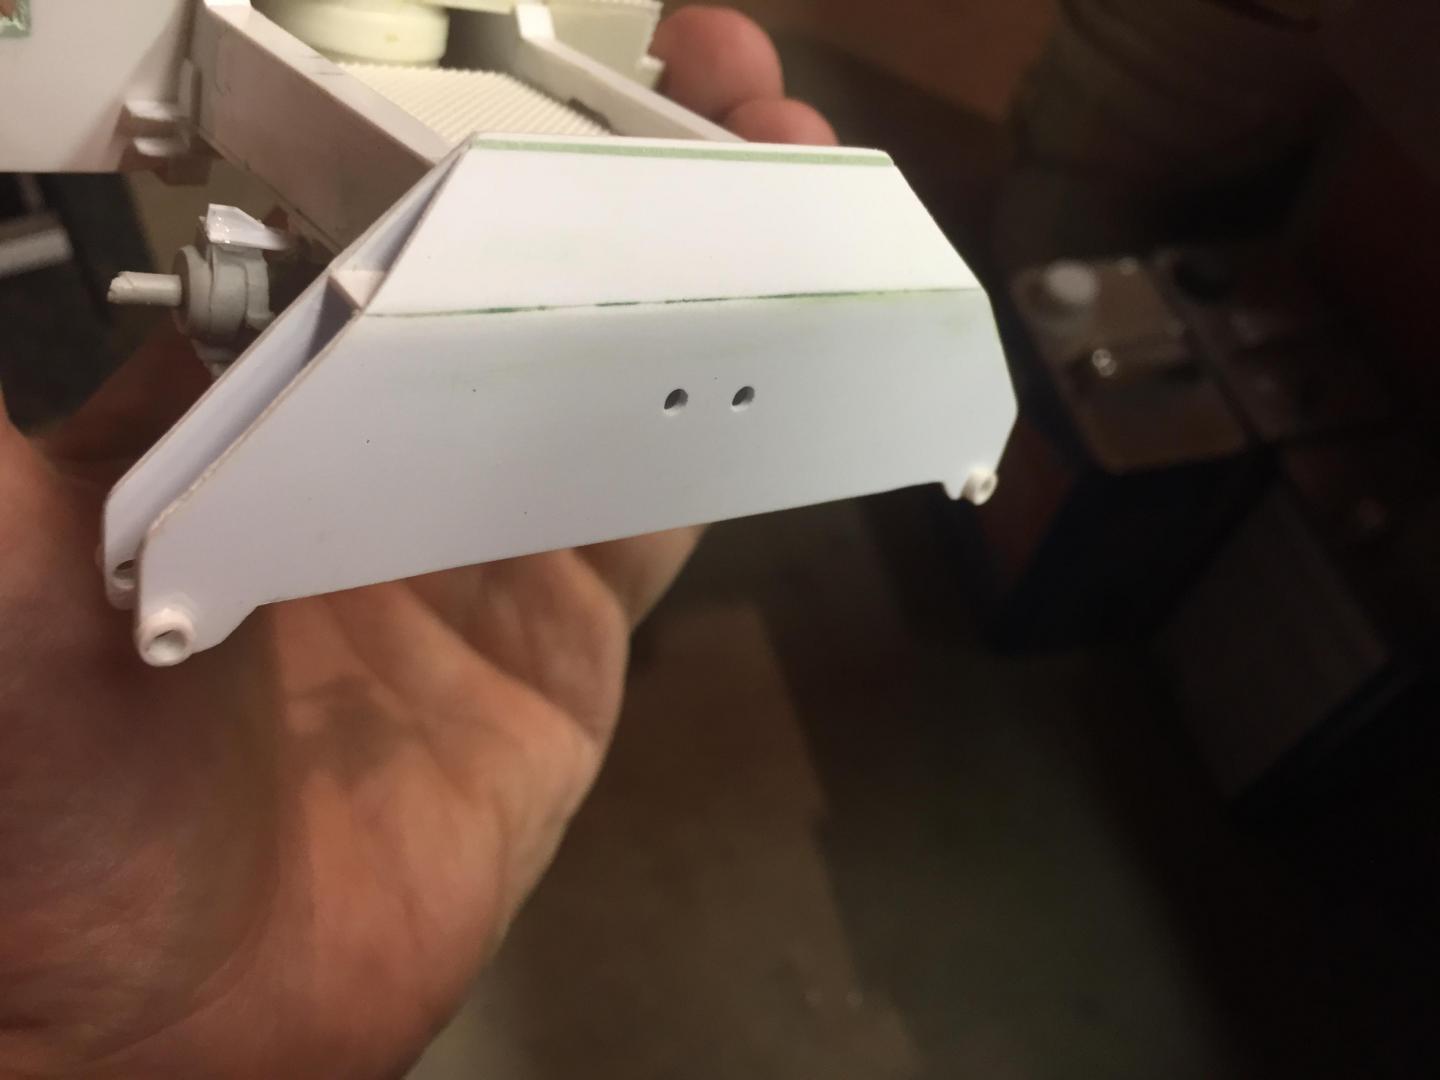
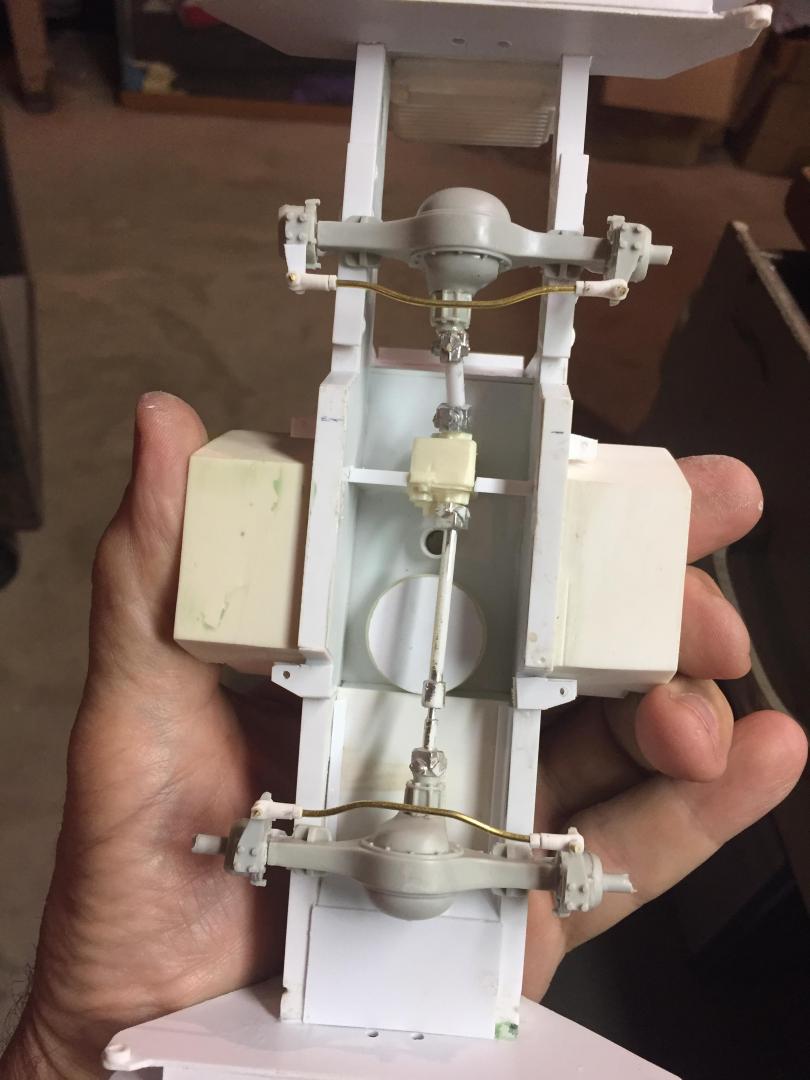
Got the steering cylinders assembled and installed to allow the steering to work. Got the rubber window gasket roughed in on the windshield and the roof window. Made up a set of new doors that overlap the opening the proper way. Mounted the transfer case/transmission. Made and installed the driveshafts and installed the drivers compartment floor and roughed in the instrument panel. Also installed diamond plate on the fuel and hydraulic tanks. The window gasket looks so-so. Lots of fine tuning to do. I am almost tempted to build this without the optional cab but the crane operator would be very upset with me with the cold snowy winters here in Vermont!


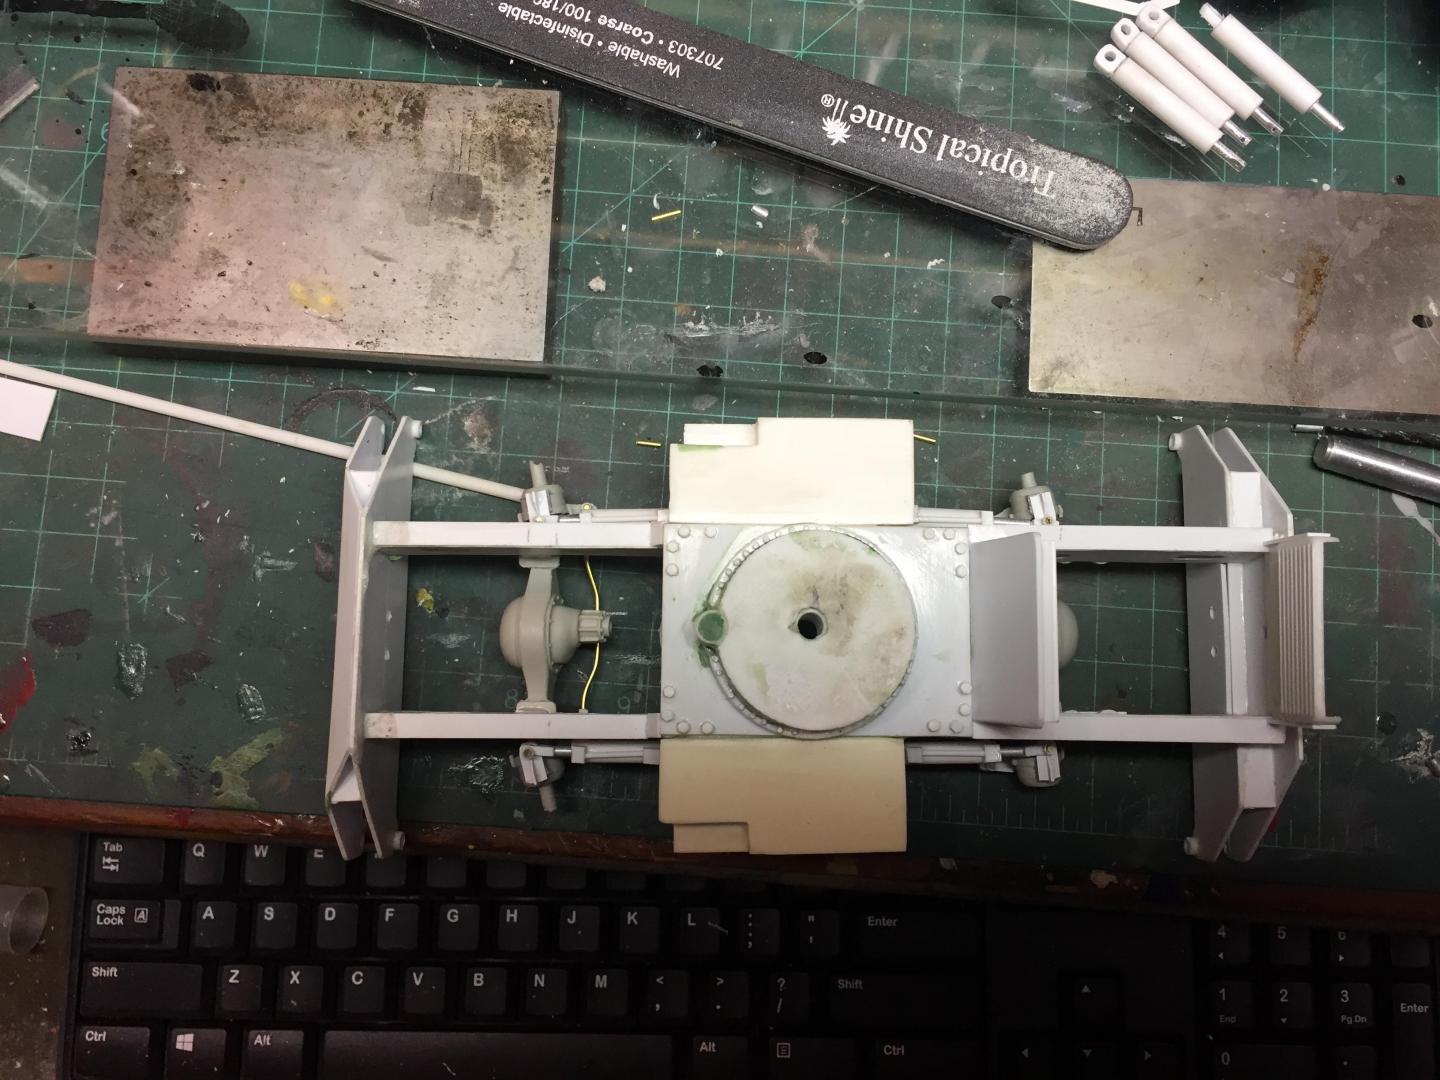




|
|
|
|
Post by redneckrigger on Sept 3, 2019 7:42:04 GMT -6
Well, this project has been going great, without my all too typical one step forward three in reverse technique. But, it is time for that now. I am not happy with the operator's cab in several aspects. Most of them can be lived with, but the rubber window gasket simply does not make me happy. So.........................I have scrapped the cab, and am going to start over on it. I tried half round Evergreen. The smaller size looks far better but is evil to try to make it work. The larger size was far easier to work with, but it looks like..................well, it does not please me! So, I have a few other ideas to try, and will be not only making a new cab to fix the other problems it has, but will be hopefully finding a method to do the gaskets that looks better! I am also considering telling the crane operator to stock up on long johns and mittens, and foregoing the cab.......................! I am sure he would file a grievance with the union though!
|
|
|
|
Post by 78KW on Sept 5, 2019 20:31:58 GMT -6
WOW! Amazing work.
|
|
