|
|
Post by gatormarcincebu on Oct 2, 2019 19:27:58 GMT -6
It's been quite a while since I have checked in here. The progress you have made on this project is fantastic , and even more so because it is summer time ! Keep up the good work .
Be Well
Gator
|
|
|
|
Post by redneckrigger on Oct 6, 2019 8:43:53 GMT -6
Thanks for the great words. Unfortunately, the past month has been absolutely zero as far as building goes. Have been busy at the gun shop, and my wife's Dad passed, so we have been very busy with everything. BUT, the upcoming month will hopefully find time to get back to the bench!
|
|
|
|
Post by BlownCad on Oct 26, 2019 9:43:57 GMT -6
Some really nice work.
|
|
|
|
Post by redneckrigger on Oct 27, 2019 20:36:42 GMT -6
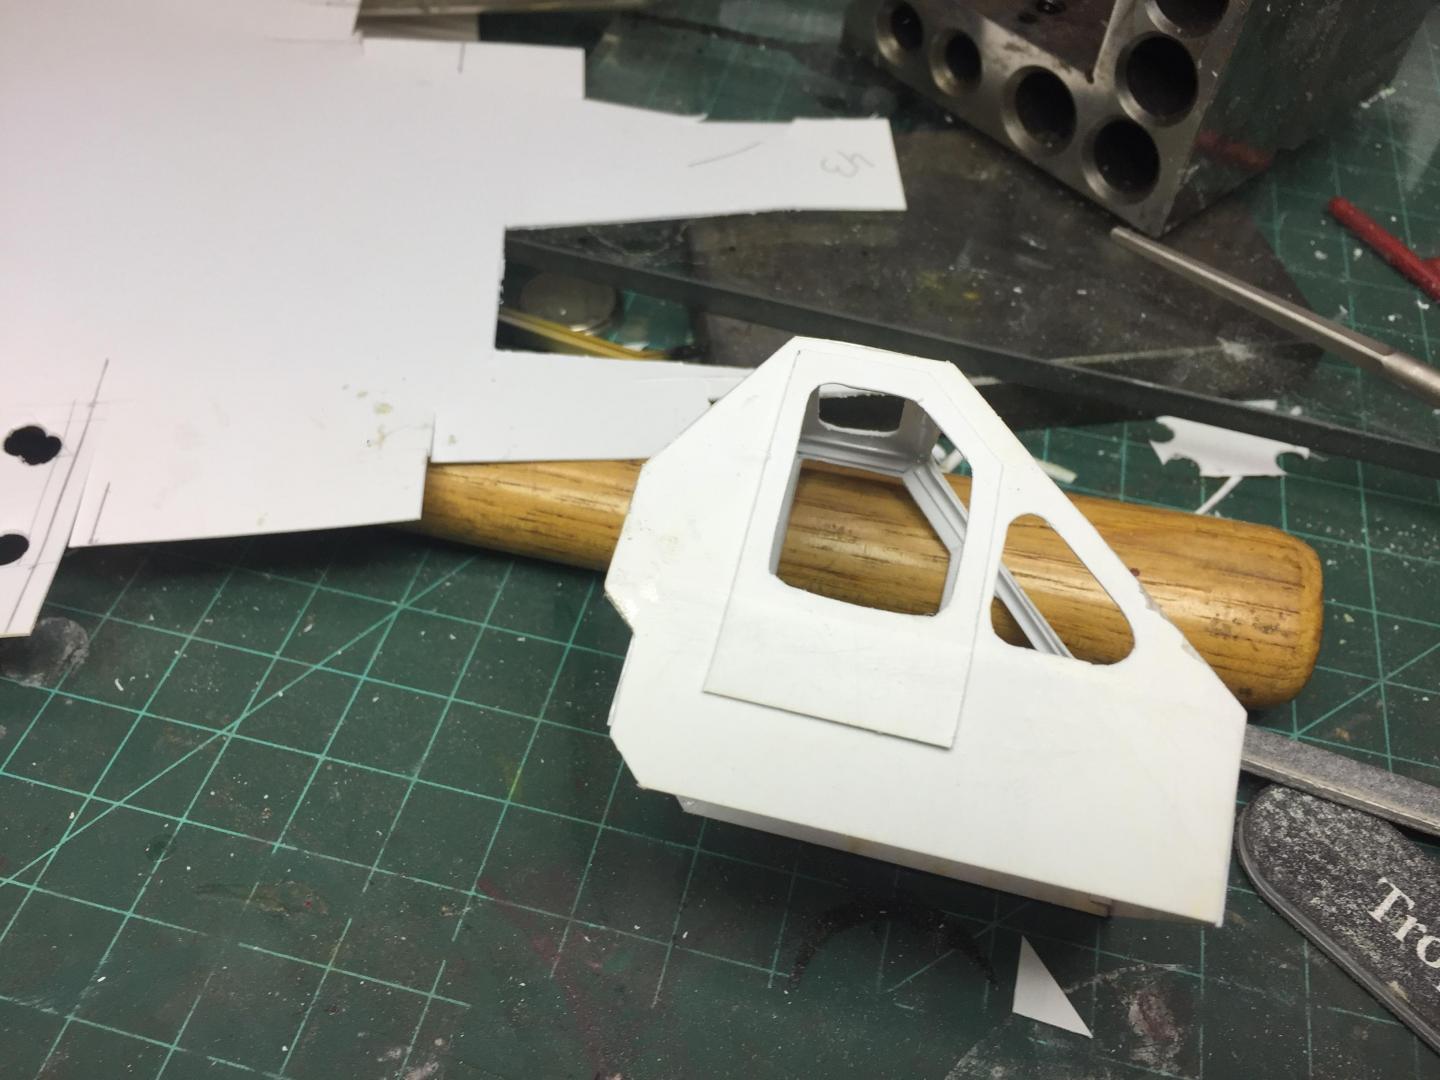
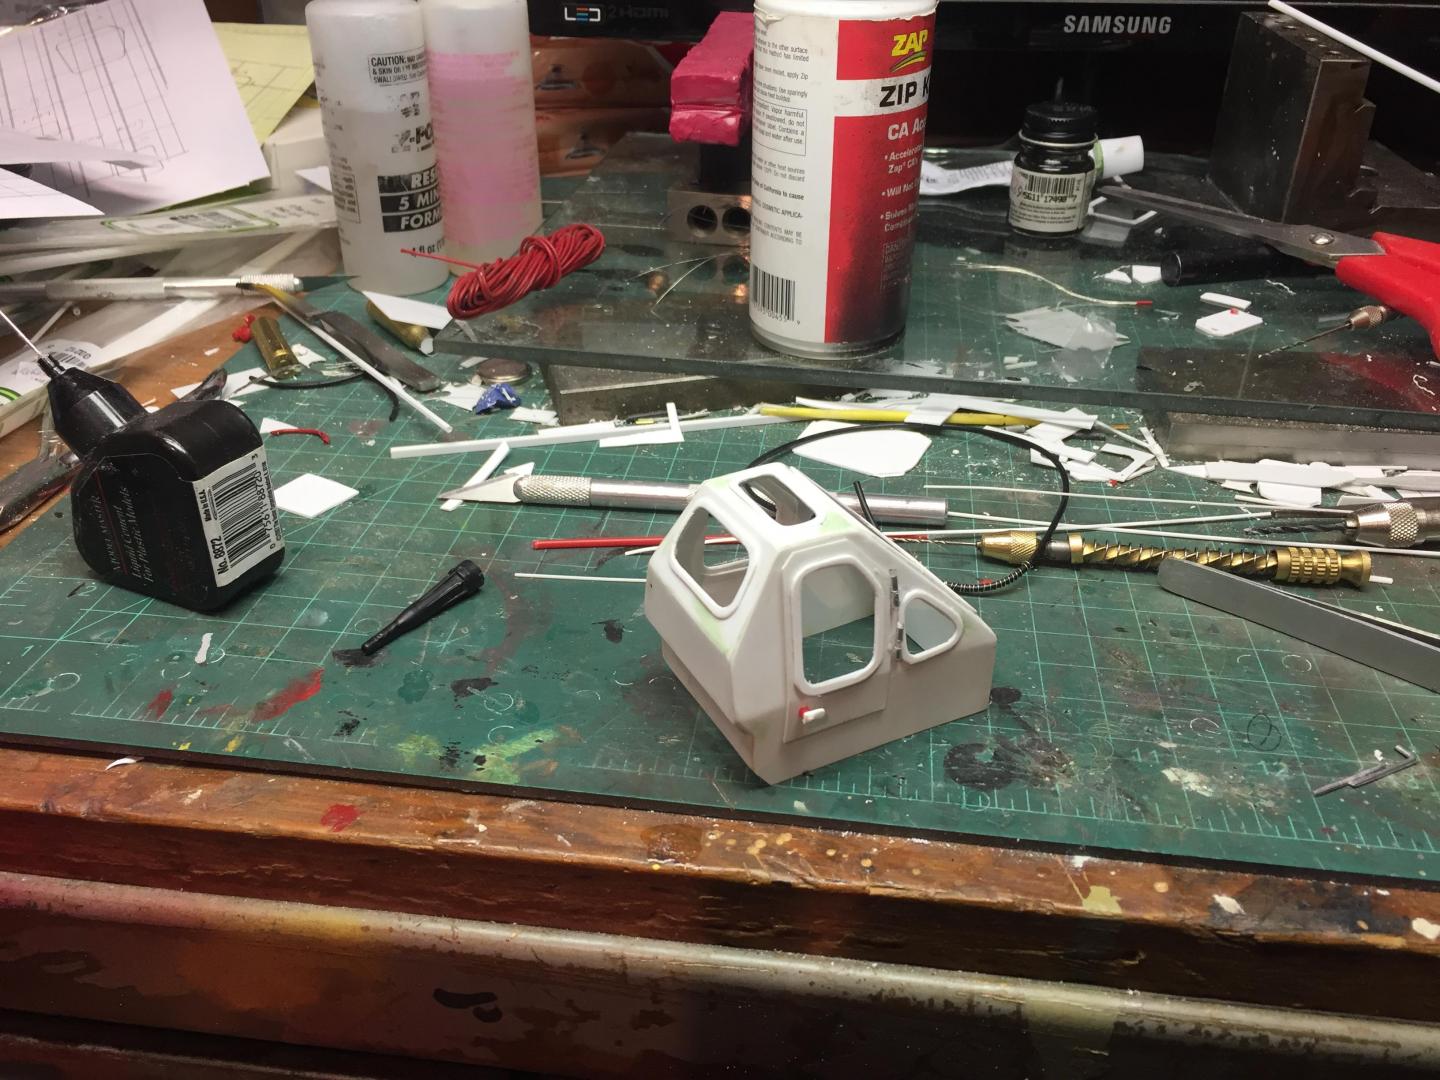
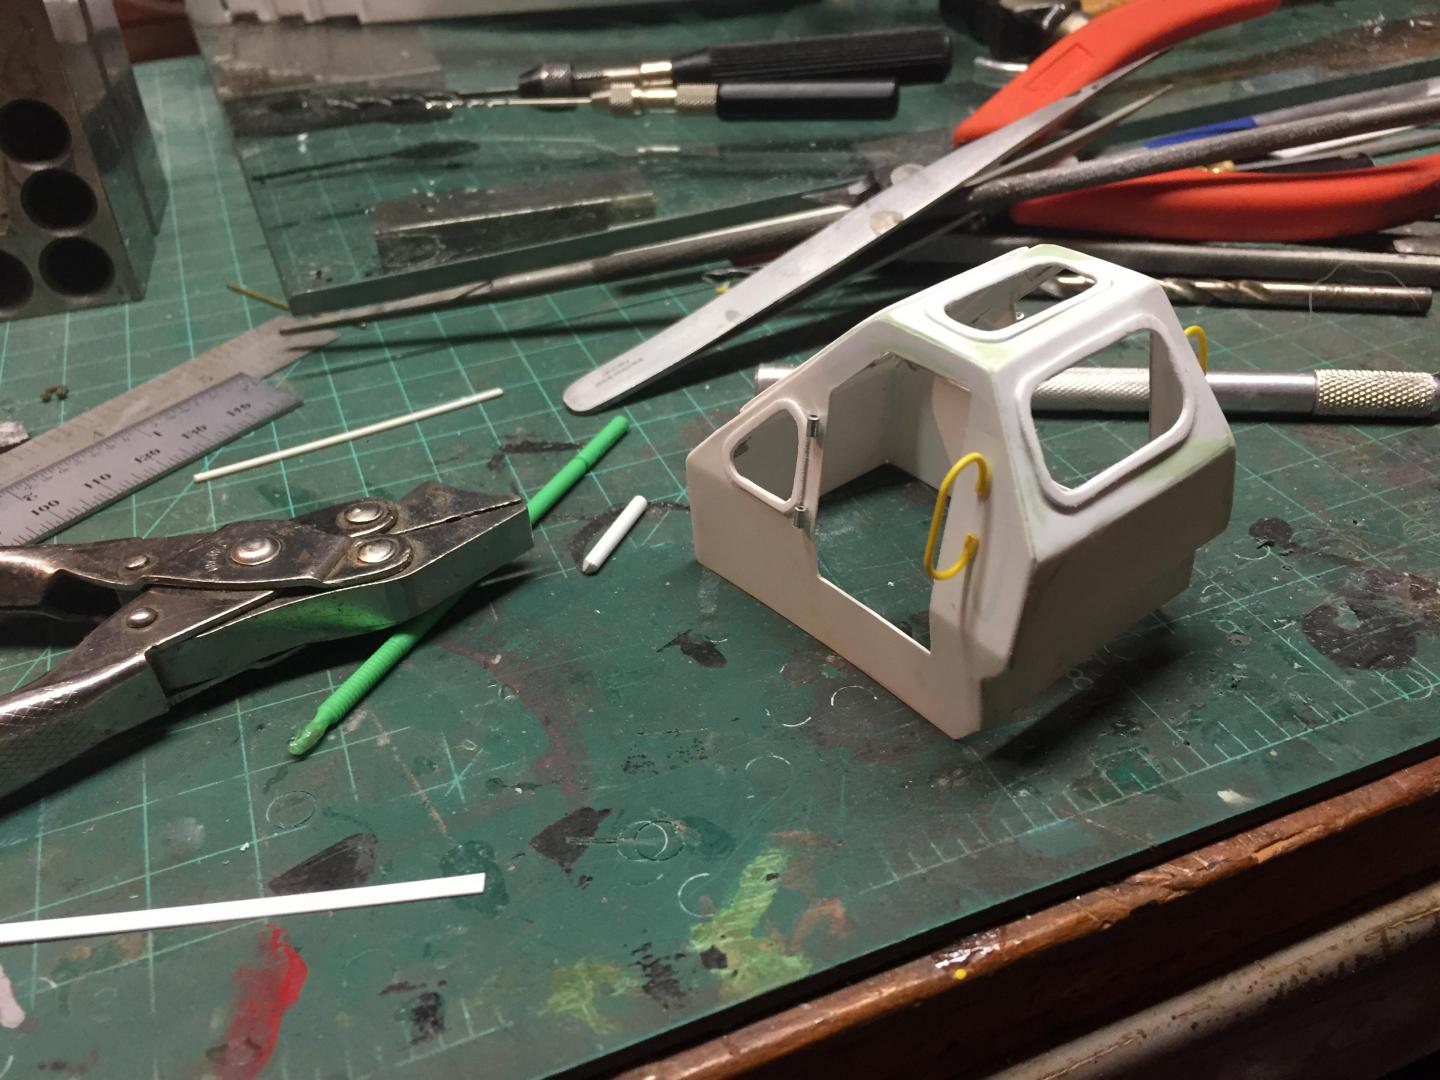
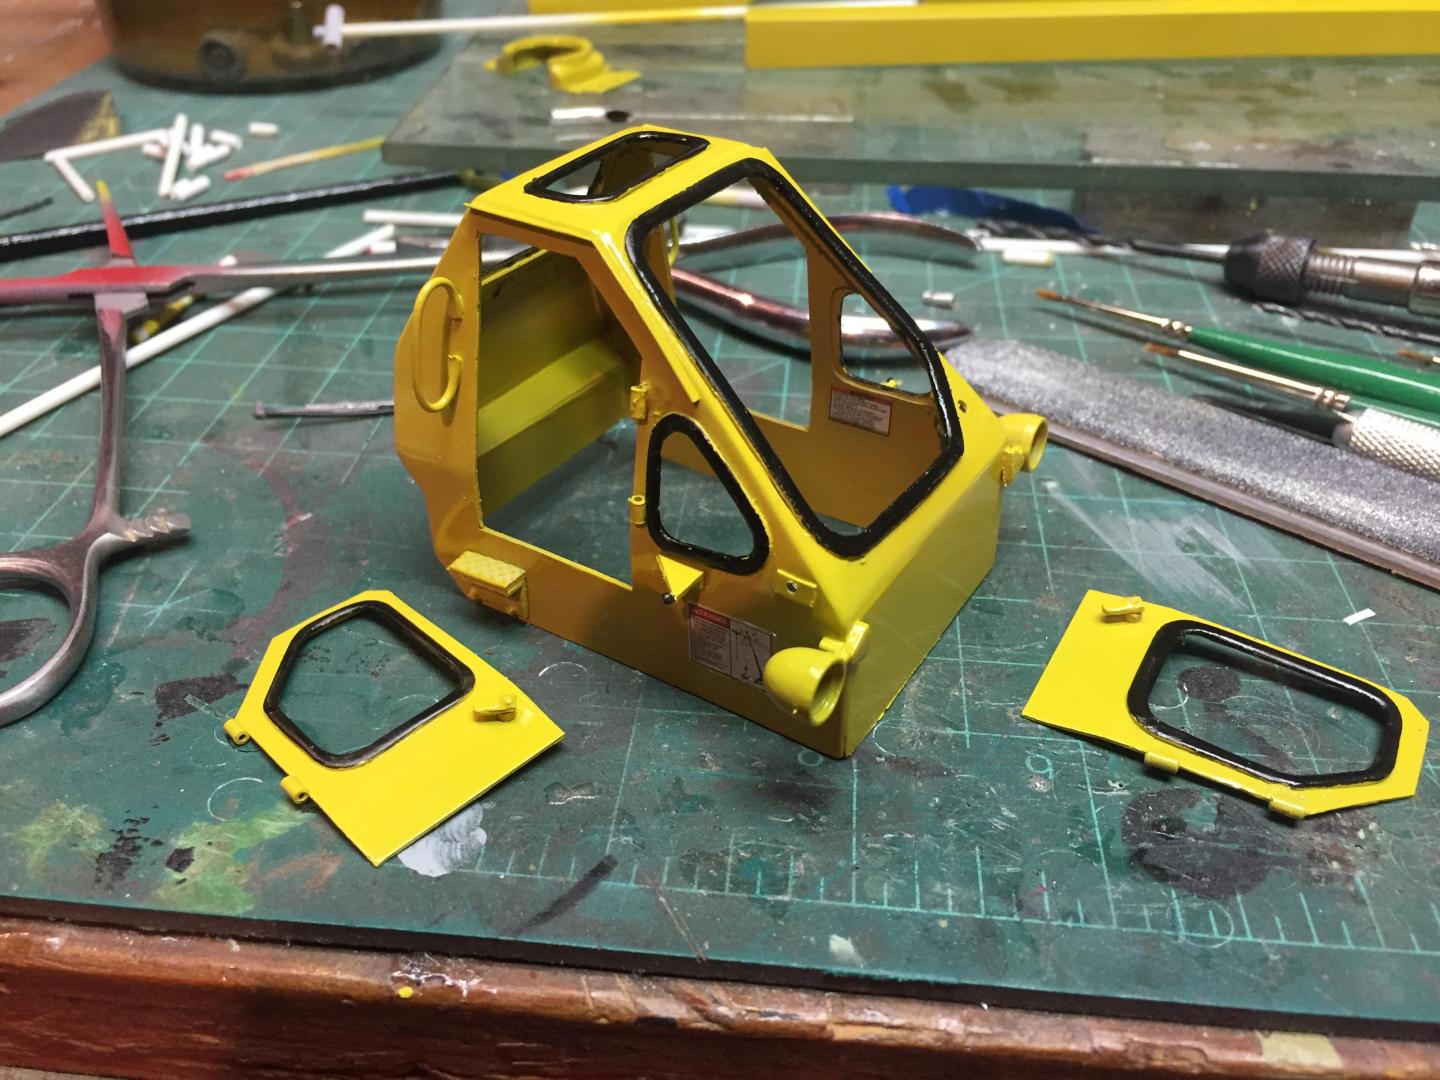
Finally got back to the bench. Life interfered last month in a big way with a vacation and then the passing of an old friend and then my Father-in-law and I just didn't even get within 20 feet of my bench. But, I finally got back at it. The operator's cab just had too many issues to please me, so into the scrap bin it went, and this is Act 2 of the cab. It looks so much better, at least to my eyes. Got the cab done, and to my satisfaction. Need to hinge the doors and make the window gaskets. Looks far better now.


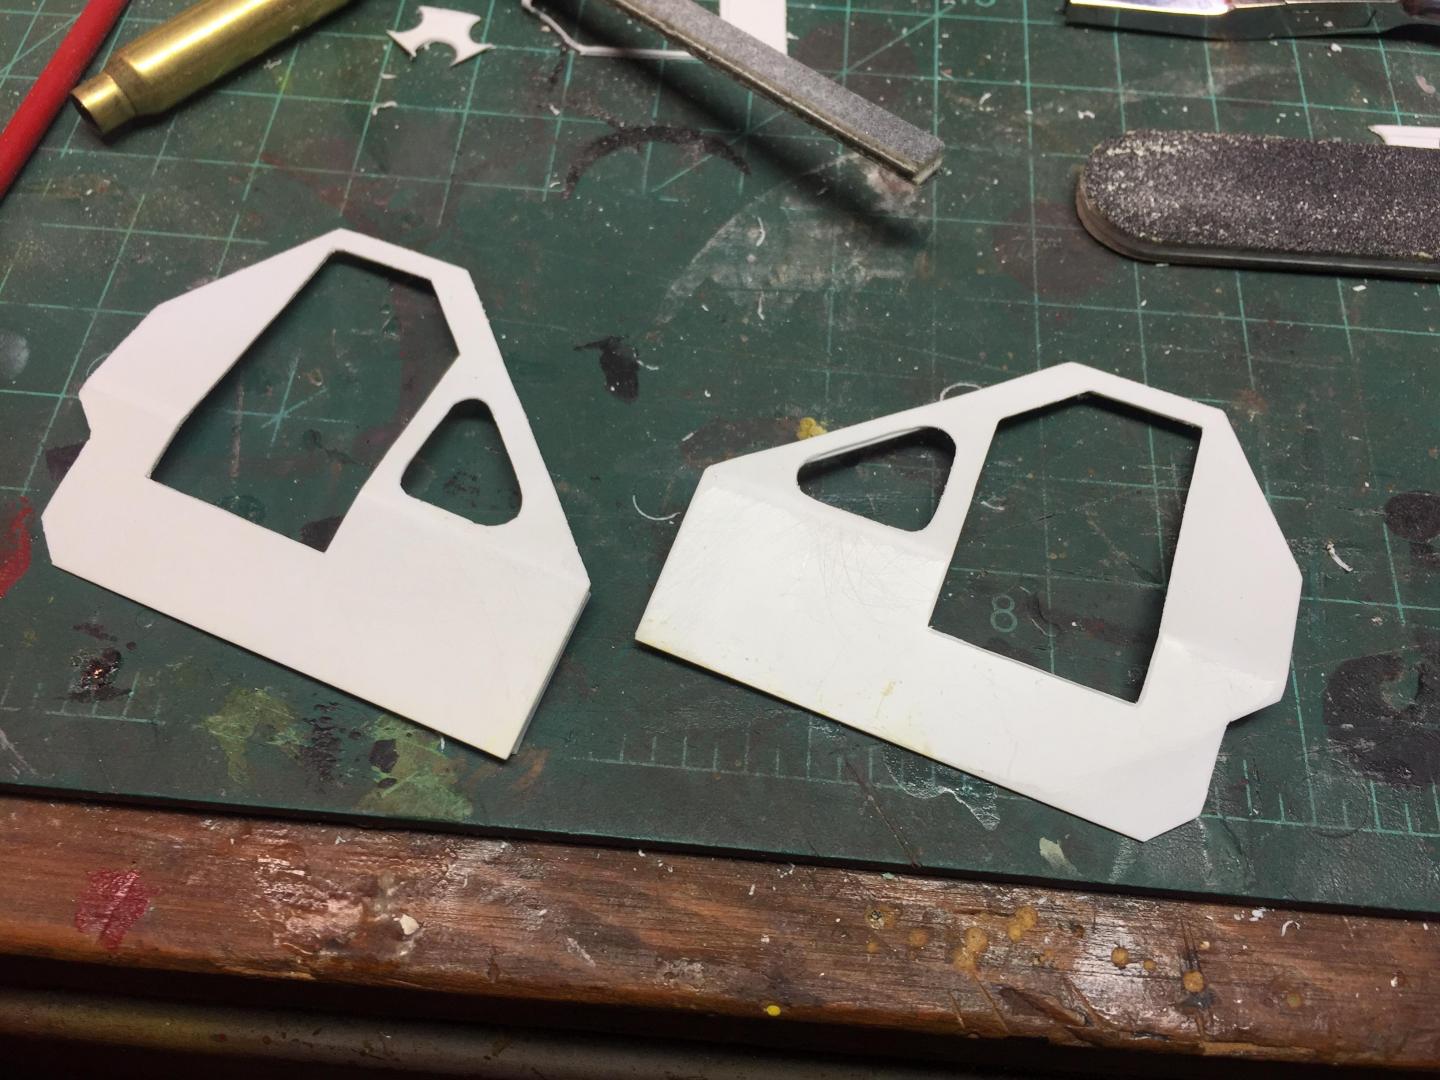
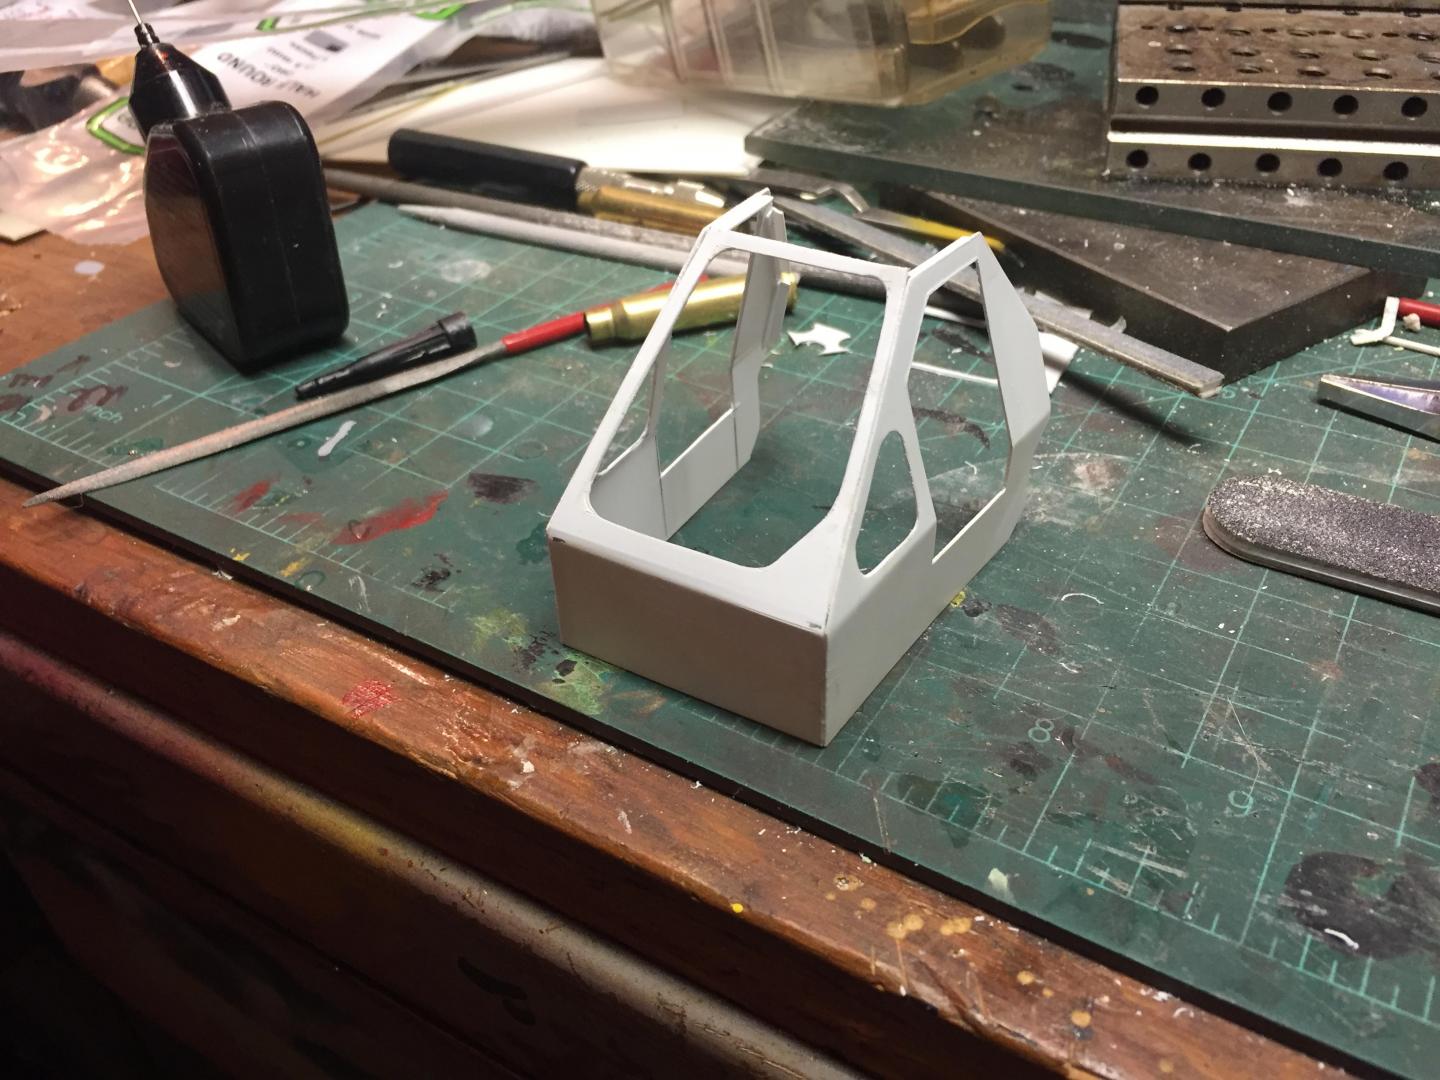
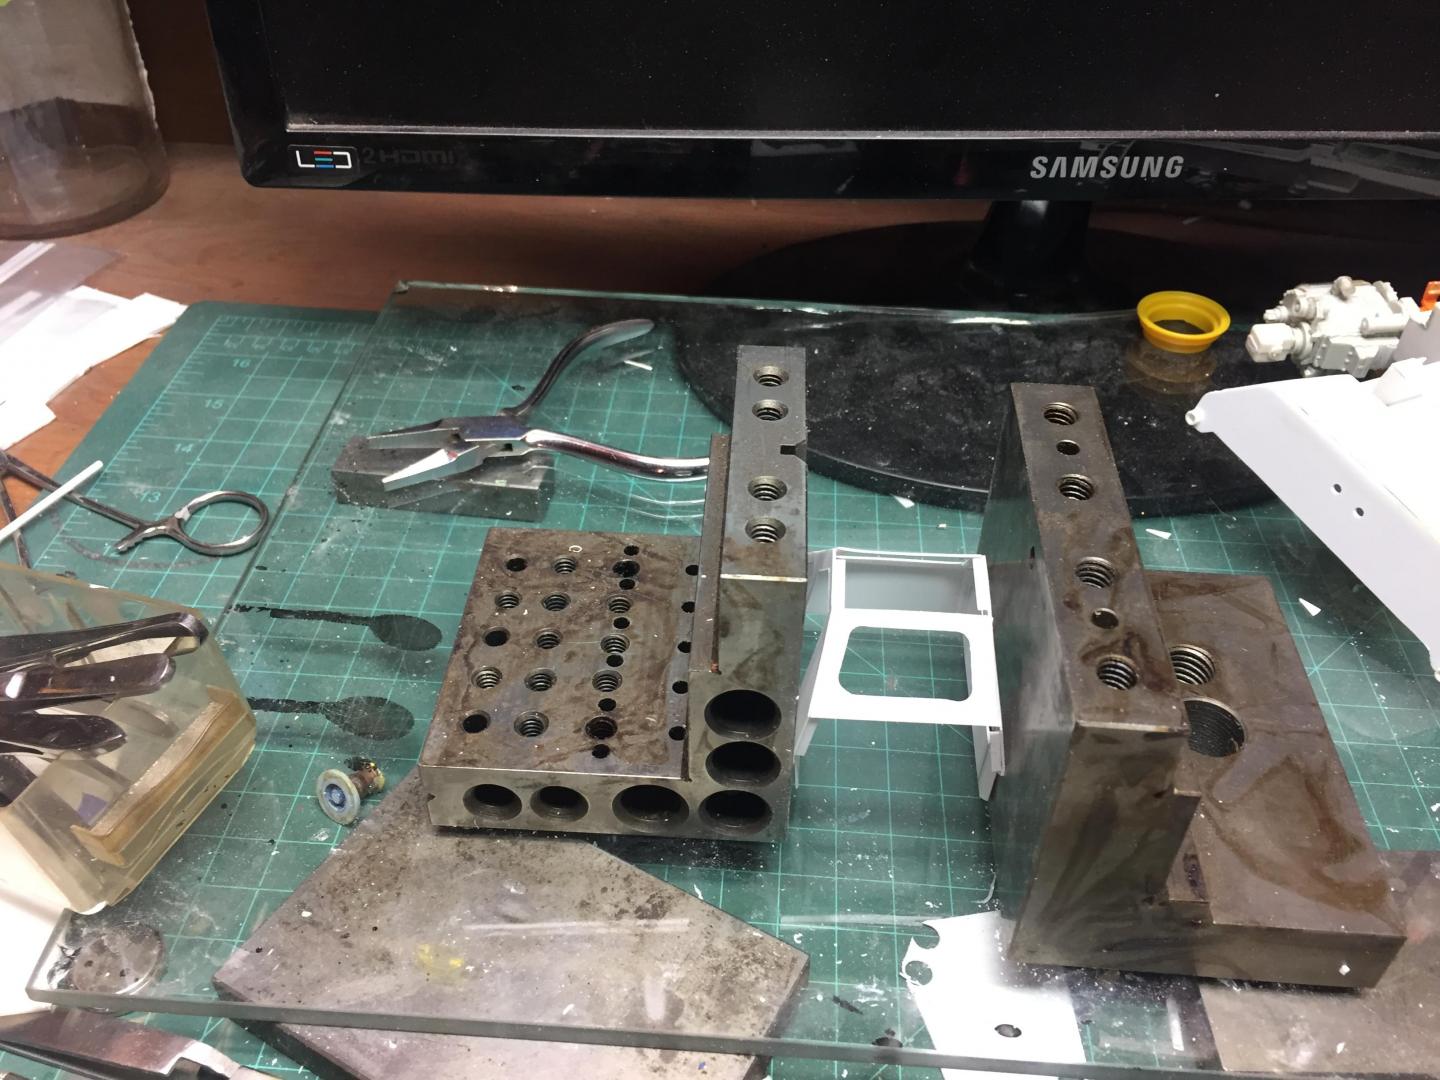

Well, I seem to have gotten by the last month of builders block due to life events, and am now finally getting somewhere with the operator's station. Got the hydraulic controls, levers, dash and seat all finalized. Lots of tiny details to add but it's finally getting there.

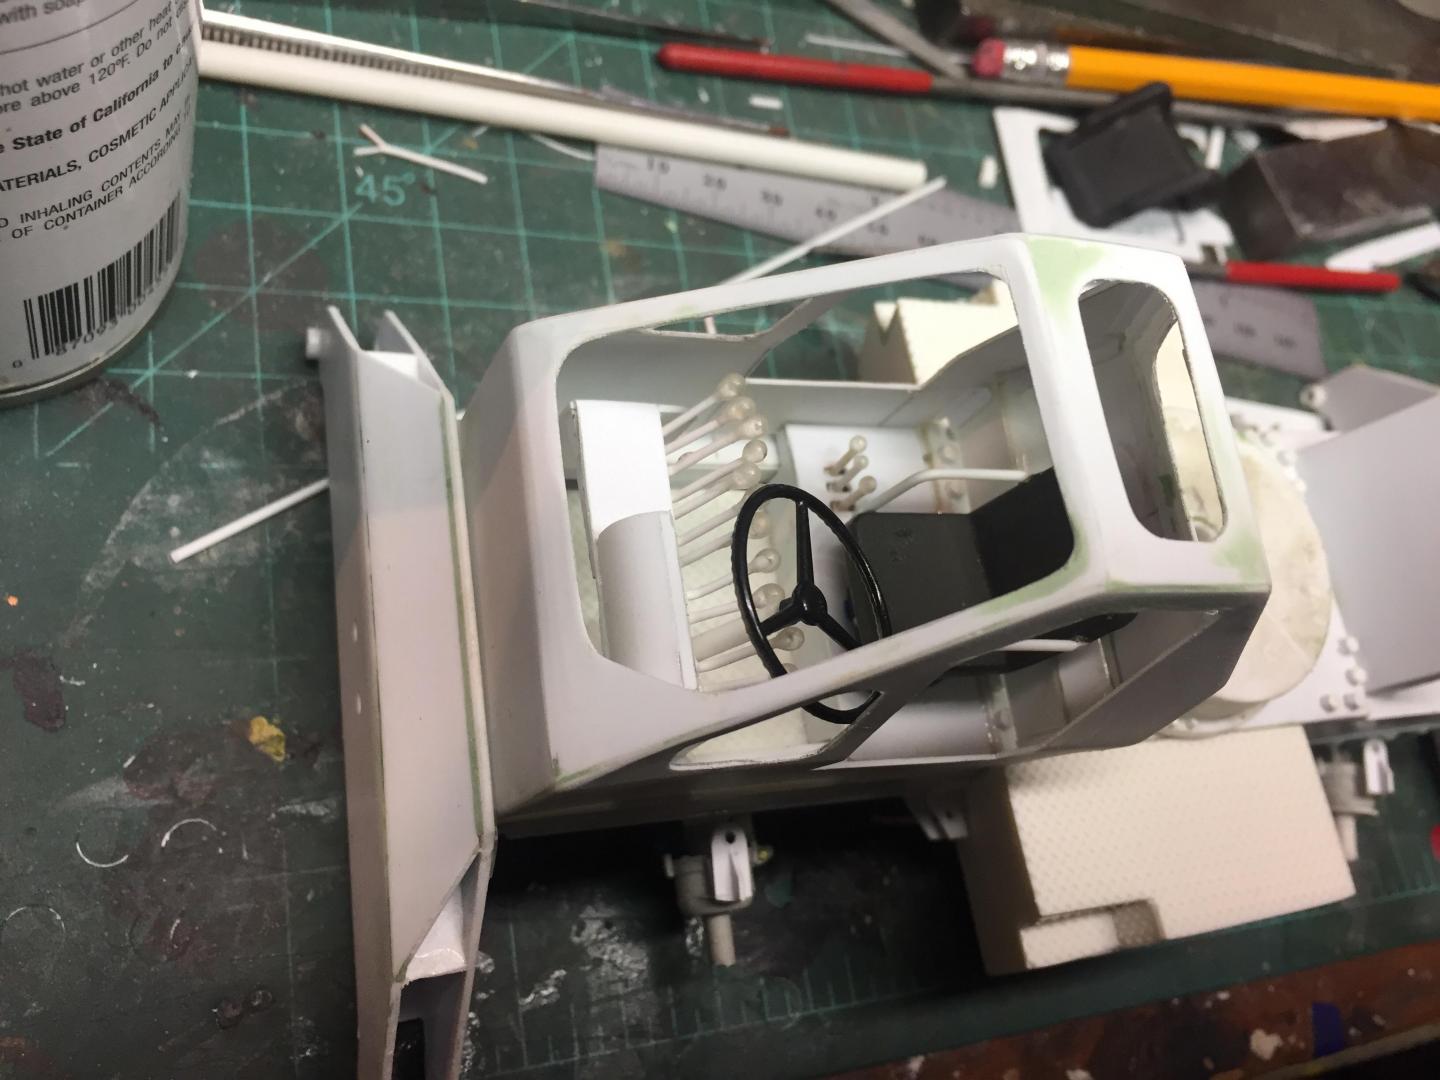


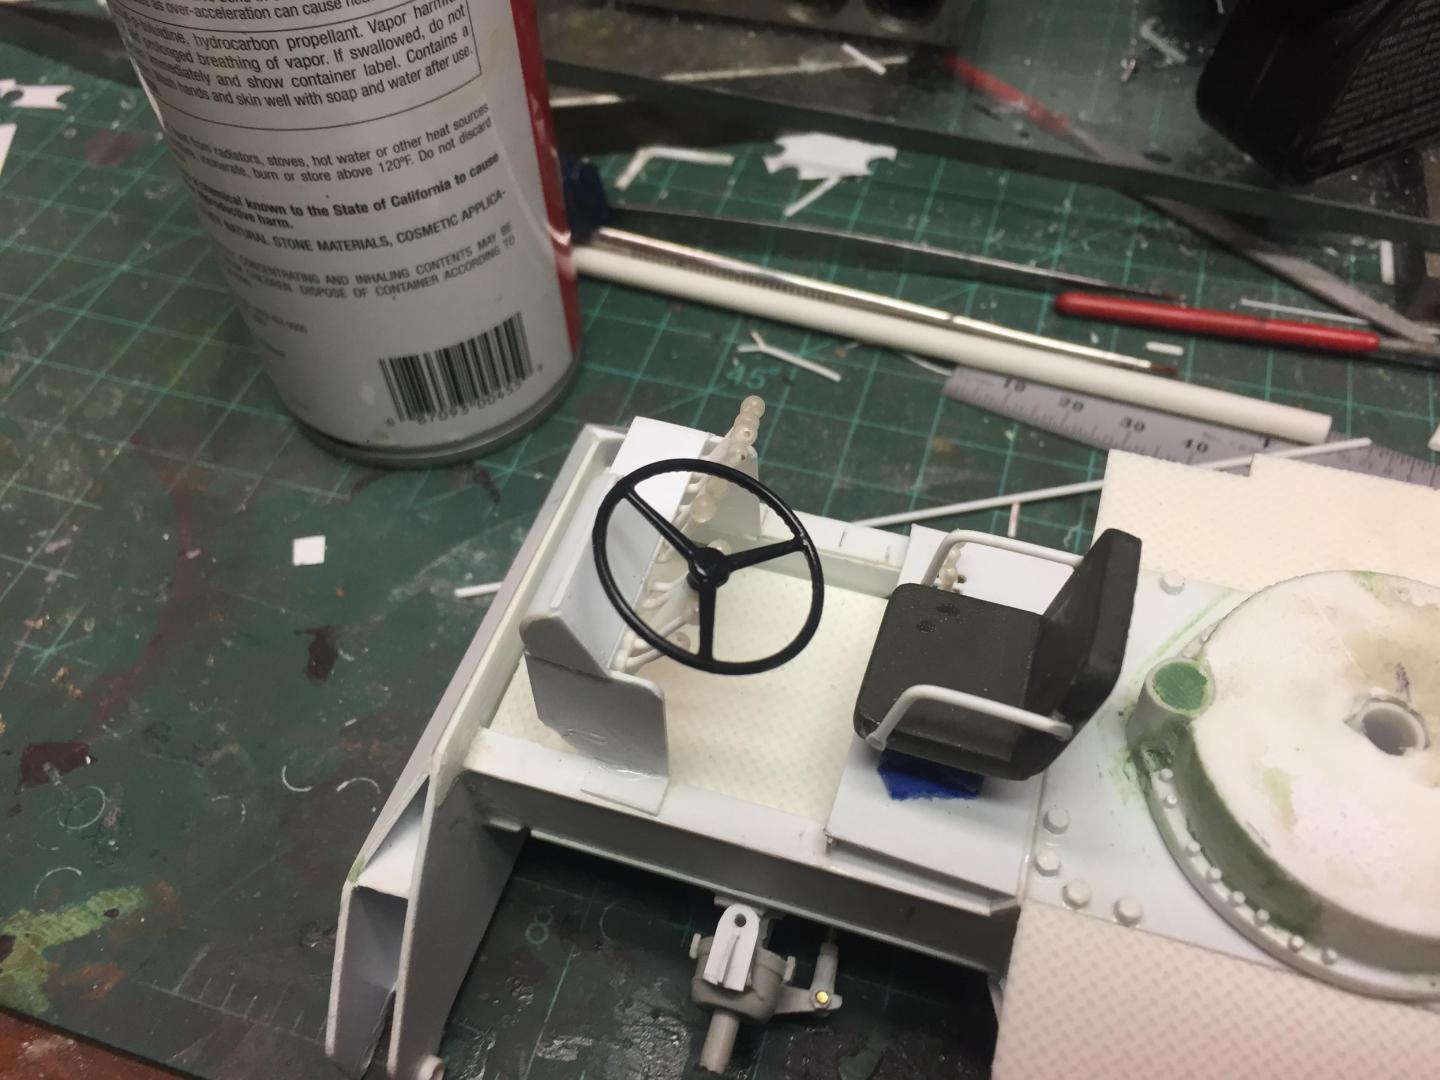
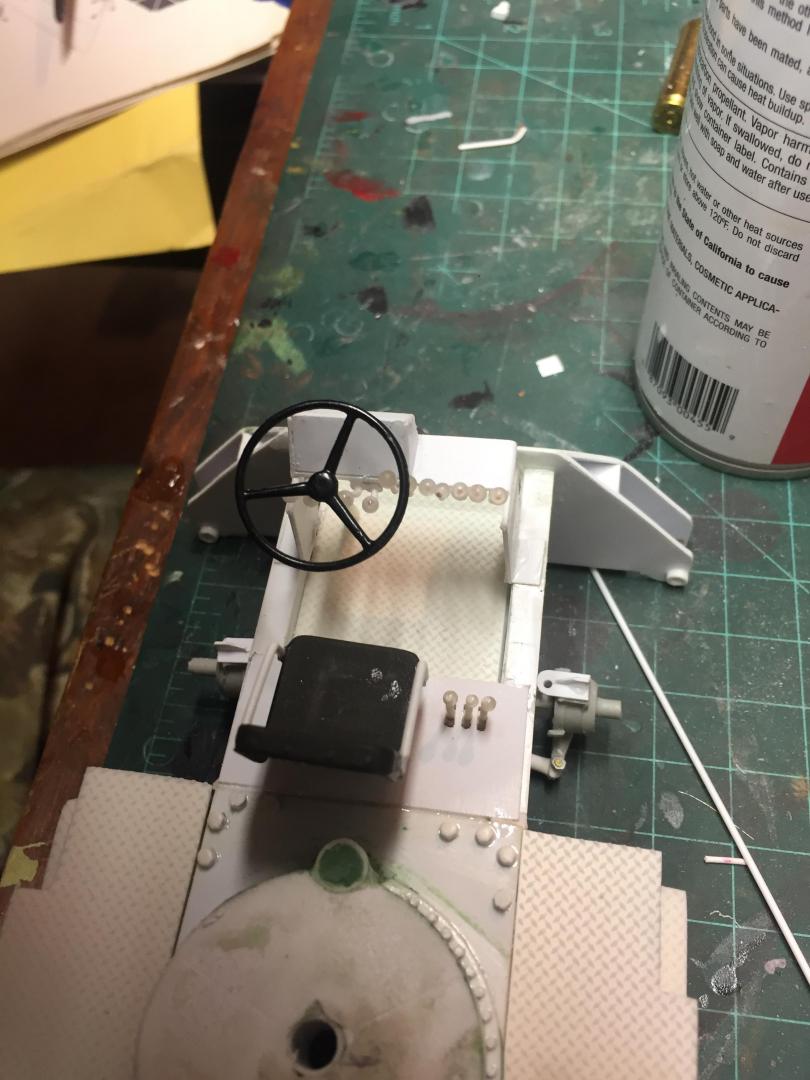
The new cab was definitely worth doing and looks like it is supposed to.
  


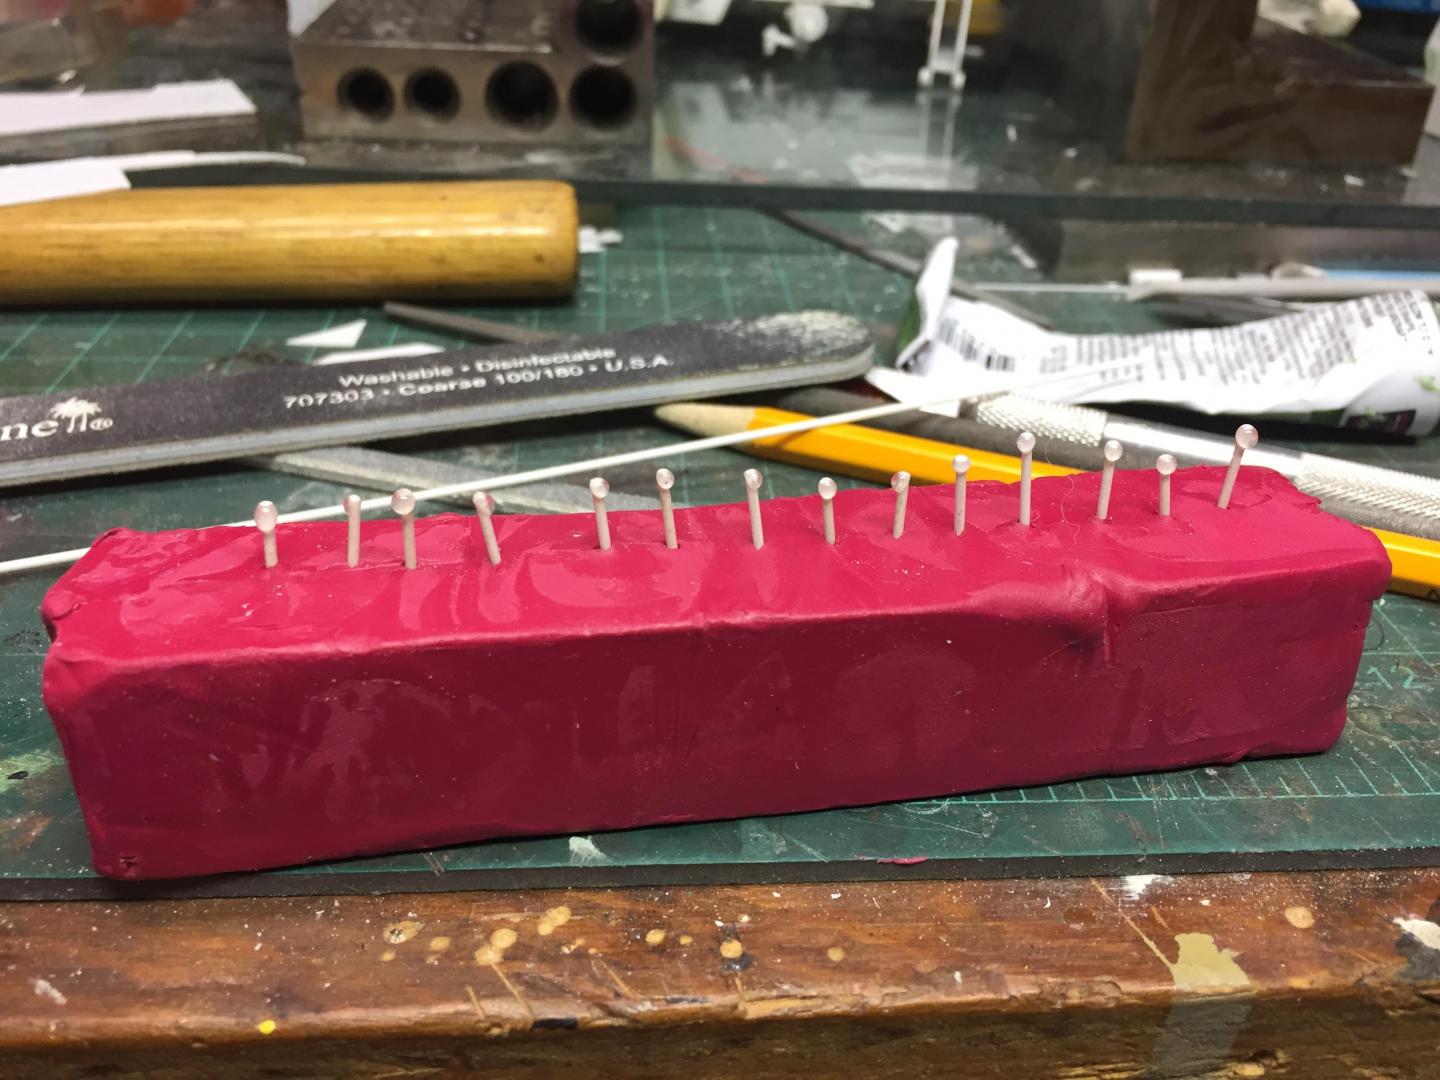
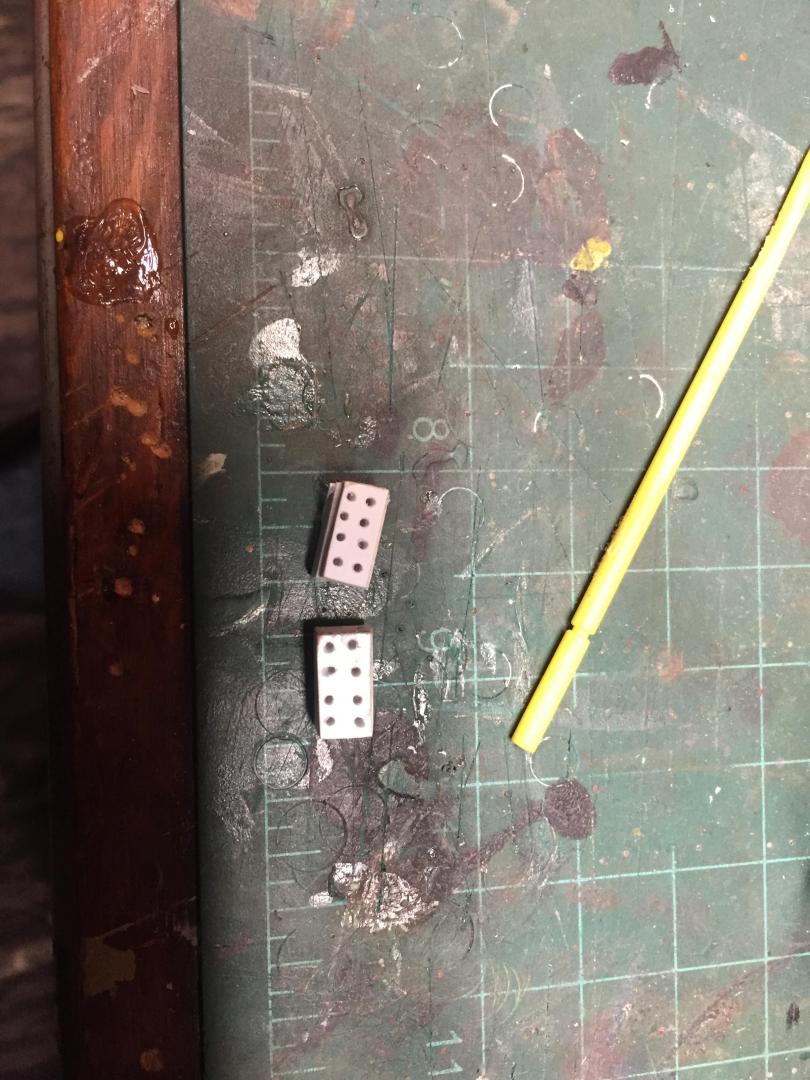
Made the control levers from telephone wire with epoxy dipped knobs. The levers are telephone wire with epoxy knobs. Lots of them for sure. Four outriggers, rear steer, swing, low line speed, intermediate line speed, main boom extend, aux boom extend, boom raise/lower, on the floor is rear drive selector, forward/reverse, throttle and gear selector, e-brake, foot controls are brake, inching control and accelerator. It can get REAL busy in there!


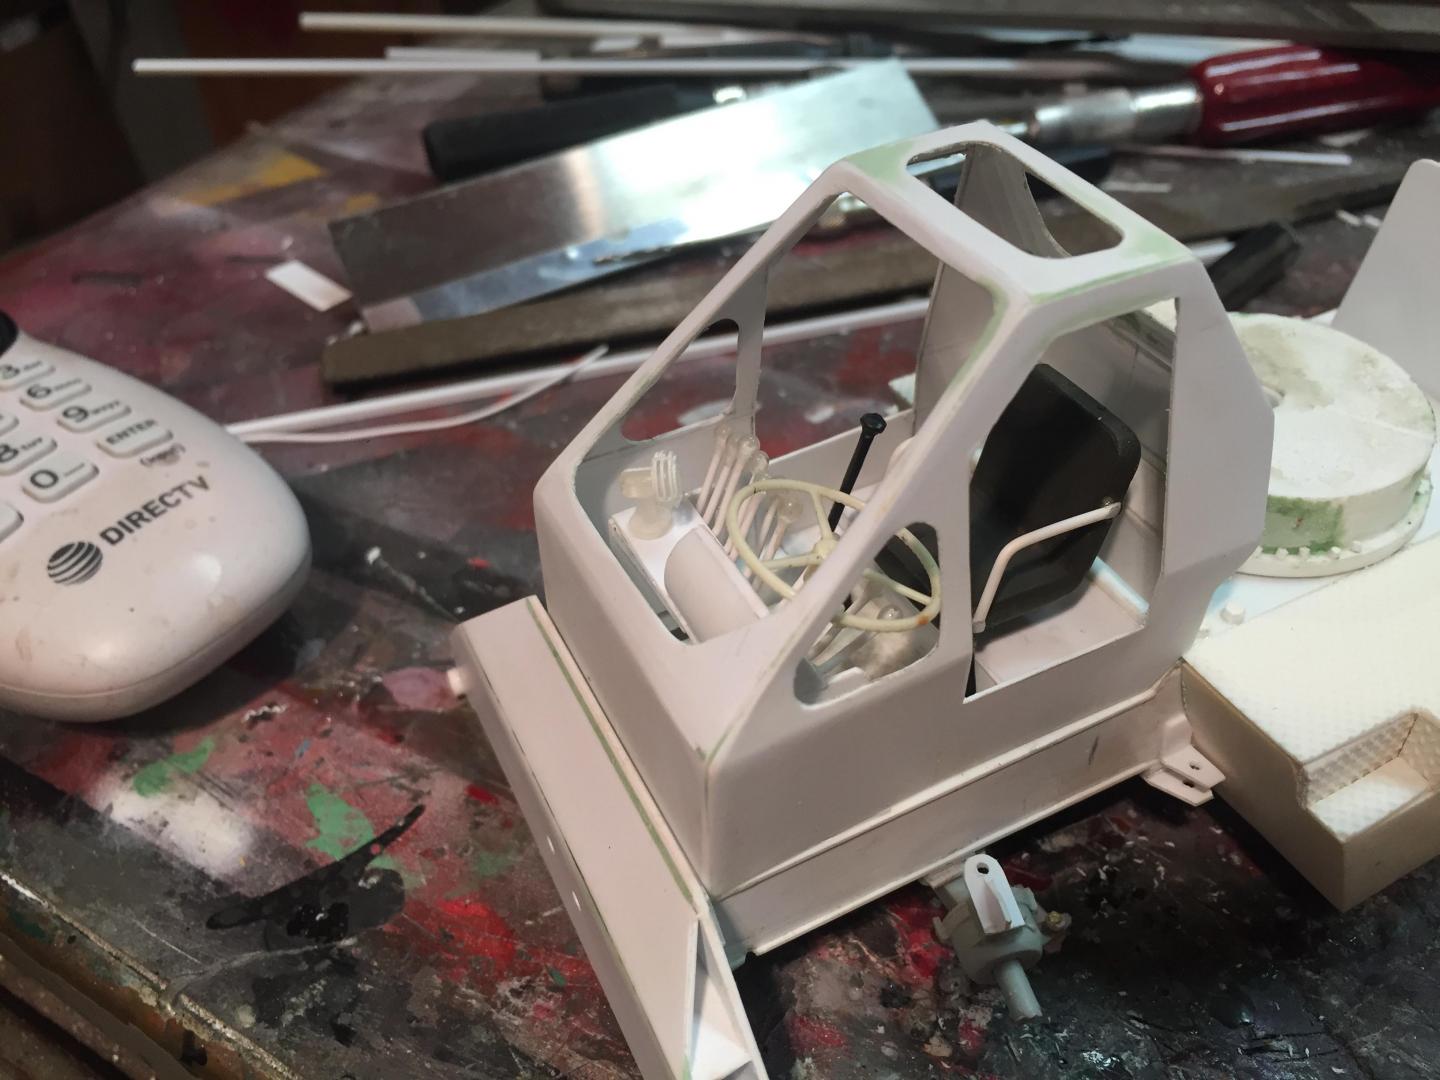
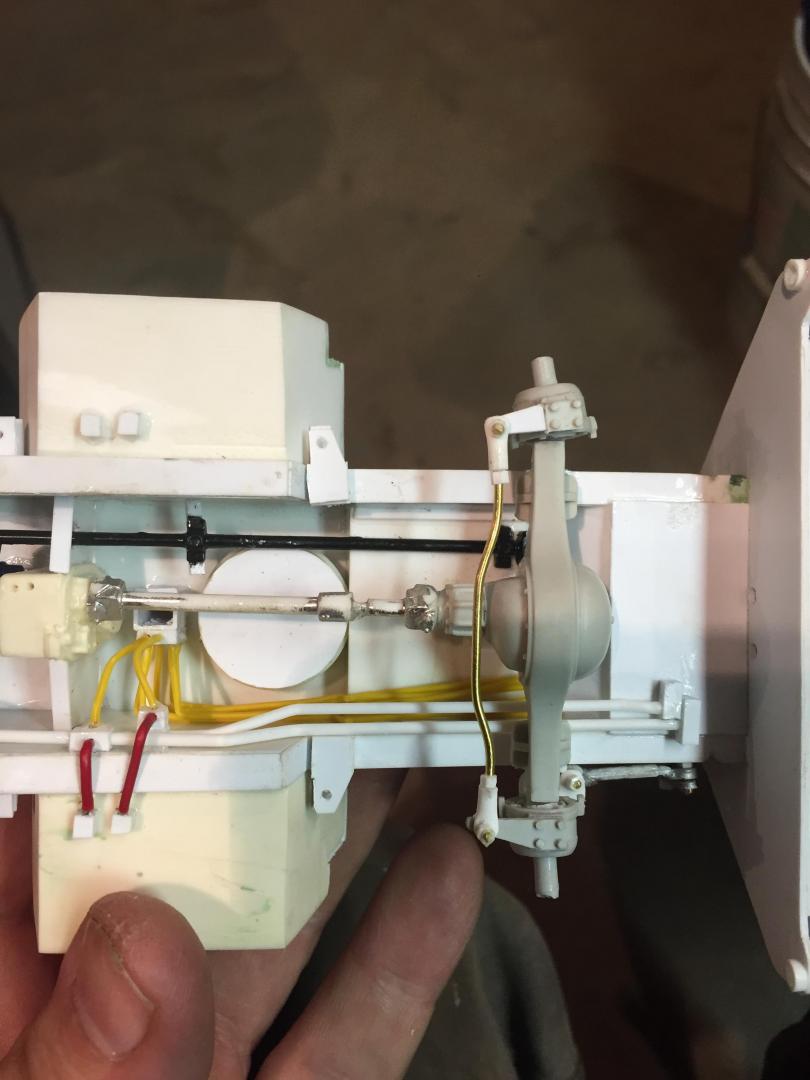
Since this not only has full four wheel hydraulic steering, it also has conventional mechanical steering on the front axle, so just added that too. Added the gauge bezels to the dashboard, will apply decals and epoxy lenses after paint. Guess it's just about time to start installing all of the hydraulic lines.......probably going to be a mile of 'em! Here's a mockup of progress so far.


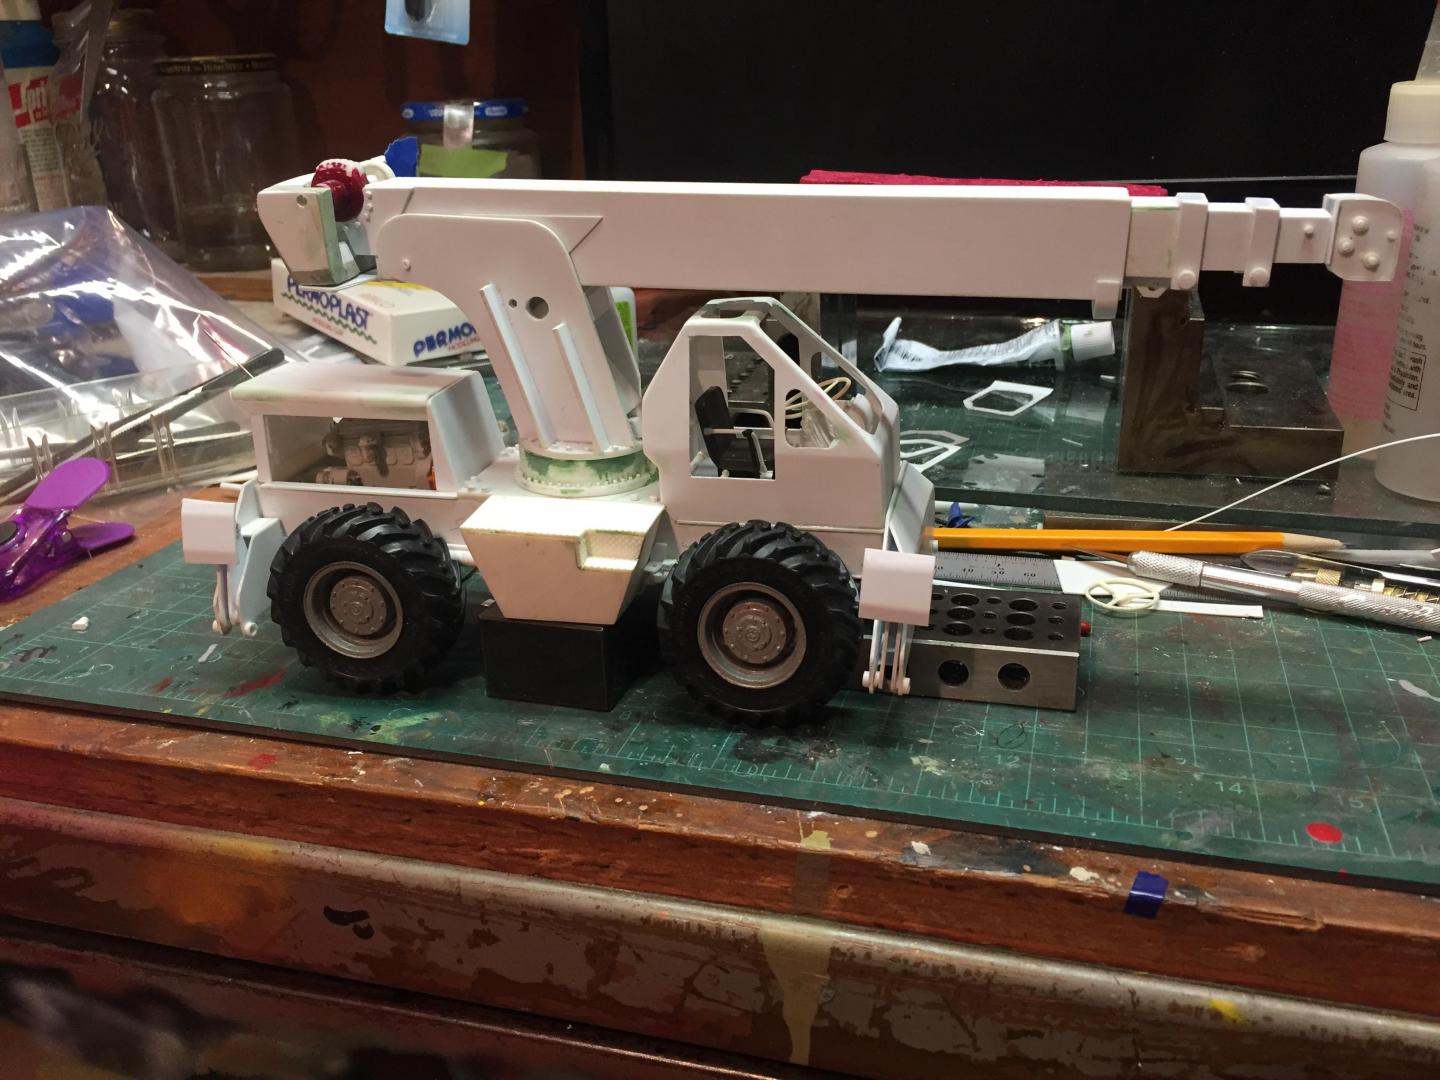


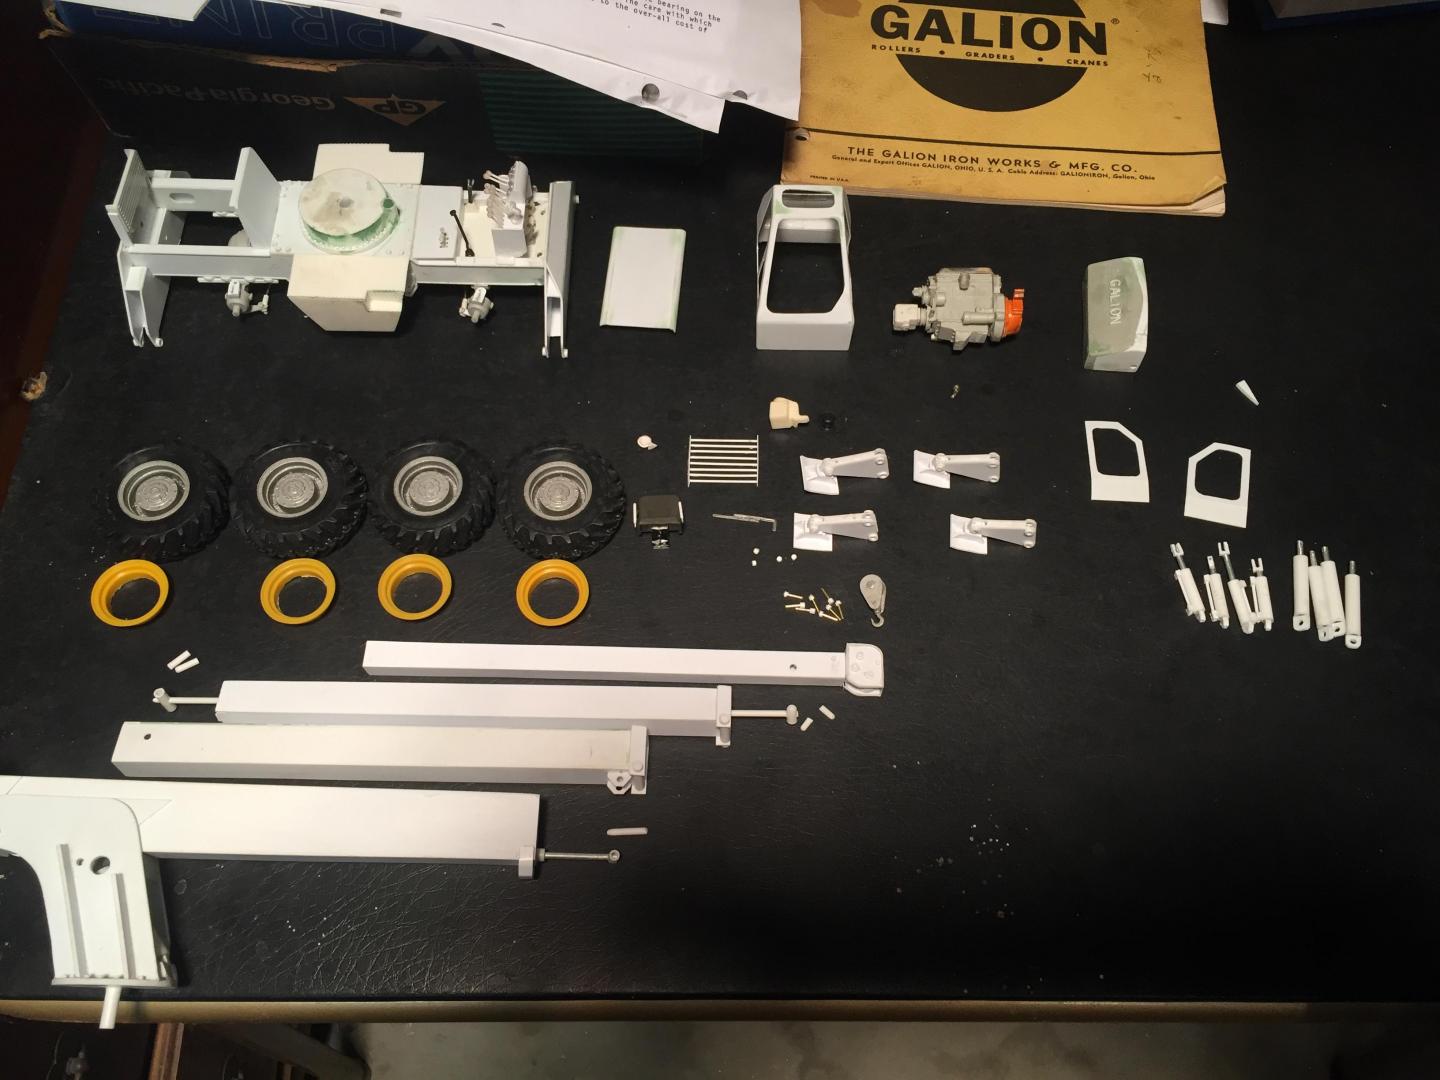
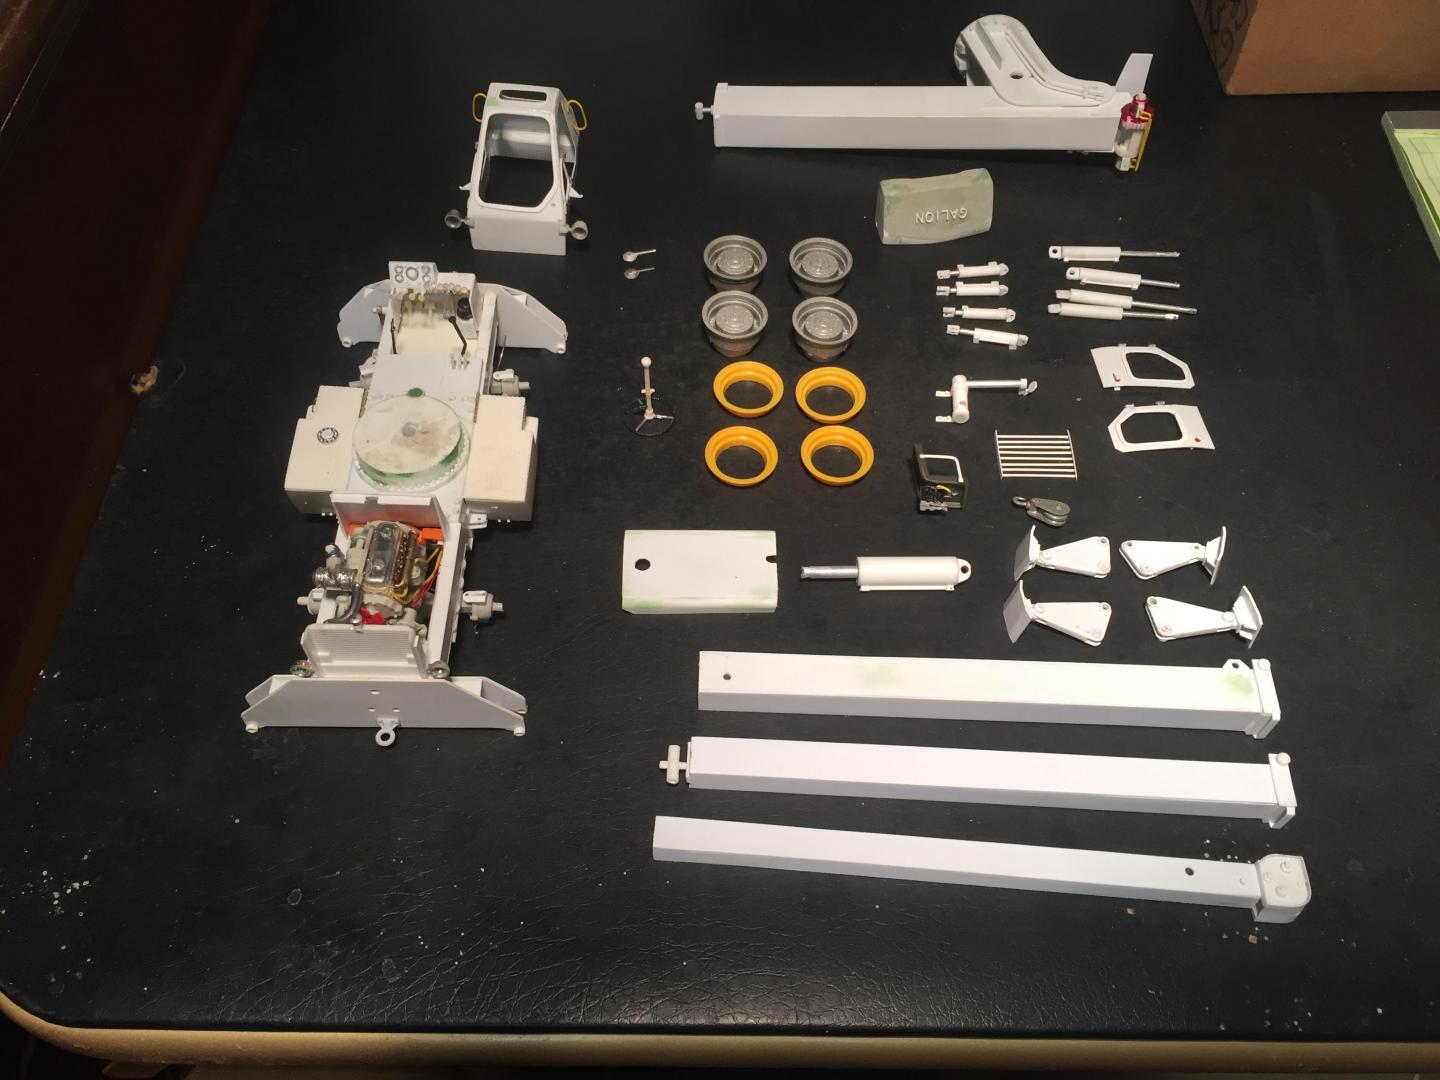
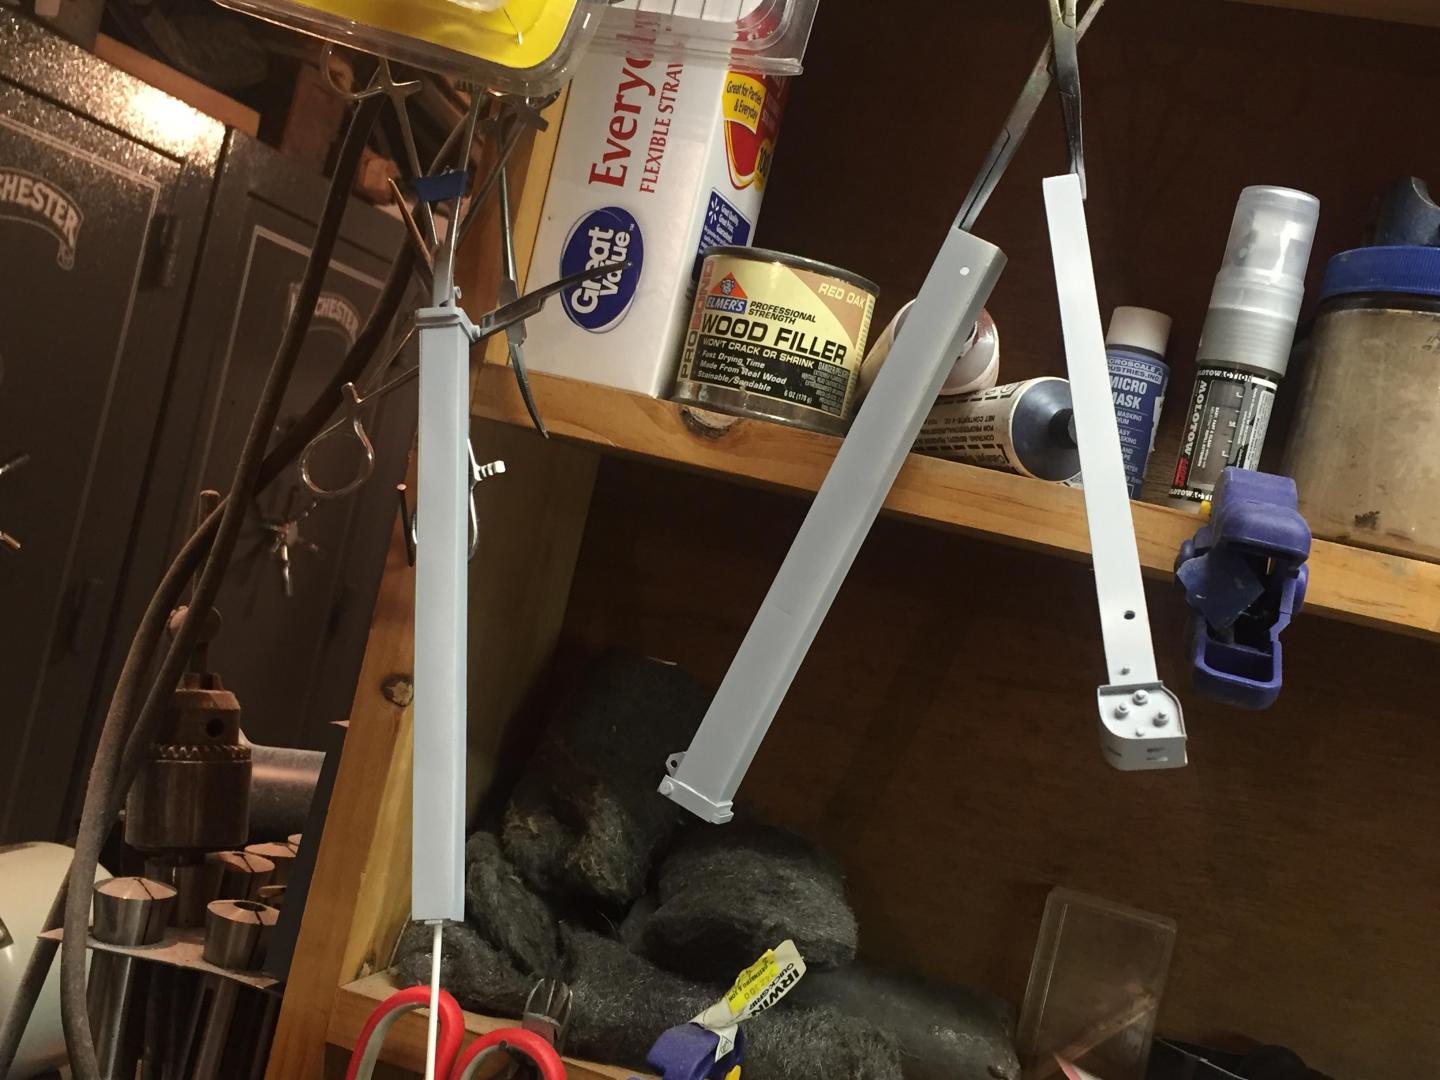
Well, it's about to the time where I have to do the piping and figure out the proper order of paint vs. assembly. So, here's a photo of what I have so far, and my punch list which will undoubtedly have a few detours along the way. I had to make a choice of making it look like it had been repainted along the way, and all of the hoses got painted too, or install the hoses after it's painted. I am going to shoot for paint, then do the hoses. I hope to do very minor weathering but not a lot. Also shown here since I didn't really do a good job on photos when I built it, is the boom and all of it's sections. This shows the extension cylinders, their attachment points, and gives a better idea of how it works, exactly like the original. The main boom has the cylinder inside, underneath section 2. Section two extends from the main. Section 3 has tandem cylinders, one atop the other, one extending out each end of the section. It pushes itself out of section 2 and pushes section 4 out of itself. The cylinders inside sections 2, 3, and 4 are hidden when assembled. A lot of the hoses are hidden within the frame and boom, but I'm going to make it look as true to the original as I can.


Added the lower half of the hydraulic swivel joint and all of the fixed piping to the chassis today, this will get painted. Still have to add the flexible hoses for the steering after paint. Now it's on to the boom and the fixed piping there. One step at a time!


|
|
|
|
Post by 41chevy on Oct 28, 2019 12:14:08 GMT -6
Sure looks fantastic to me!
|
|
|
|
Post by 78KW on Oct 29, 2019 19:26:43 GMT -6
Amazing craftsmanship.
|
|
|
|
Post by 41chevy on Nov 6, 2019 13:39:53 GMT -6
Moved it for you Paul
|
|
|
|
Post by gatormarcincebu on Nov 8, 2019 23:04:33 GMT -6
Glad to see you back on this project . You are really doing a great job on it !
Be Well
Gator
|
|
|
|
Post by redneckrigger on Nov 17, 2019 21:03:54 GMT -6
Installed the boom swing swivel joint and the hard piped portion of the hydraulics for the winch, winch brake and the crowd cylinders. All the rest of the piping will be flexible hose after paint. On to the cab window gaskets and door hinges and tons of small details seemingly everywhere, and then the power plant details, and wheels and then paint! On a roll now!


Started making the window gaskets tonight. Got three of the seven done which is about all my hands can take in one session, but they are exactly what I hoped for. I made a template from the window opening on card stock. The I cut it out smaller than the opening, transferred it to .030 styrene, cut the opening, and then cut the whole thing out as a gasket, larger than the template, resulting in a great gasket. I then rounded the edges. I plan on painting the cab, painting the gaskets black and then attaching them with CA cement to the opening, and then attaching the glass from behind. So far so good! This was the part of this build that had me most concerned, but I think it's going to be great.

  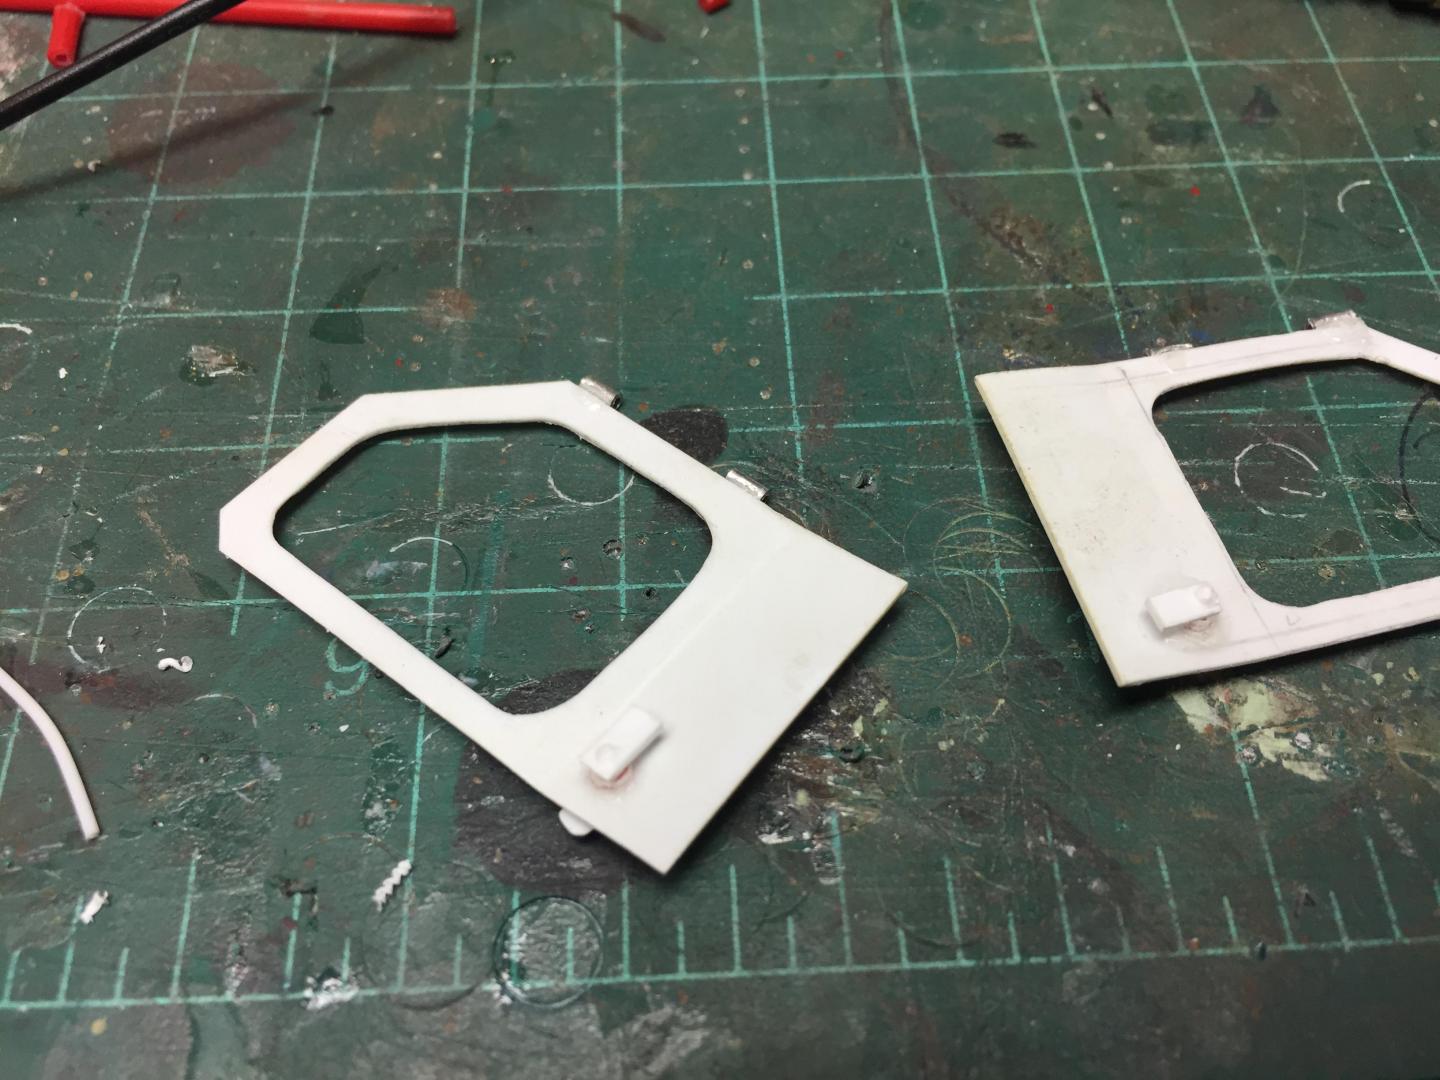
Finished making the window gaskets. Now I have to see if I trust my painting abilities with a tiny brush so I can attach them before I paint the cab and then paint them black later. I feel a lot better about attaching them that way, but my hands shake so bad.....!!?? Also hinged the cab doors and started the latches. The farther I get with this the tinier the parts get!


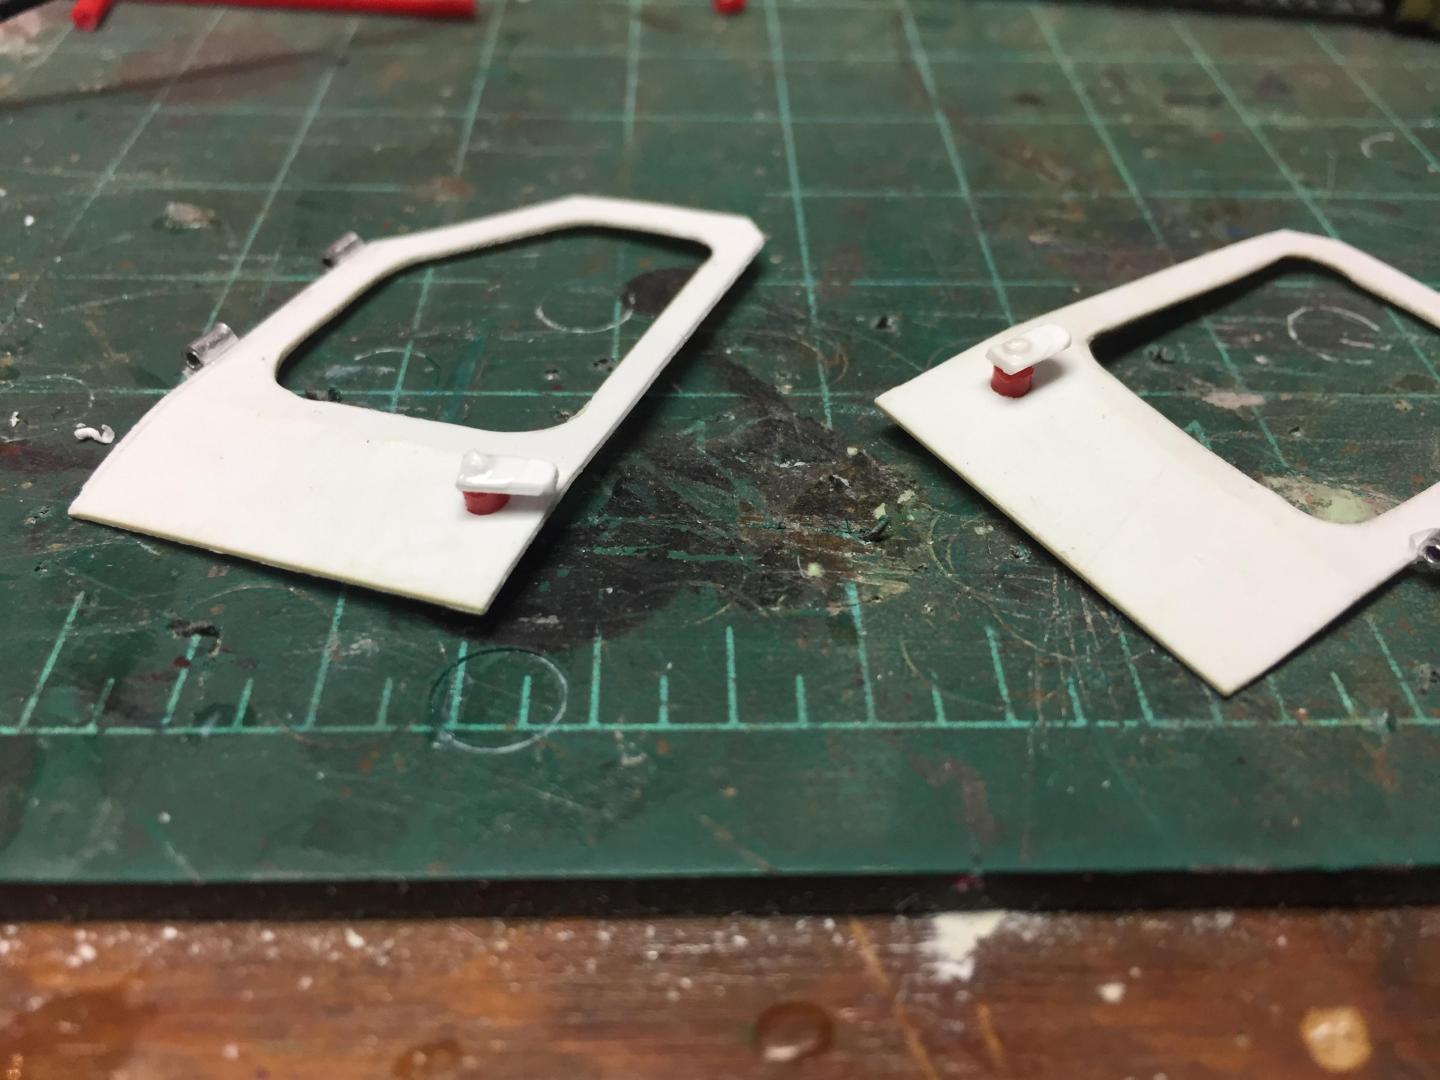
Attached the gaskets to the cab......will paint them after the cab gets painted. Looks decent so far!

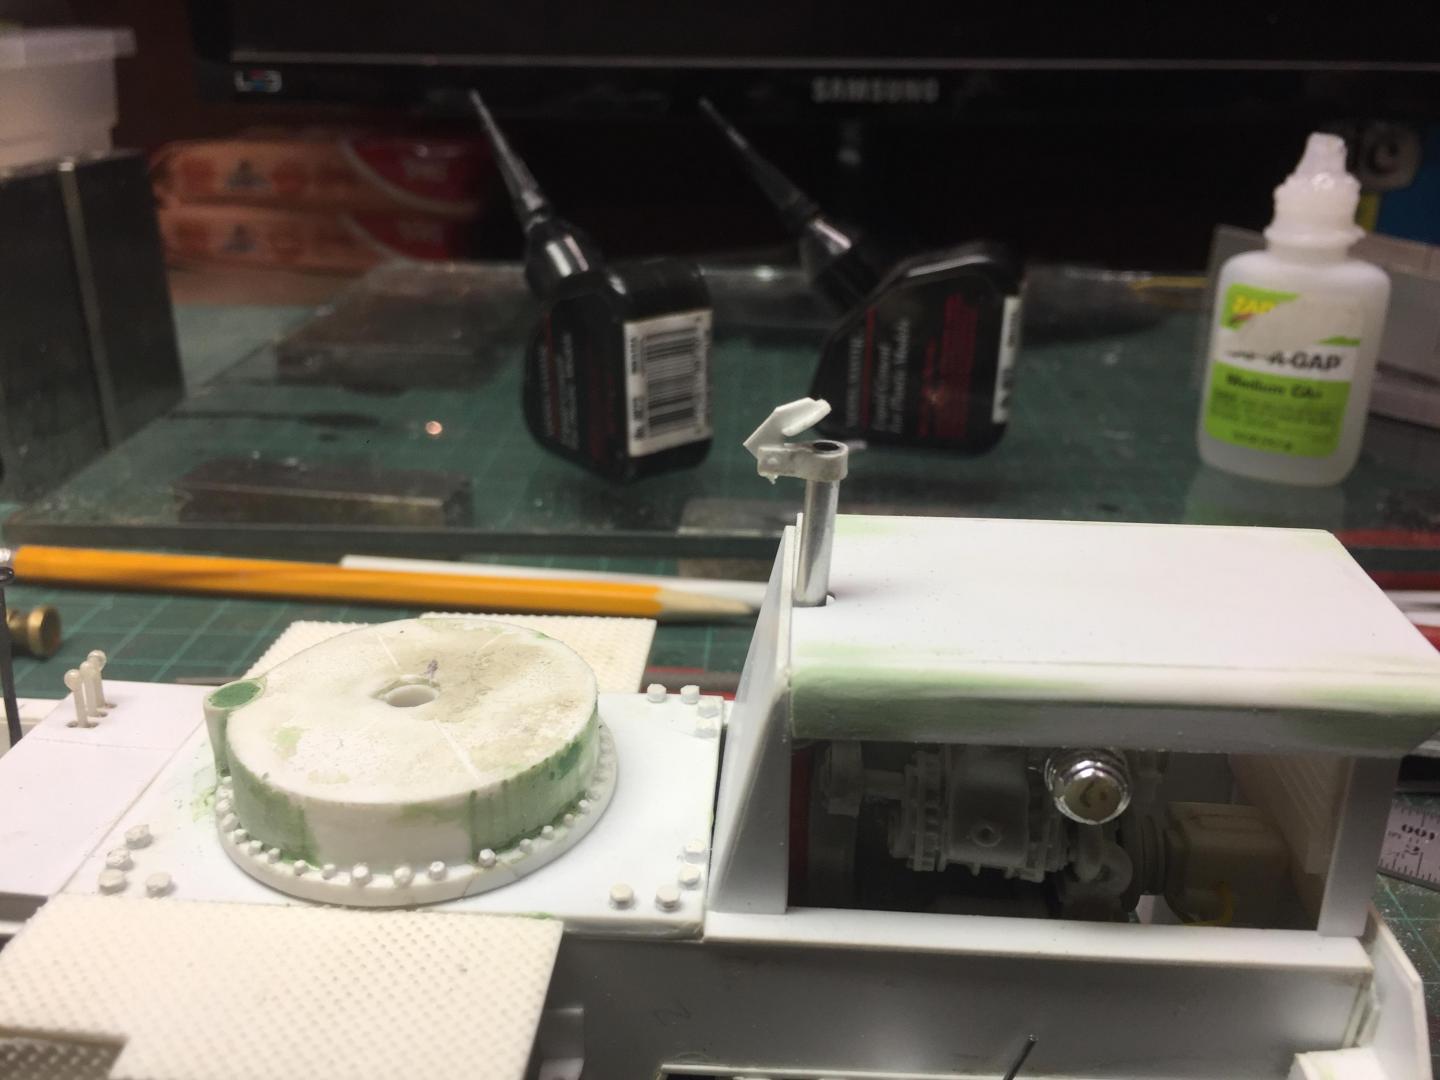
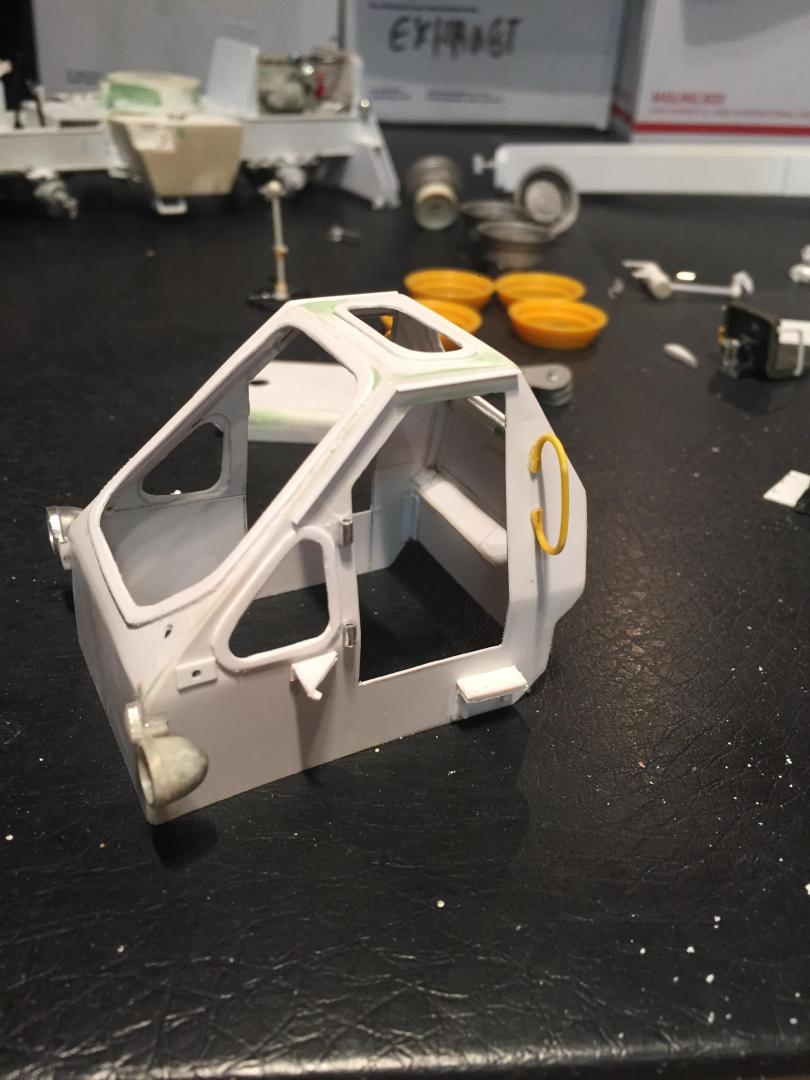
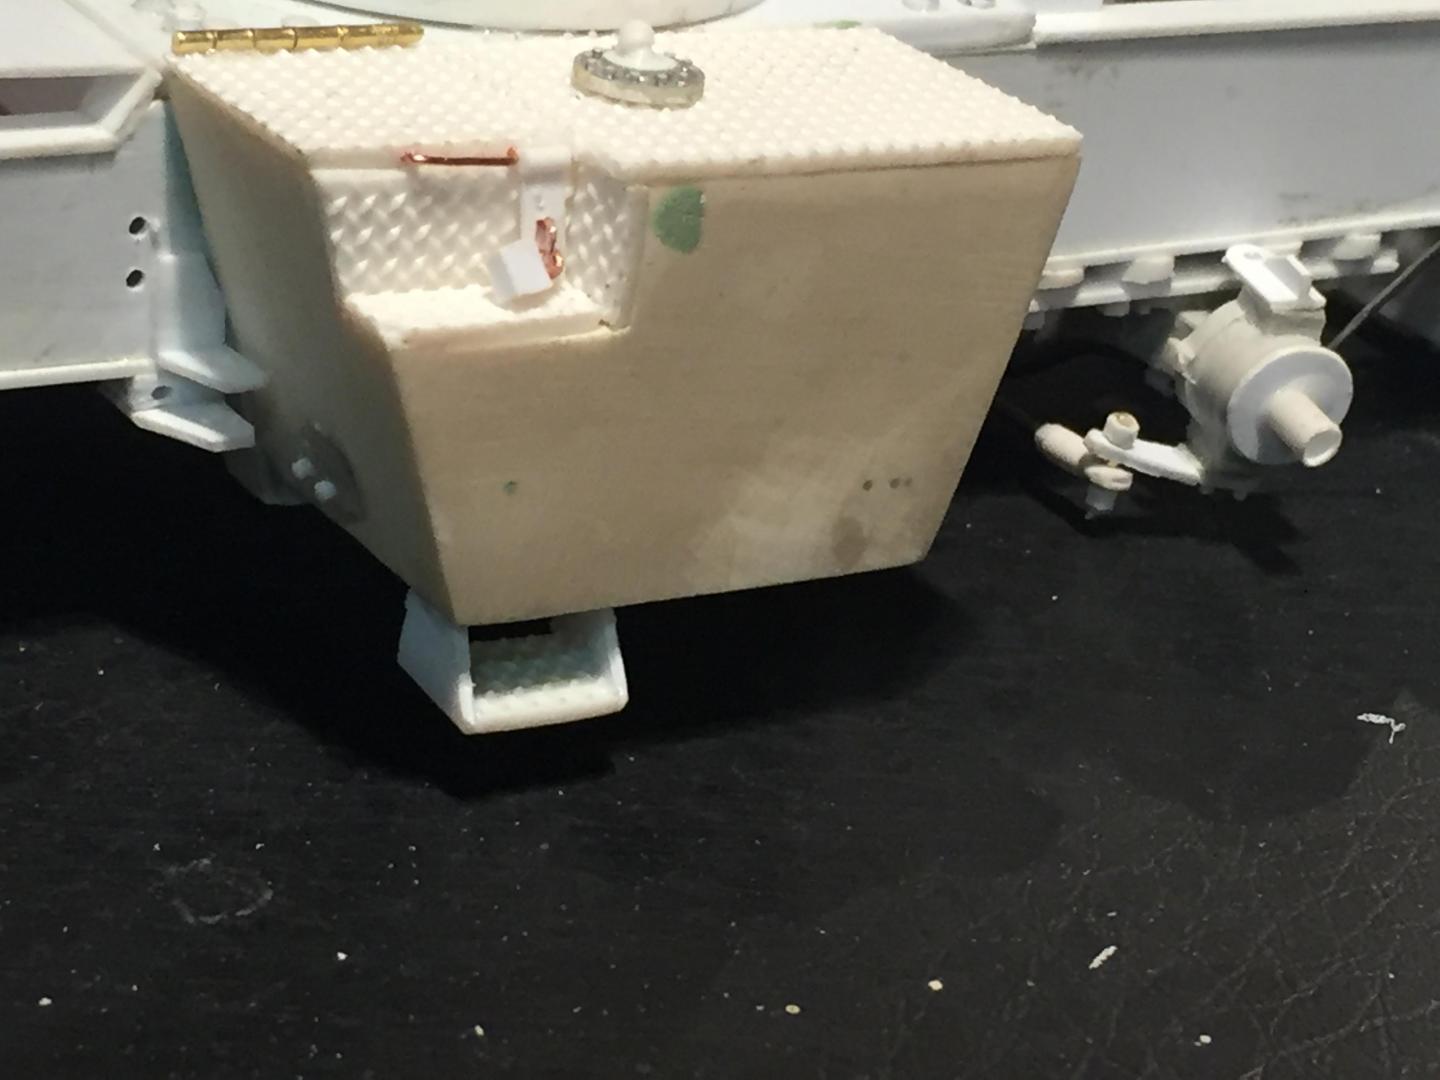
Spent some time adding details. Added grab handles to the cab, hinges and handles to the fuel tank and battery access lids, installed the engine, added fuel lines, coolant hoses, radiator cap, air filter, door stops, mirror brackets, head and tail lights, made the exhaust system, (the muffler Is not hollow, but it's filled with a clear lucite rod to make it solid.....it just is an illusion), cable retainers on top of the boom, LOTS of nuts and bolt details to the axles, turntable, swing gearbox and everywhere else that looked naked, hook travel tie down, hydraulic and fuel tank drain covers, hydraulic fill cap, and a LOT done on the punch list! Getting VERY close to paint now! There will be a LOT of subassemblies to paint separately then a lot of assembly time but the light at the end of the tunnel is actually visible! Guess it's time to mix some Galion yellow paint!


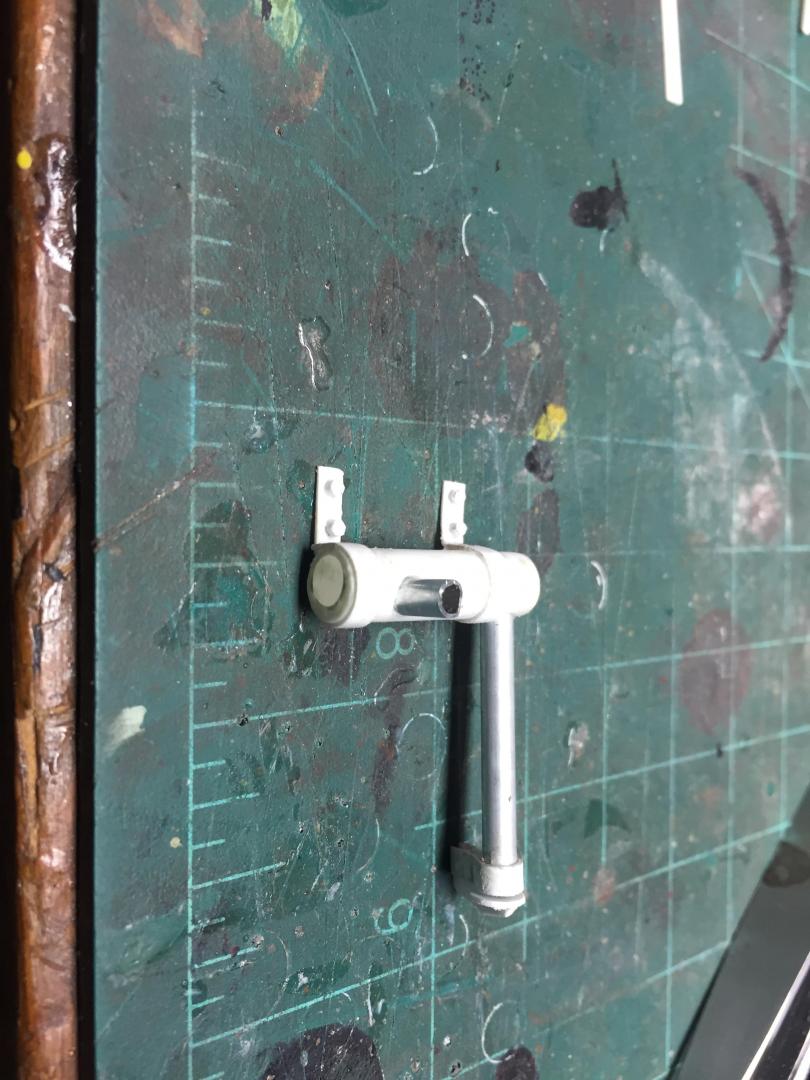
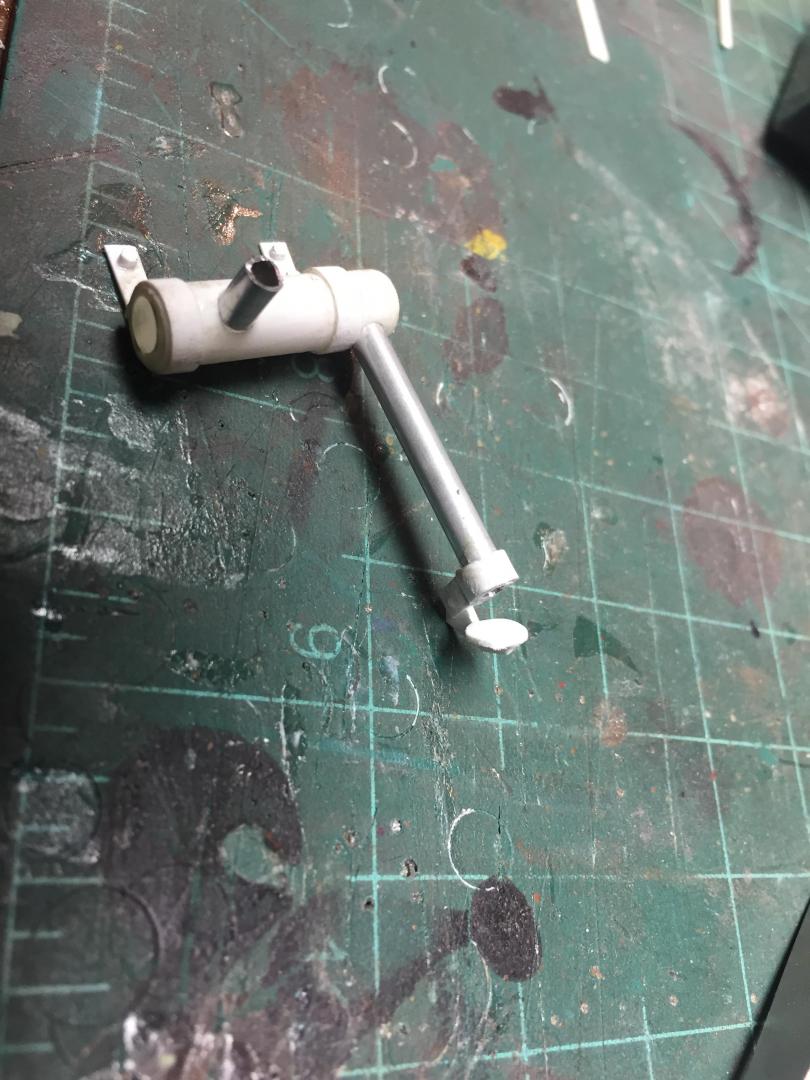
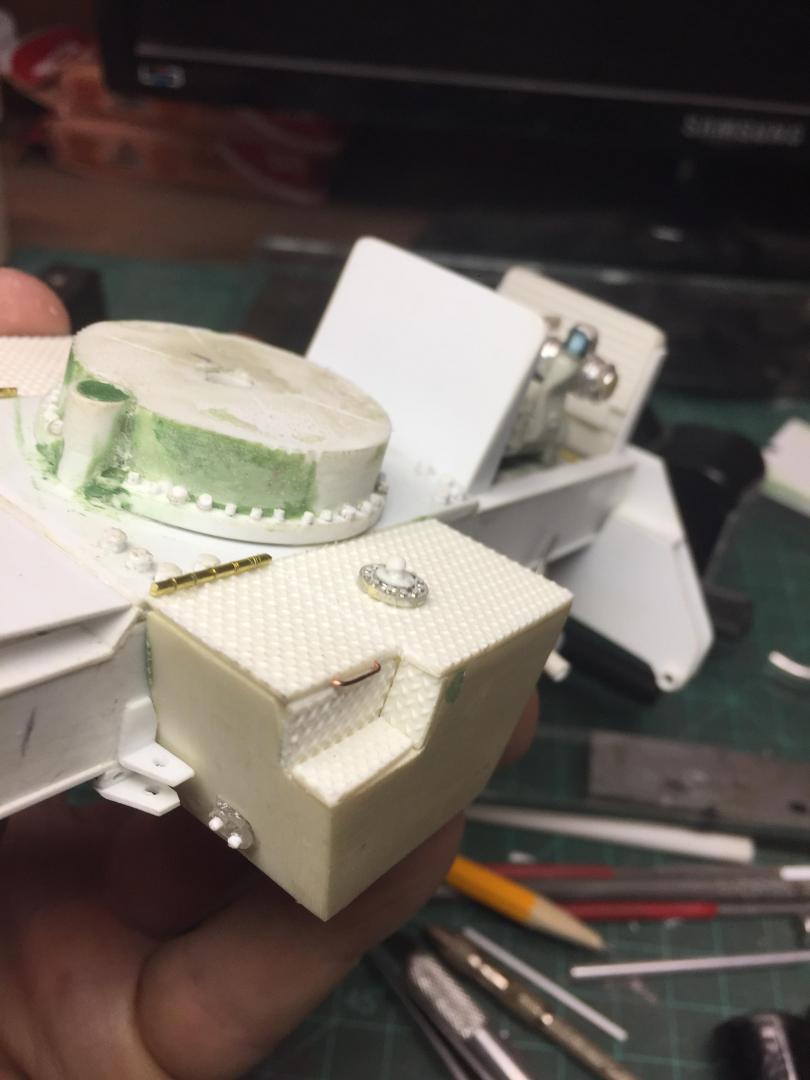
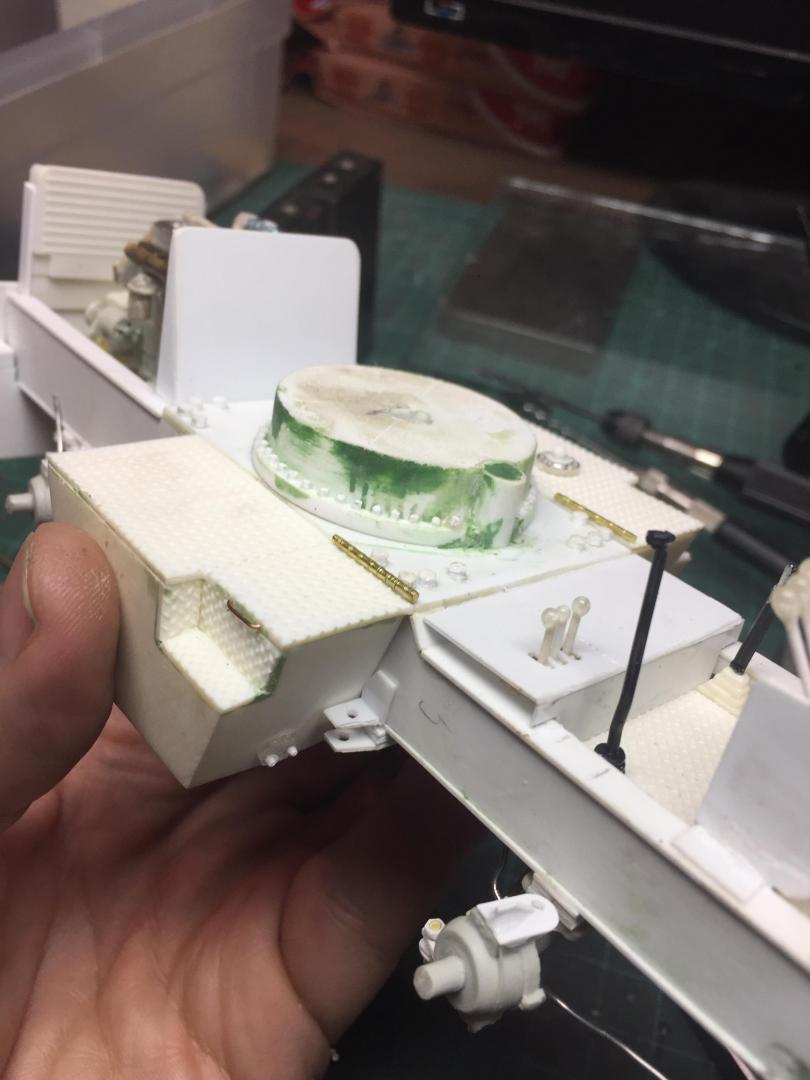


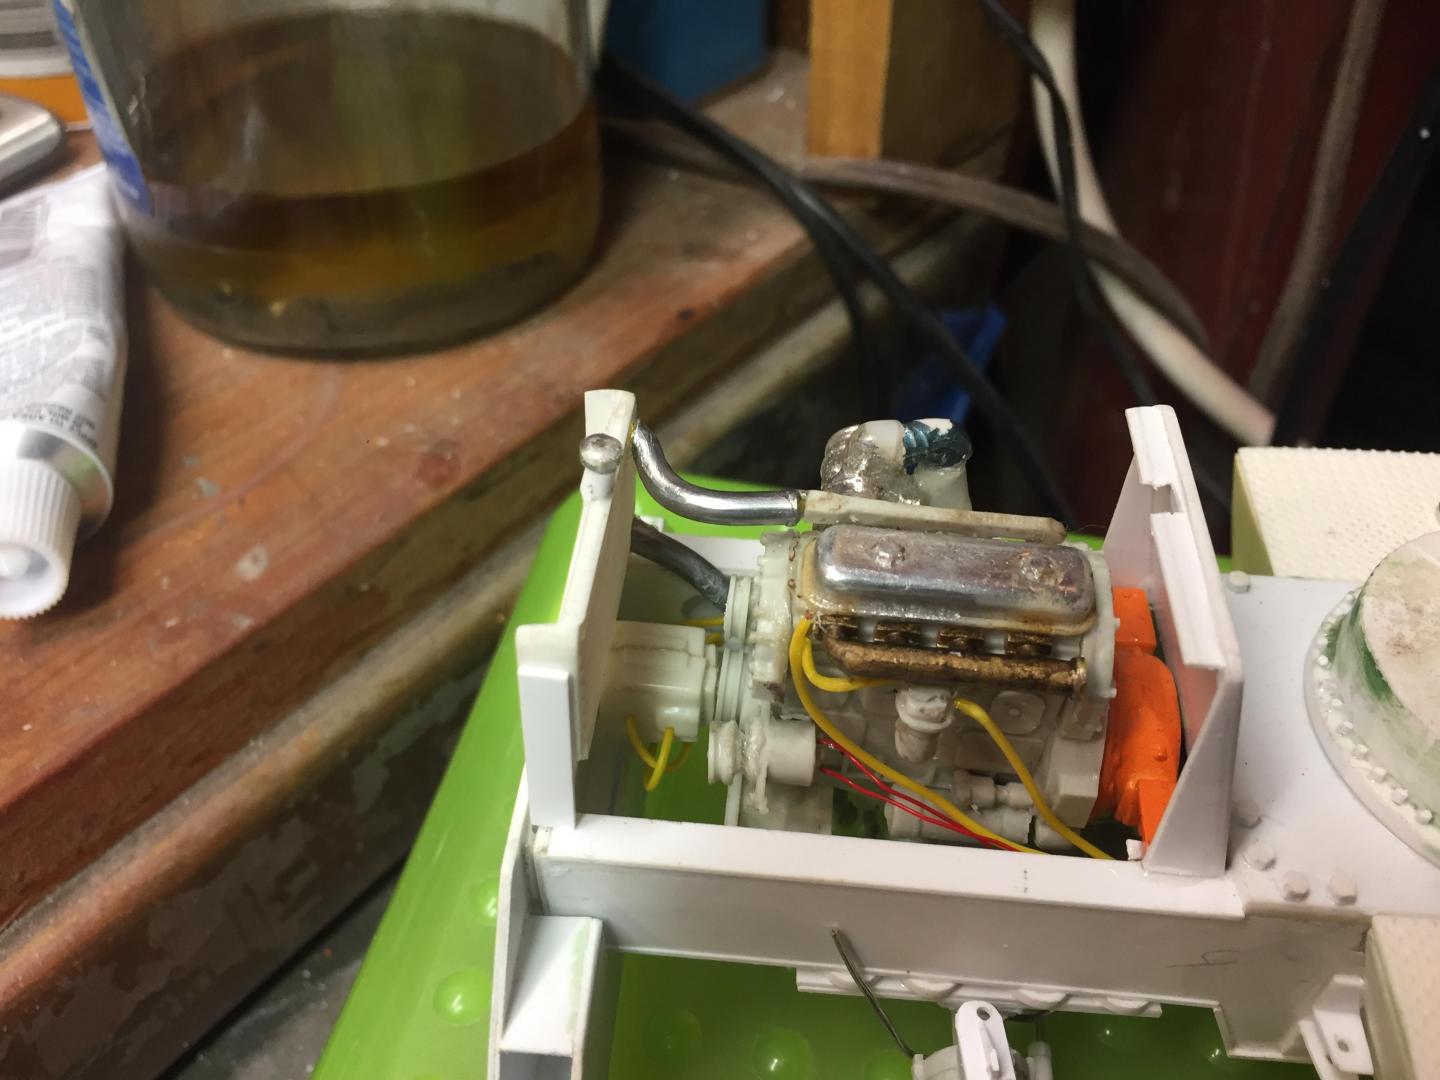
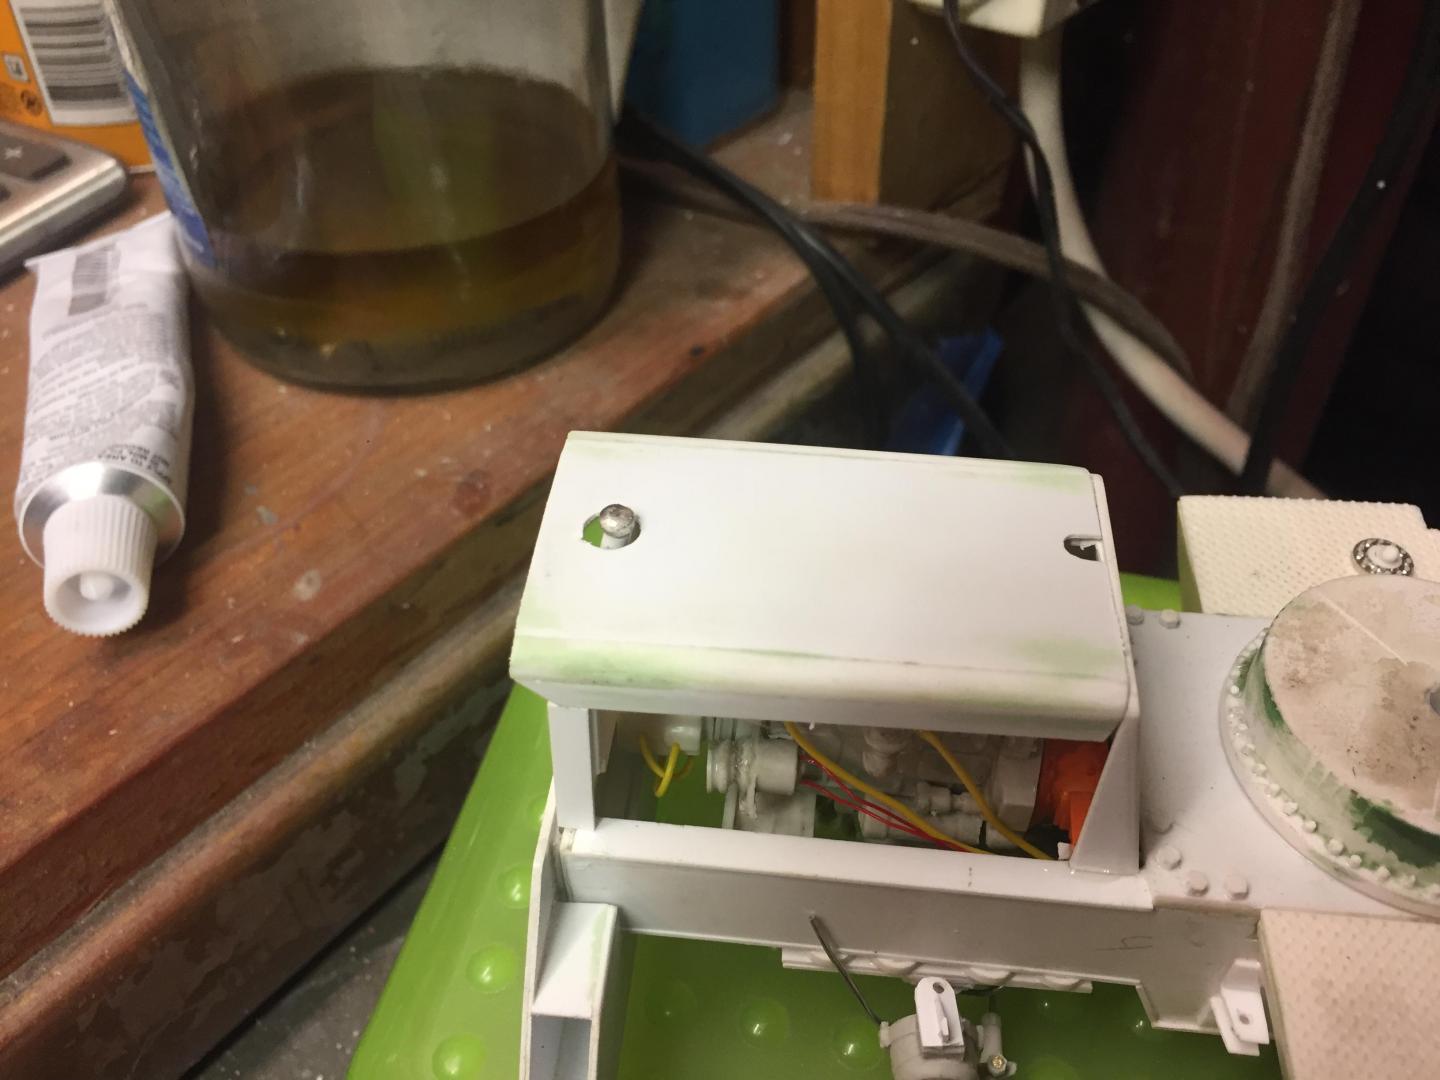


Ready for primer and paint!!!
|
|
|
|
Post by 41chevy on Nov 18, 2019 14:04:40 GMT -6
Thsoe details are coming along great and the window gasket is great and so simple. I steady my hand for detail painting in some instances by resting my wrist on a shot bag. Works pretty well for me. Paul
|
|
|
|
Post by redneckrigger on Nov 18, 2019 20:00:19 GMT -6
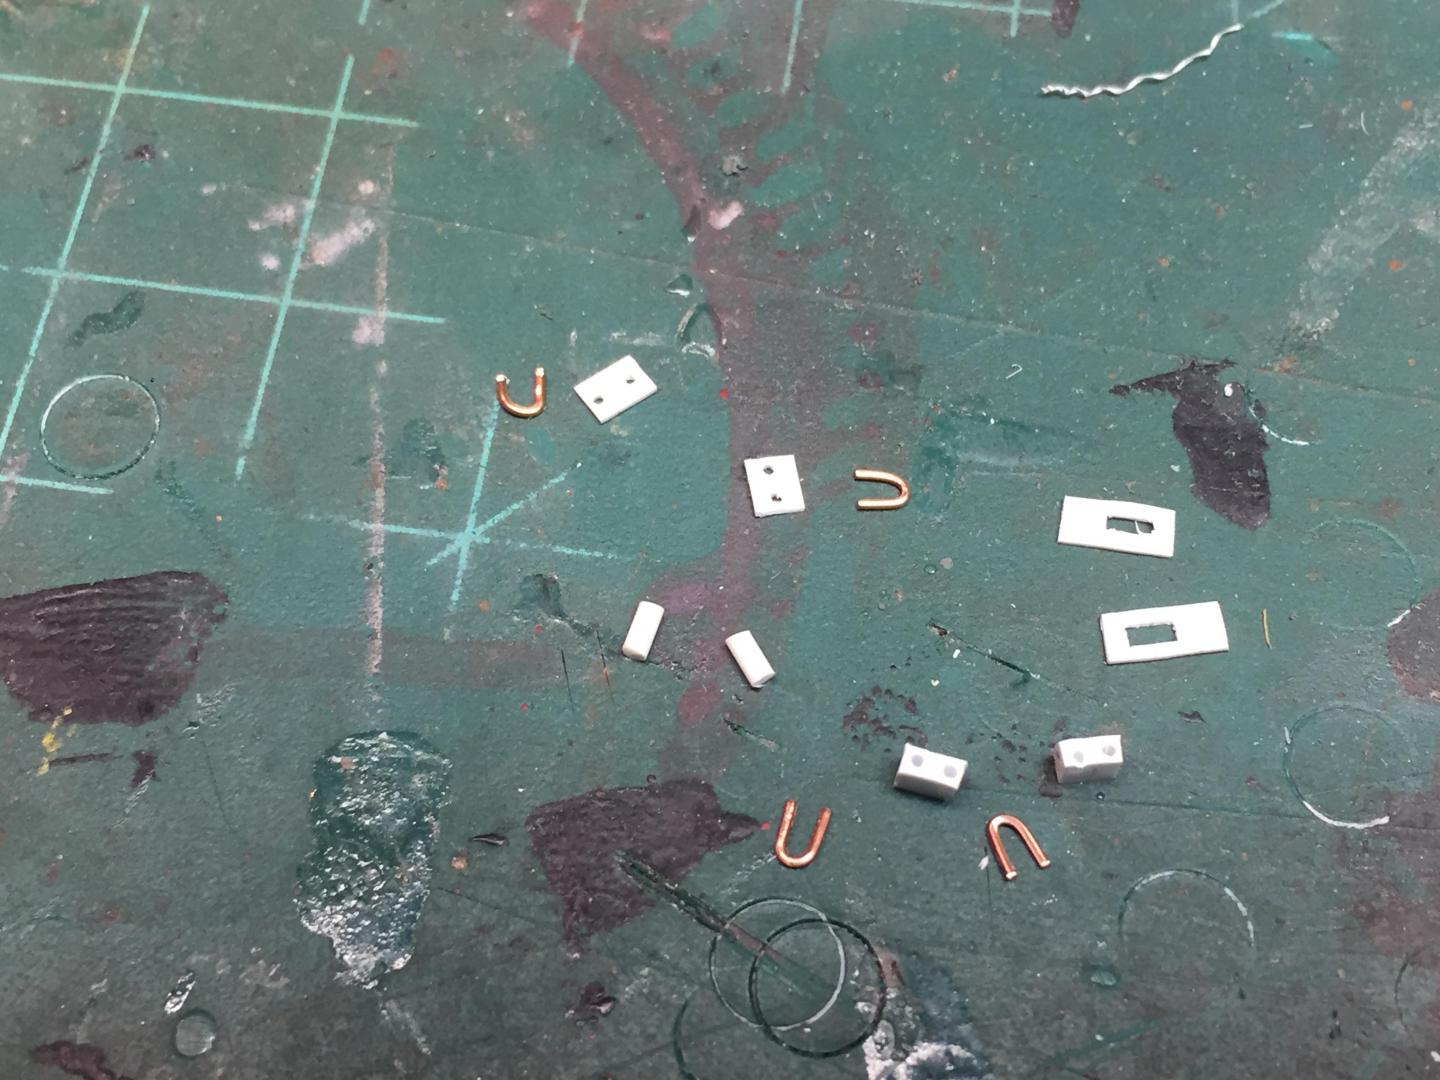
Thanks Paul.............great idea! Of course, just when I THOUGHT I was ready to paint, my mind got to thinking and I figured out a bunch of more details it needed. Added some hasps and padlocks to keep the toolboxes, batteries and fuel tank secure. Added some operators steps to get into the cab, and drip moldings to the cab, boom angle indicator, and the fan shroud. Now, if I can just shut my brain off, paint is next!

|
|
|
|
Post by redneckrigger on Nov 19, 2019 20:06:36 GMT -6
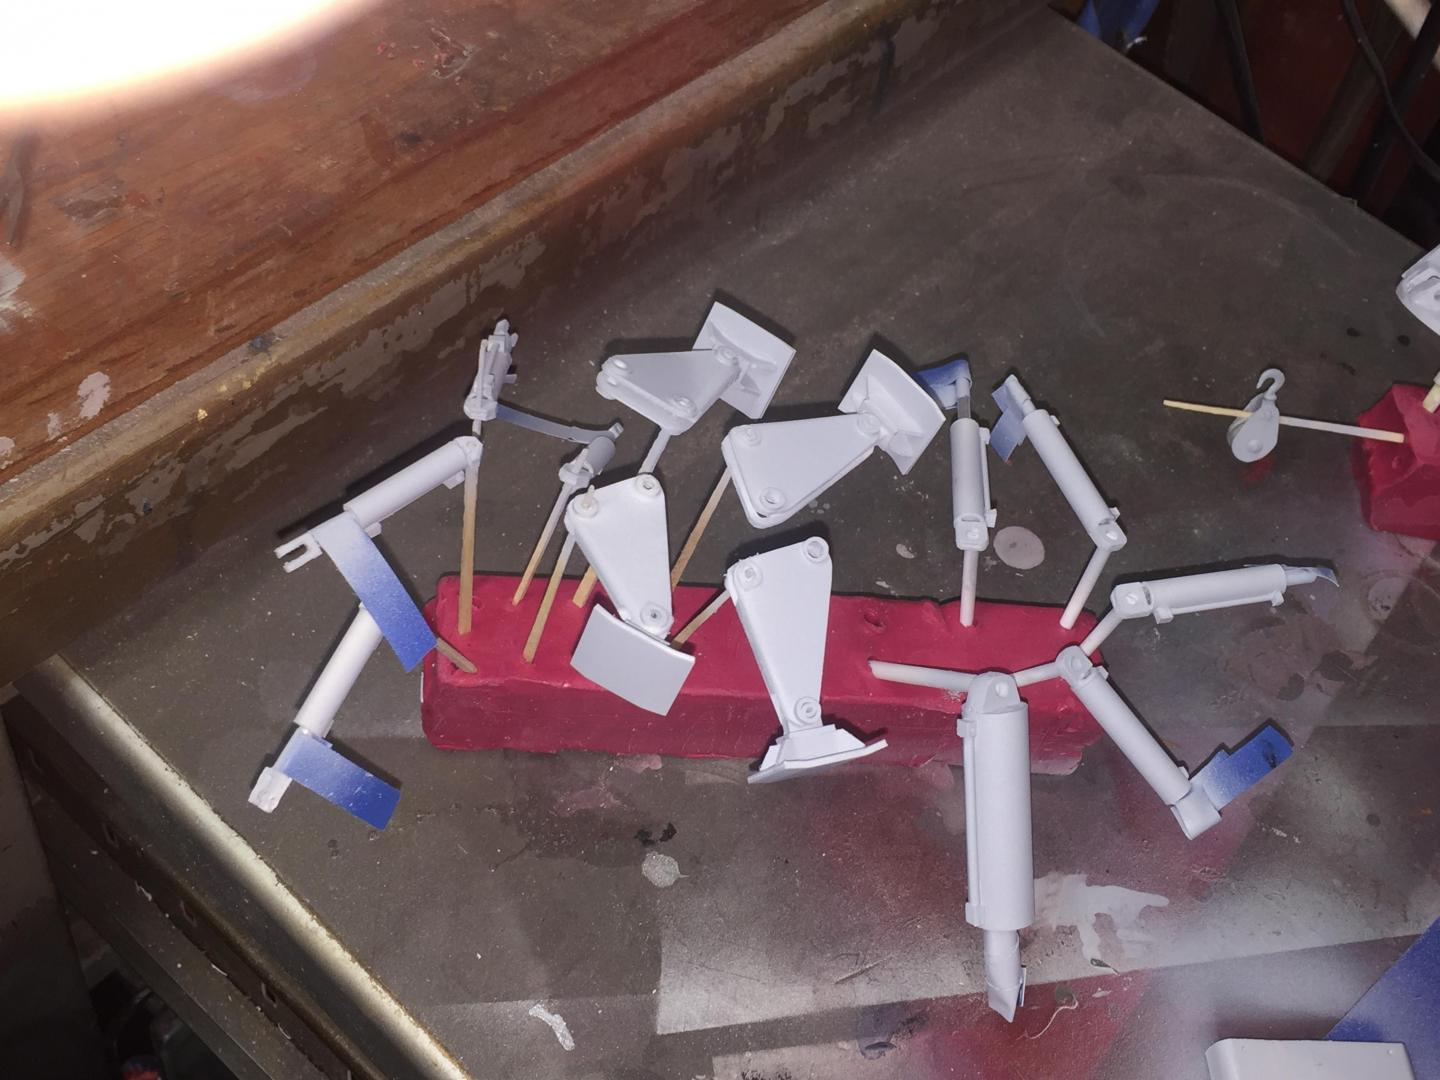
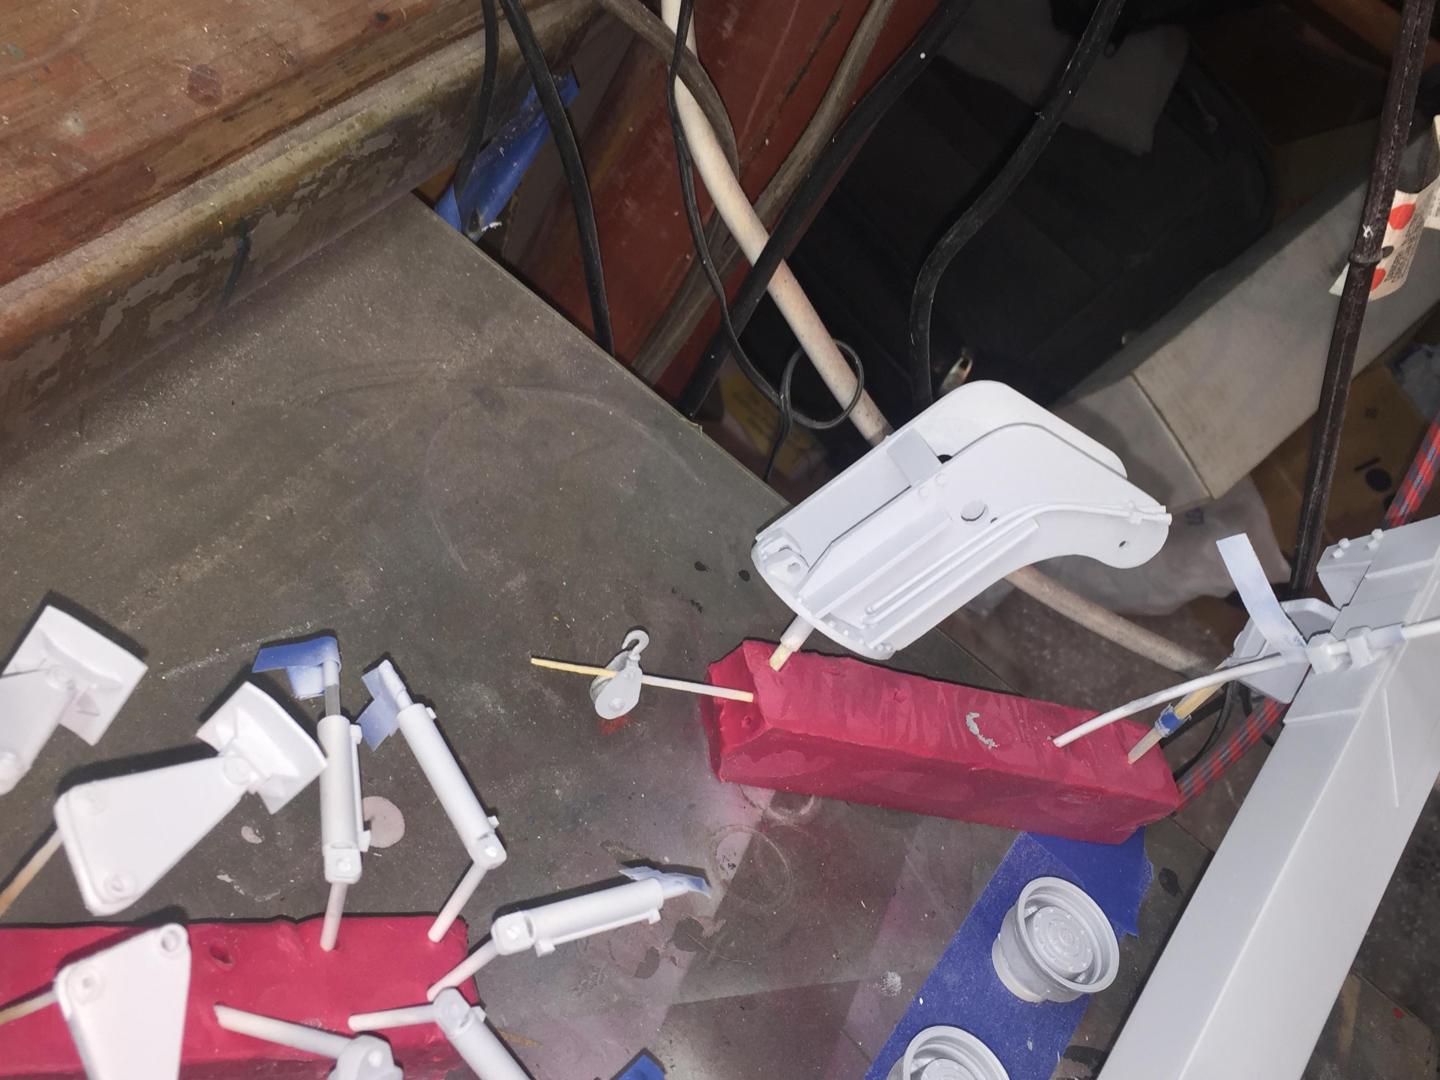
PRIMER!!!!!!!!!!!!!!!!!!!!




|
|
|
|
Post by redneckrigger on Nov 21, 2019 8:34:32 GMT -6
Broke out the yellow paint and finally got a finish coat of color on her. NOW, it looks like something! Have lots of assembly to do and lots of small detail painting and such to do, but she sure is looking great!
|
|
|
|
Post by trailking120 on Nov 23, 2019 21:40:43 GMT -6
WOW!!!!! This project is fantastic!! I can't wait to see it in person.  |
|
|
|
Post by redneckrigger on Nov 24, 2019 19:50:18 GMT -6
I will be at the Spring Thaw show with this. Couldn't make Fulton, weather sucked, but it gave me a day to work on this build!
|
|
|
|
Post by redneckrigger on Nov 25, 2019 17:56:47 GMT -6
Got all the small parts unmasked and ready for assembly. Just gotta be patient to let the paint cure a bit!

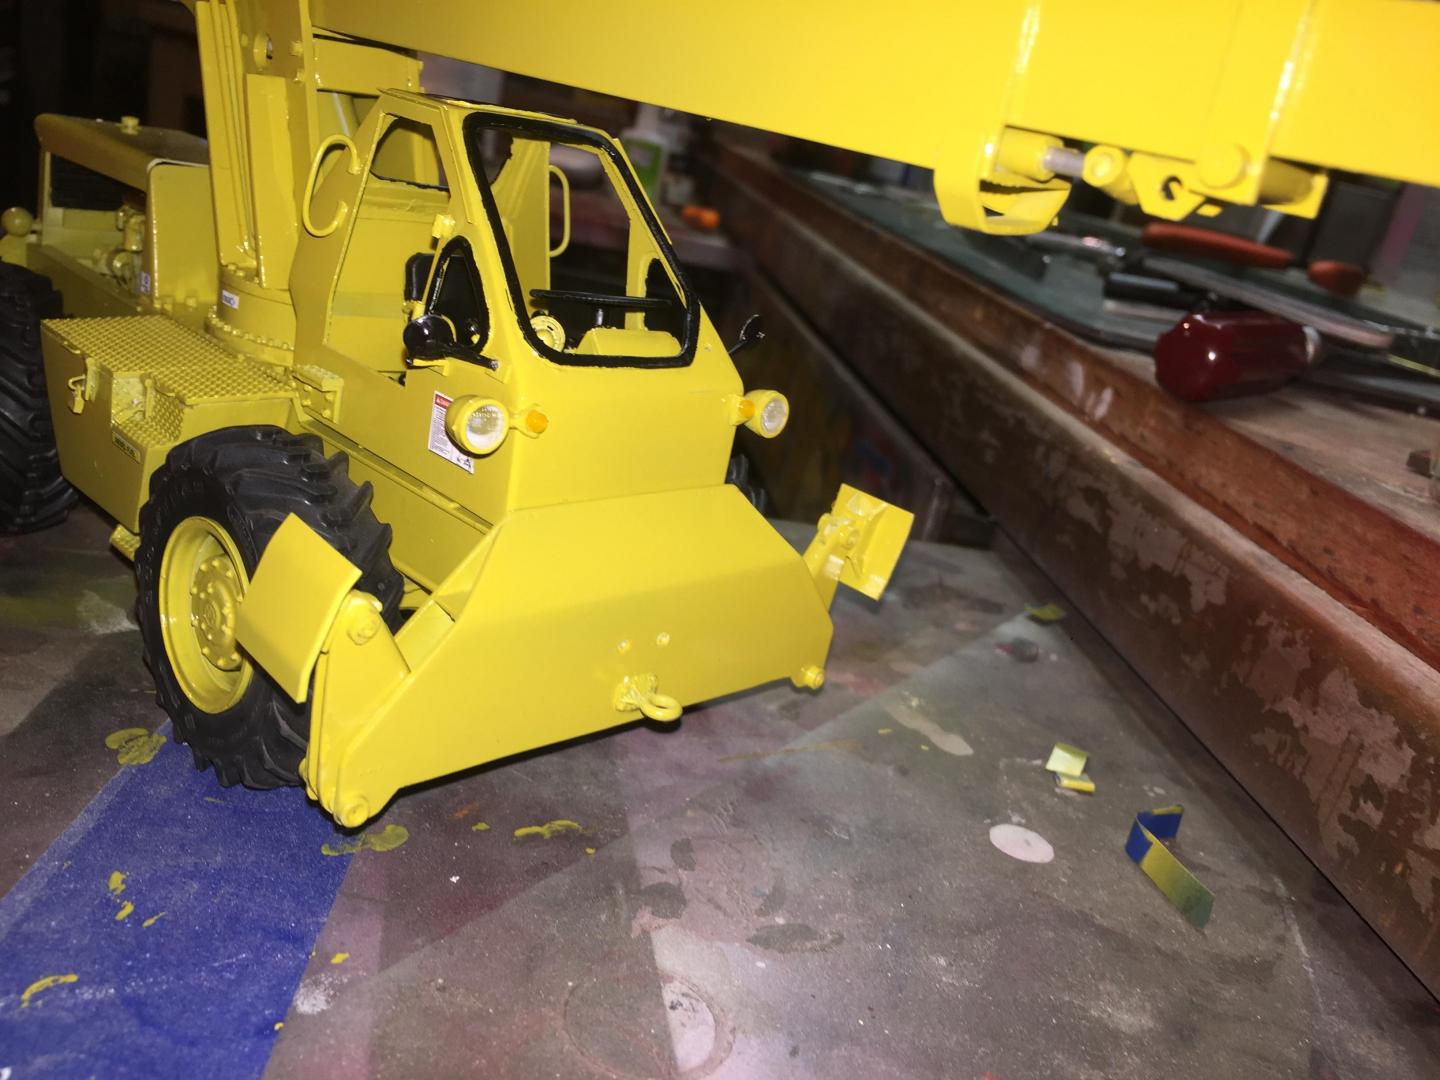
Steering cylinders installed and piped, outriggers installed & piped. Operators controls detailed, gauge decals, caution decals, bits and pieces here and there, and the window gaskets painted.
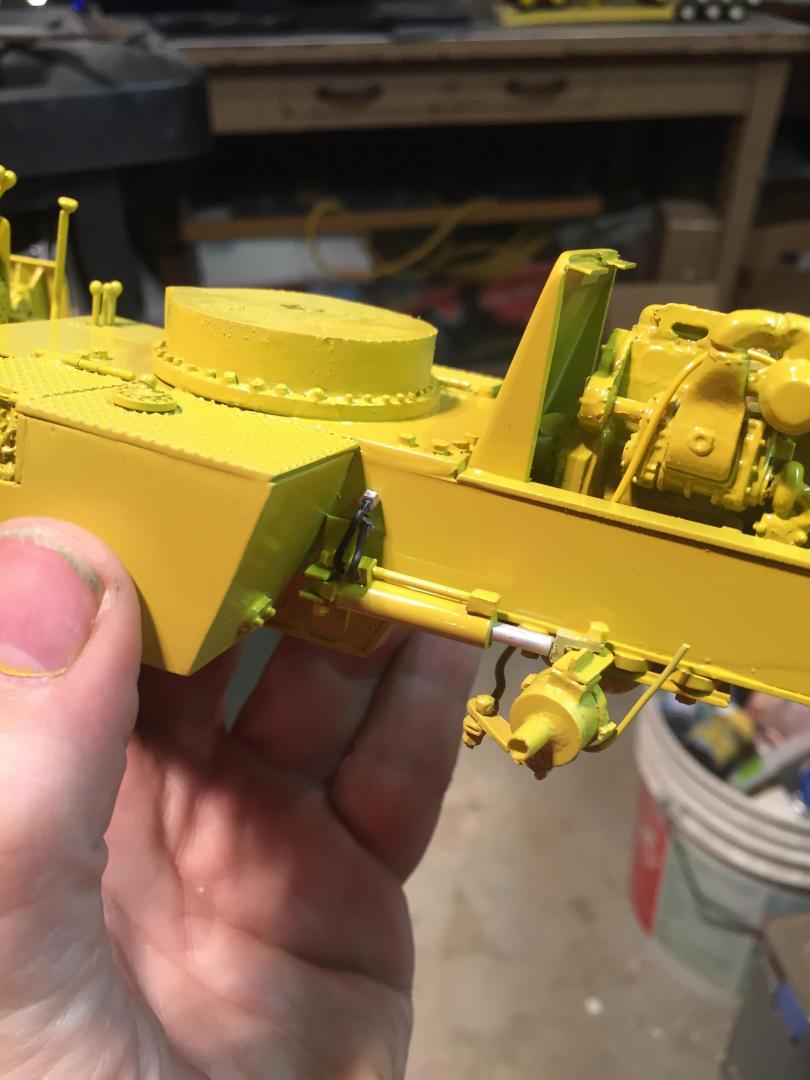

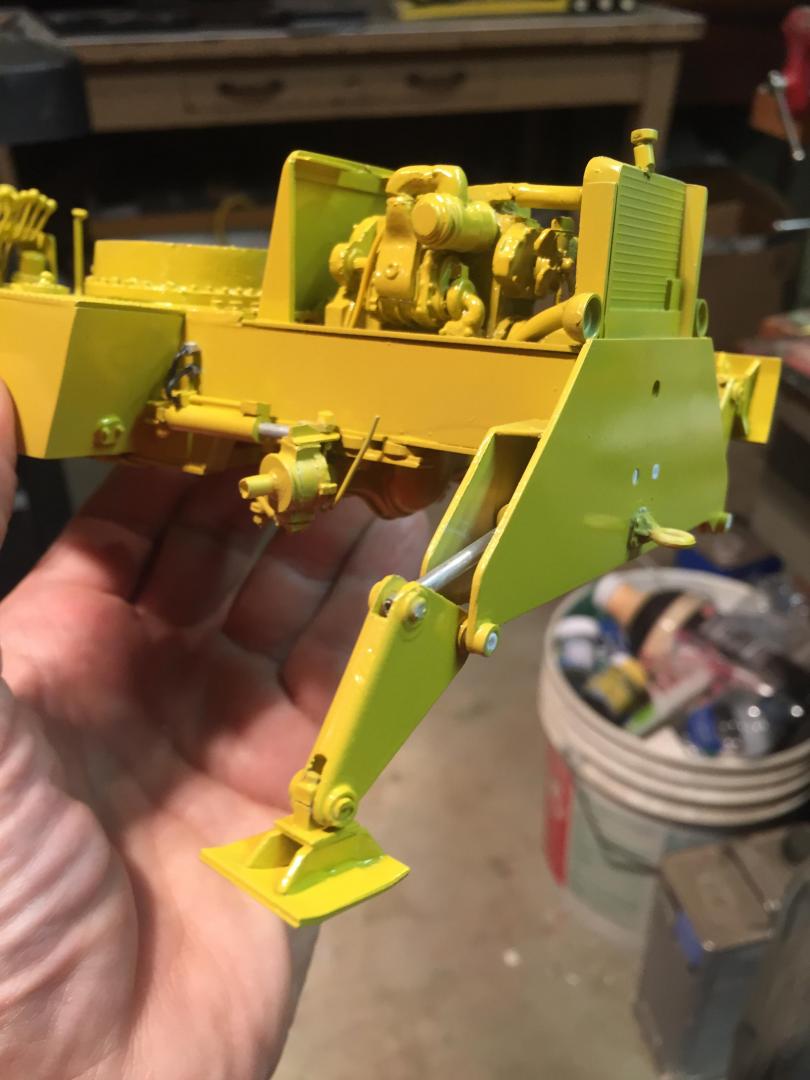
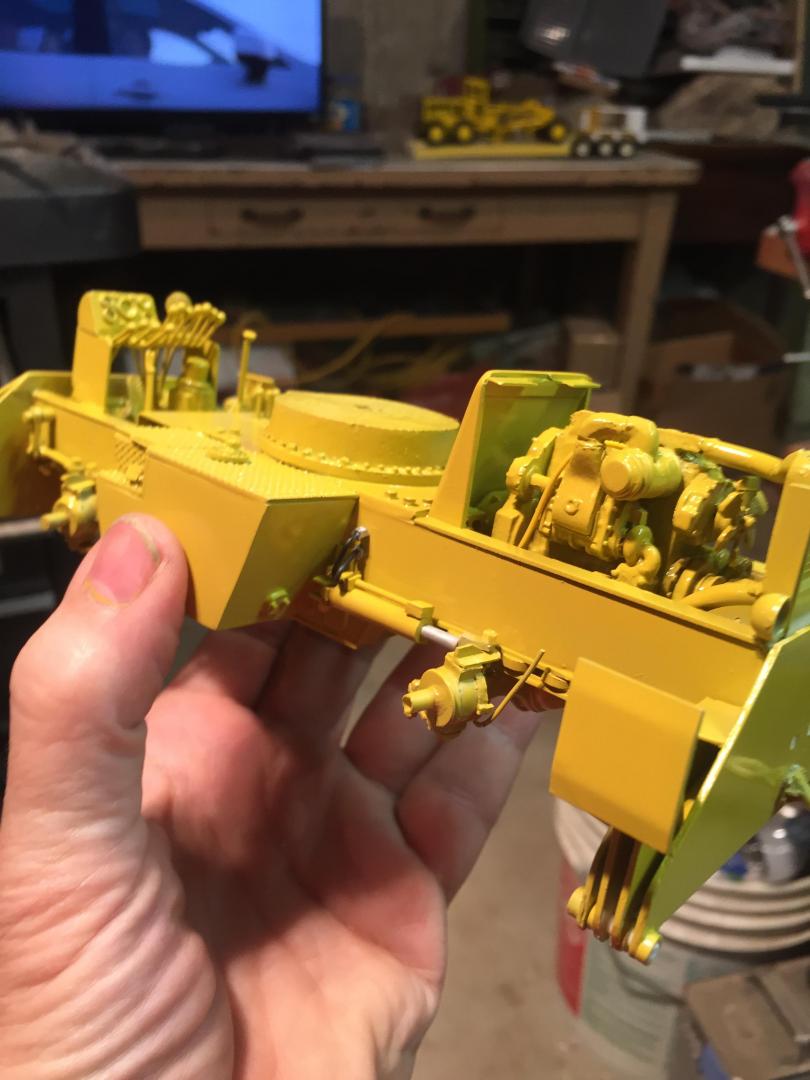


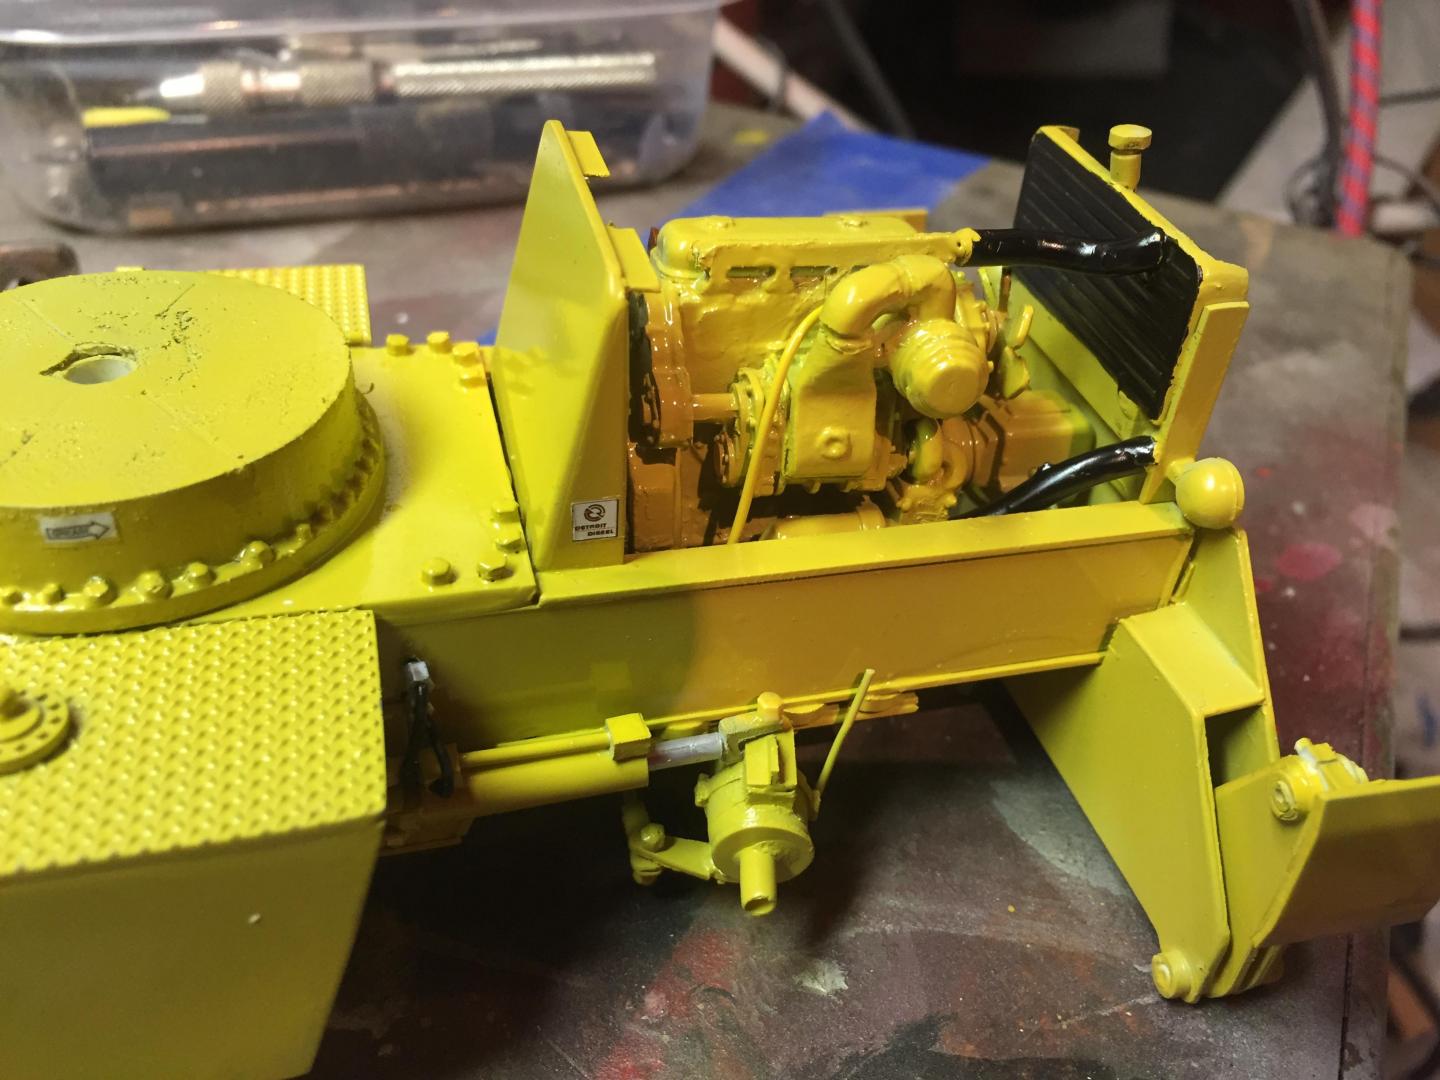


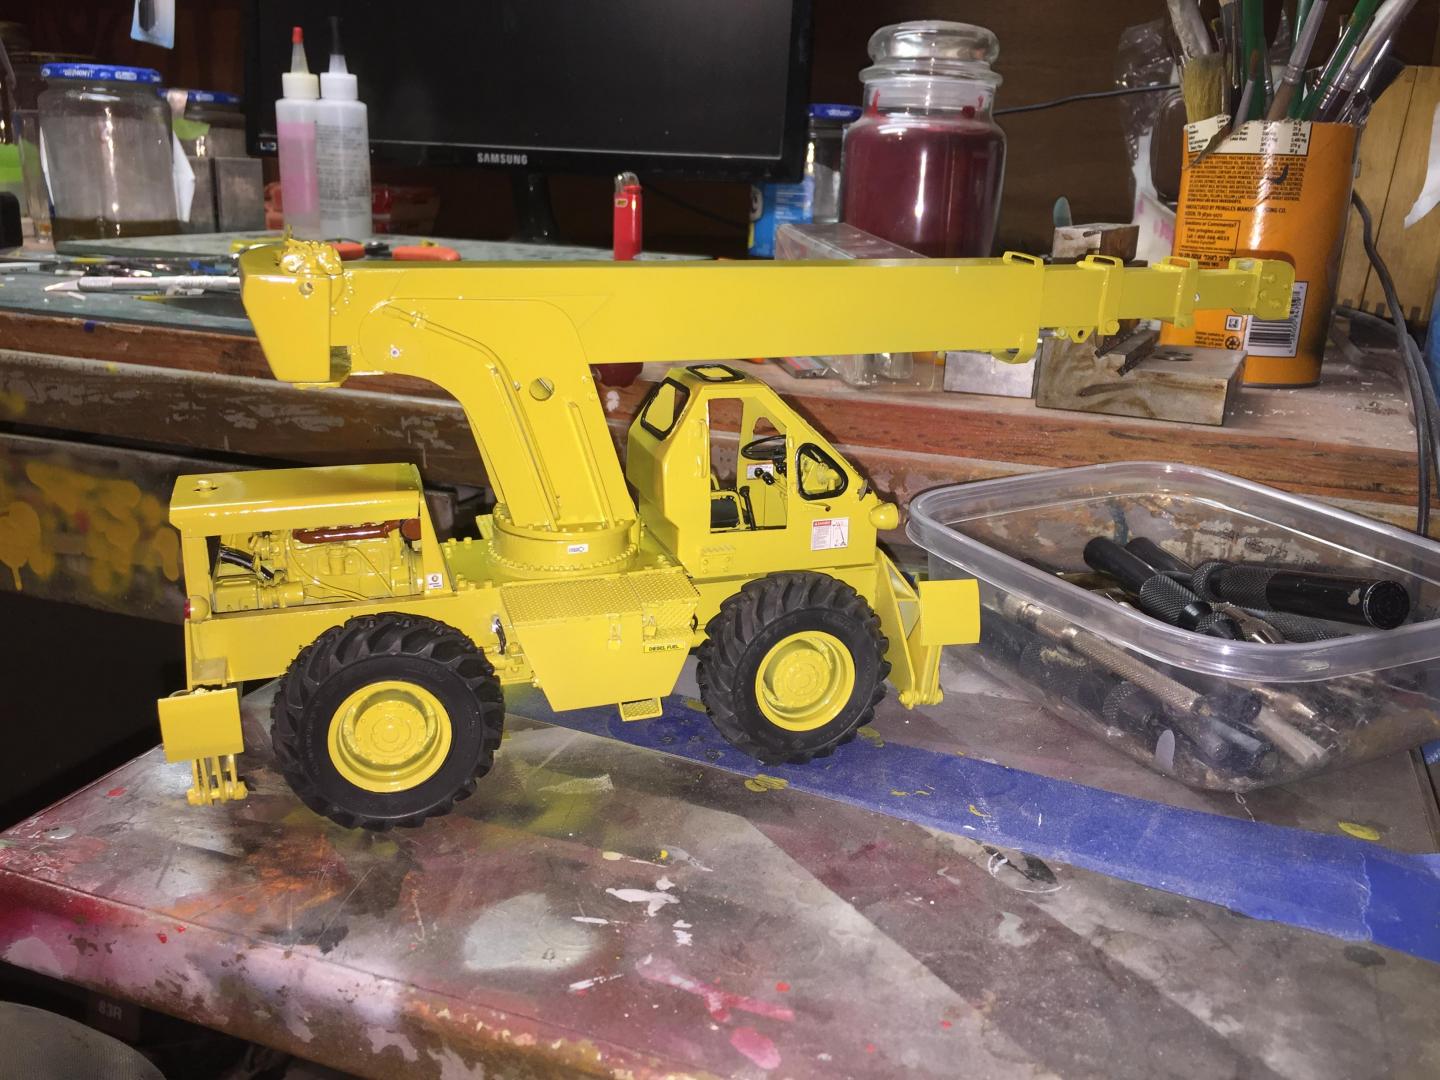
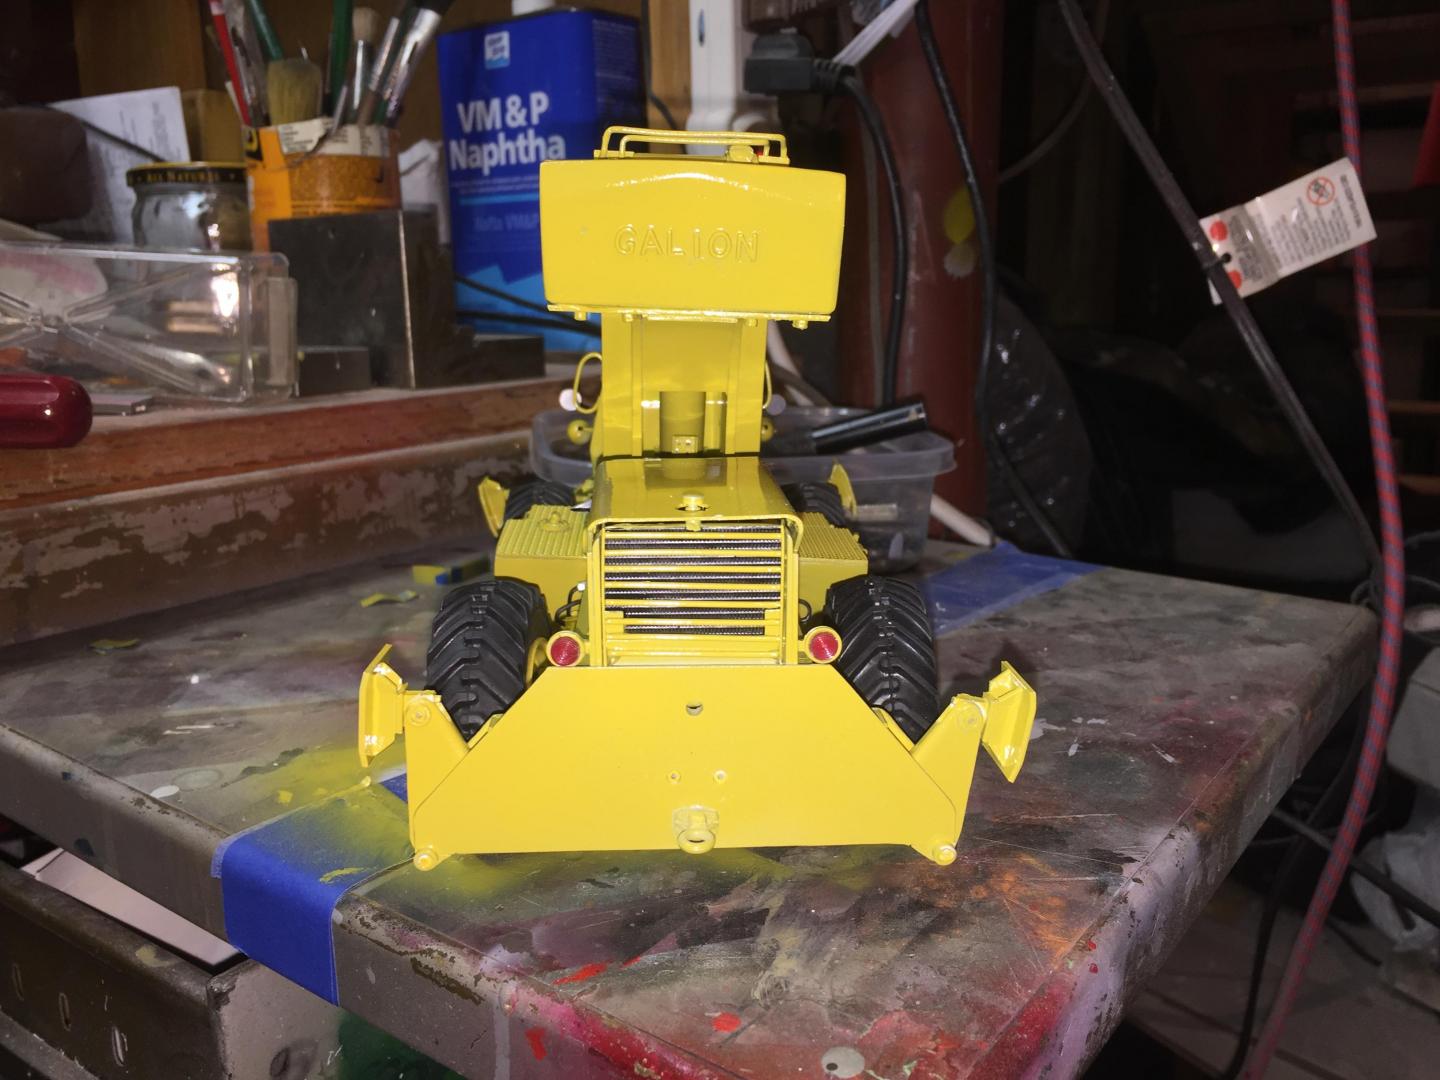
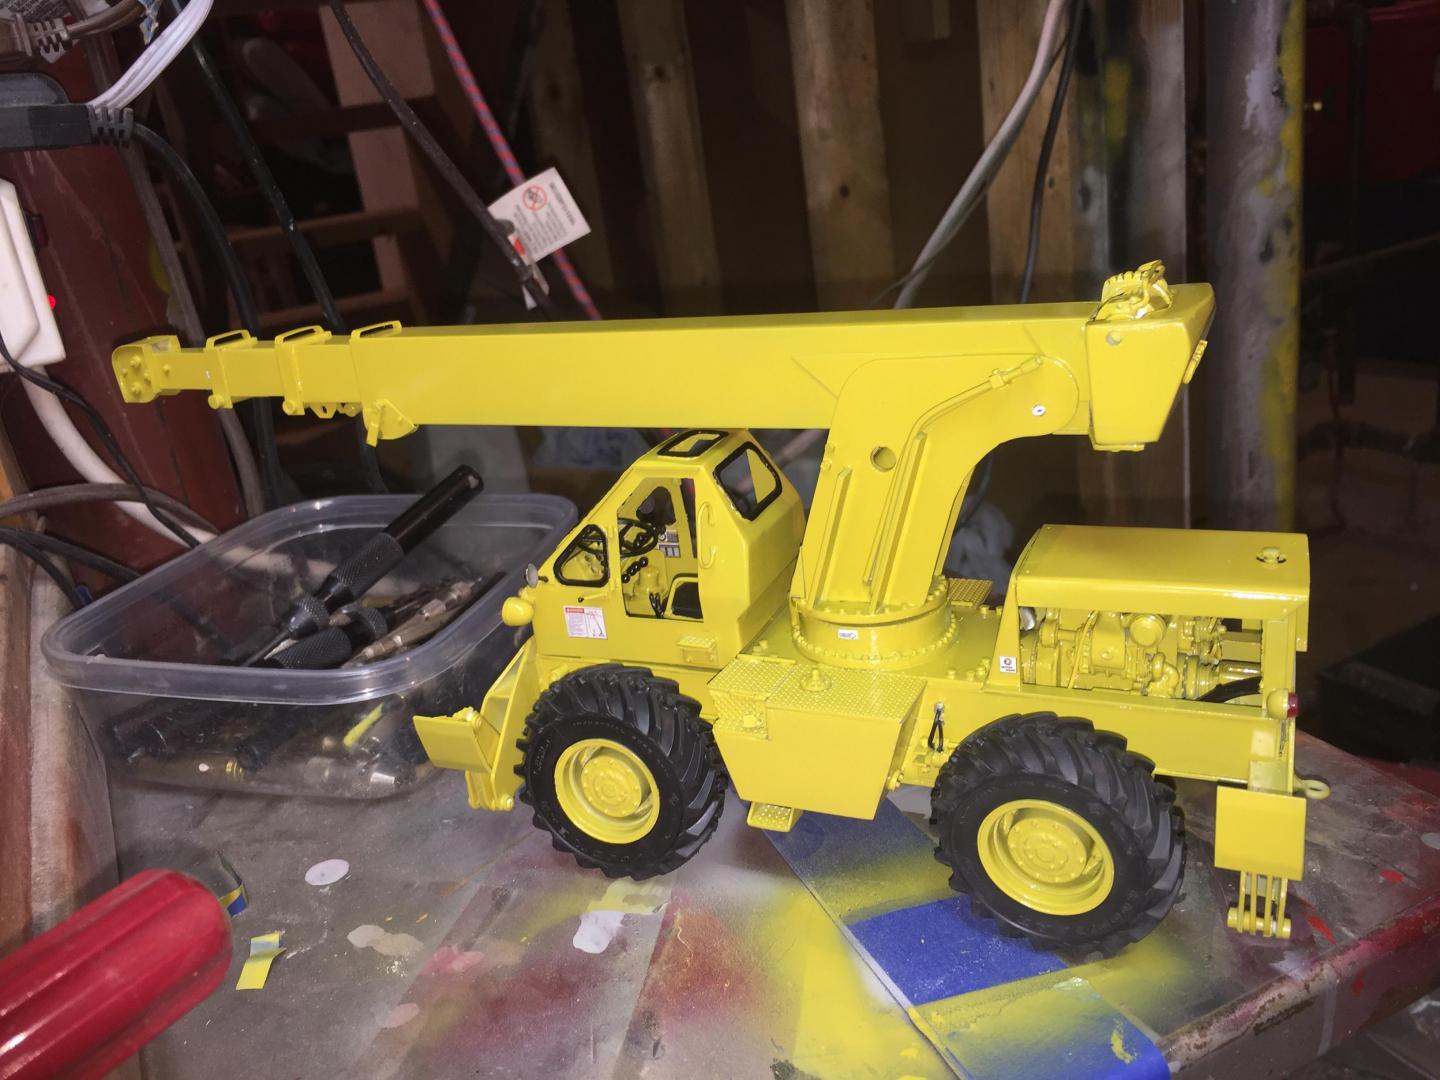
Got the lower chassis all done, exhaust installed, wheels and tires on, mirrors installed, head and tail lights installed, fan belt and fan shroud installed, decals all installed, boom sections assembled, and here is what it looks like so far. Still have glass to cut and install, doors to mount, boom hoses to attach, winch piping and cabling to do. Then some light weathering and she's done!


|
|
|
|
Post by robert1 on Nov 25, 2019 19:37:36 GMT -6
That is amazing!
|
|
|
|
Post by ultraliner9 on Nov 25, 2019 20:16:09 GMT -6
Wow what a project.
So much time and details are going into this project.
Thank you for the photo's it helps me understand the project.
John
|
|
|
|
Post by 41chevy on Nov 27, 2019 13:26:09 GMT -6
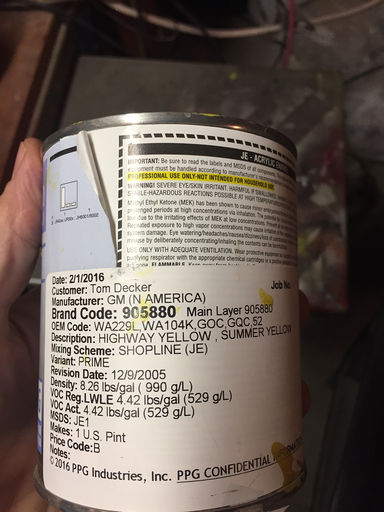
Great work!! where did you get or what did you mix for the Galon Yellow?
Post it in the Finished CBP thread above this thread.
Paul
|
|
|
|
Post by redneckrigger on Nov 27, 2019 20:05:01 GMT -6
Hey Paul, here is what I used.................it was the best match I could find. This is actually the brand and type of paint I use for 90% of my builds.

|
|
